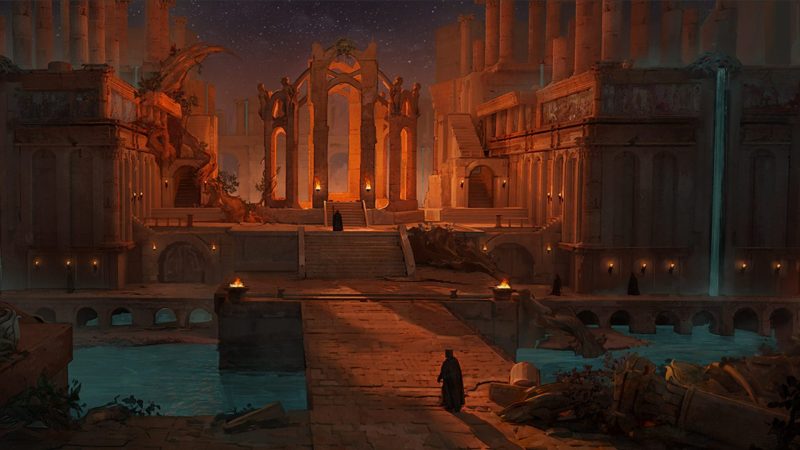
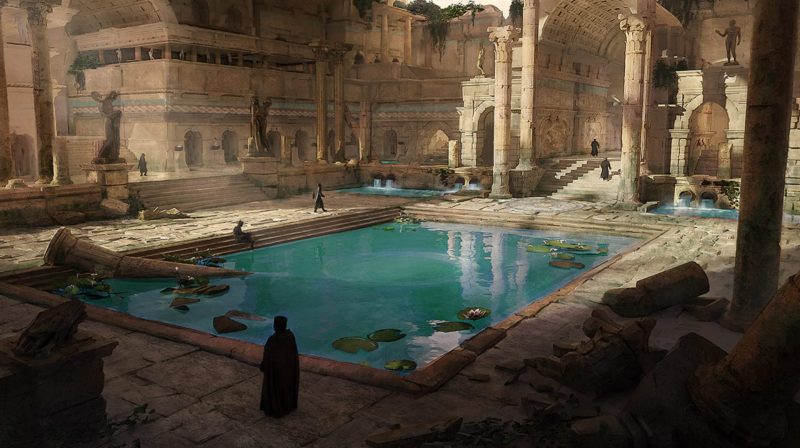
Hive of Gorgons Raid Guide
The New World: AeternumHive of Gorgons Raid Guide is essential reading, as this 10-player experience is a non-negotiable weekly clear for any player focused on top-tier progression and 725 Gear Score optimization.
This raid is where you acquire high-frequency 725 Gear Score items, along with Chromatic Seals and the Garnet Inductor, which are vital components for pushing your Artifacts up to the maximum Gear Score. If you are looking to obtain some of the best gear in the game, you will need to familiarize yourself with this content, as bosses drop loot once per week.

Here is a step-by-step breakdown of how to prepare for and complete Aeternum’s first 10-player raid.
1. Pre-Raid Preparation and Team Setup
Success in the Hive of Gorgons often comes down to preparation, particularly in team composition and damage mitigation.
Team Composition (Standard Setup)
The standard and most reliable setup for this raid is:
- 1 Tank: Sword and Shield with a Warhammer, full Heavy Armor.
- 2 Healers: Life Staff and Void Gauntlet or Life Staff and Flail. Focus on 350 Focus and Light Armor.
- 7 Damage Players (DPS): You must ensure your DPS composition includes specific damage types to handle mechanics.
- 1-2 Slashing Damage Players: Essential for the final boss mechanics. Weapons include the Hatchet and Great Sword.
- 2-3 Ranged Damage Players: Also critical for the final boss, but very useful on the first. Weapons like the Fire Staff, Bow, or Musket are effective.

Consumables and Gear Checks
The Angry Earth enemy type dominates the raid, and bosses deal specific damage types, allowing you to tailor your gear for massive damage reduction.
| Boss | Damage Type | Amulet Perk | Gem Type | Damage Taken Reduction |
| A’Kidna (Boss 1) | Strike | Strike Protection | Cut Pristine Jasper | 20% Strike Damage Absorption |
| Typhon (Boss 2) | Nature (and Slash for Tank) | Nature Protection | Cut Pristine Amber | 21% Nature Damage Absorption |
| Medusa (Boss 3) | Nature (and Strike for Tank) | Nature Protection | Cut Pristine Amber | 21% Nature Damage Absorption |
Beyond the Amulet, ensure everyone has the following consumables:
- Angry Earth Combat Trophies: Placing a Minor, Basic, or Major trophy in all three of your houses will grant an additional 3% to 5% bonus damage, stacking up to a potential 15% increase against all Angry Earth enemies.
- Angry Earth Coatings: Provides a 15% damage bonus to Angry Earth enemies for a set duration.
- Angry Earth Ward Potion: Provides a 10% damage reduction from Angry Earth enemies.
- Honing Stone: Grants a 7% weapon damage increase.
- Attribute Food: Use the highest tier (48 or 44) of attribute food relevant to your build (e.g., Constitution, Dexterity).
- Desert Sunrise: A highly recommended consumable for the second and third boss, as it reduces the duration of damage over time effects like bleeds and poison.
2. Boss 1: A’Kidna (The Guardian)
A’Kidna is generally the most straightforward of the three fights. The primary mechanics to watch out for are environmental hazards and managing the boss’s unique mechanics.
Key Mechanics
- Stamina Bar: A’Kidna is the only boss in the raid with a visible stamina bar. When her stamina is depleted, she will fall over, exposing her black spines.
- Tactic: Heavy attacks (melee or ranged) or the use of Pillars will lower her stamina. When she falls, focus all damage on the spines for guaranteed critical hits/backstabs.
- Headbutt (Tank Only): The Tank must be vigilant for a frequent Headbutt attack. This is a very high Strike damage attack that requires a block or dodge to avoid being nearly one-shot.
- Stomp: A’Kidna will lift her foot and Stomp, dealing large Strike damage to the entire arena.
- Tactic: Dodge or block just before the hit lands. Healers can use an immediate Splash of Light to counter the damage.
- Rocks and Tail Swipe: The boss summons eight rocks (four left, four right) and launches them in a line while simultaneously raising and slamming her tail behind her.
- Tactic: Block, dodge, or move out of the path of both the rocks and the tail-slam area.
- Pillars: White runes appear on the ground, creating pillars that launch players standing on them.
- Tactic: Standing on a pillar allows Ranged DPS to deal bonus stamina damage to A’Kidna. However, every Stomp lowers the pillar, and A’Kidna’s Roar mechanic will eventually cause them to glow white and explode, killing anyone nearby.
- Spikes (Obsidian Crystal): A’Kidna launches spikes from her back that land in the arena.
- Tactic: These must be destroyed quickly, as they will glow purple and then erupt with damaging vines. Prioritize killing spikes near active players, especially when the boss is below 50% health, as failing to clear them may result in a team wipe.

3. Boss 2: Typhon (The DPS Check)
Typhon is often considered the hardest boss due to the demanding DPS check required to clear summoned minions before they are absorbed.
Key Mechanics
- Circles (Spikes): Red circles appear under 2, then 3, then 4 party members progressively through the fight.
- Tactic: Any player targeted must immediately move away from the group. Spikes will pop up 3 times underneath the player’s feet. Keep moving until the third spike pops to avoid taking lethal damage.
- Lanes: The arena is divided into three lanes (left, middle, right). One or more lanes will slowly fill with a red area, which then sprouts damaging vines.
- Tactic: Move out of the red area immediately. If minions spawn in a lane, you must wait for the vines to dissipate before moving in to attack them.
- Vines (Thorny Maiden): Typhon throws vines at players, trapping them in a “Thorny Maiden”.
- Tactic: Trapped players must deal damage to break themselves out, but if a Healer or a critical DPS player is trapped, prioritize helping them by dealing damage to free them.
- Summoned Ads (The DPS Check): Typhon summons Corvid (bird) and Werewolf (wolf/spider) enemies. If he absorbs them, he is empowered and deals increased damage.
- Tactic:Focus the Corvids first. They provide the most threatening buff to Typhon. Use root-based effects like Grasping Vines (Heartrune), Great Axe’s Reap or Gravity Well, or Void Gauntlet’s Putrefying Scream to lock the flying Corvids down. After the Corvids, focus on the Werewolves, but be mindful of their charge, which can knock down multiple players.
- Hide Mechanic: This always follows a Minion phase (whether they are killed or absorbed). Typhon places red eyes above a player’s head.
- Tactic: The targeted player must immediately run and hide behind one of the available pillars. If you fail to hide before the stun, Typhon will charge and instantly kill you.
- Phasing: Typhon will run into the next section of the bridge at 70% and 30% HP.
- Tactic: Follow him immediately. The previous area will fill with lethal vines, wiping any players who remain. High-damage groups can sometimes “force phase” him by pushing his HP below 70% during a minion phase, causing all existing minions to despawn as he moves to the next area.

4. Boss 3: Broodmother Medusa (The Mechanic Gauntlet)
The final boss requires significant ranged and slashing damage contribution and focuses heavily on cleansing effects and dealing with multiple overlapping hazards.
Key Mechanics
- Ranged DPS Check (Flowers): Medusa can spawn flowers on her back or on the ceiling.
- Tactic: Ranged players (Bow, Musket, Fire Staff) must burn these down as an absolute priority. If flowers are active, a white Mist appears on the ground. Standing in the Mist for too long will apply stacks of Sleep (10 stacks for full sleep).
- Slashing DPS Check (Eggs): Medusa launches eggs that land on the ground.
- Tactic: Eggs take damage almost exclusively from Slashing damage. Assign your Hatchet/Great Sword players to destroy these immediately before they hatch and spawn minions.
- Water Mechanic (Fountains): Fountains on the side of the room are your primary defense tool.
- Tactic: You can pick up and throw a glob of water at teammates or the ground to perform various functions:
- Wake up sleeping players.
- Cleanse “Stinkiness” (Green Aura/Mushrooms) from a targeted player.
- Cleanse Poison Stacks from players standing in the water.
- Cleanse Gross Volcanoes (Pulsing ground effects) by throwing water at them.
- Brambles: Yellow projectiles land, leaving damaging thorny areas on the ground.
- Tactic: Simply move around them and avoid standing in them.
- Charge: If a player throws water too close to the boss, Medusa will become “angry” and quickly charge in that direction.
- Tactic: Be mindful of where you toss water, as triggering an unnecessary charge can down players in her path.
- Obstructing Vines: Periodically, vines will block access to the Water Fountains.
- Tactic: Deal damage to the vines to clear them. This is typically the third priority after Flowers and Eggs, as access to water is critical for cleansing.
Stay on top of the flowers and the eggs, manage the sleep and poison with the water mechanic, and you will eventually whittle down the Broodmother and secure your weekly raid loot.