


Complete Guide to The Lost Harvest DLC
The Lost Harvest is the first major DLC for the game Dune: Awakening. It introduces a new standalone storyline that centers on a rescue mission after a spice harvester, the Mithra, is shot down. This mission quickly evolves into a larger quest to uncover ancient secrets and face a major threat to the Imperium.

The Lost Harvest update come with both paid and free content. You can see what is free and what is paid in the image above.
The Fall of Mithra
The first quest you come across in the Lost Harvest DLC for Dune Awakening. You will be required to complete a set of quests which are; Investigate the Distress Call and Assist the Dune Men Officers.
This Guide is going to focus on the Main Story quest. If you’re looking for how to craft the Treadwheel, you can find that here and if you’re looking for a list of armor and weapons you can find that here.
To get started, head to the crash site found in the Hagga Basin northwest of Griffins Reach Tradepost.

From here, you want to locate the survivors by heading inside the crash site on the ground floor. Here you will find the Officers; Quartermaster Hix, Lieutenant Drangh and Chief Hanso. These characters will give you their own tasks unveiling quests (contracts) to help them.
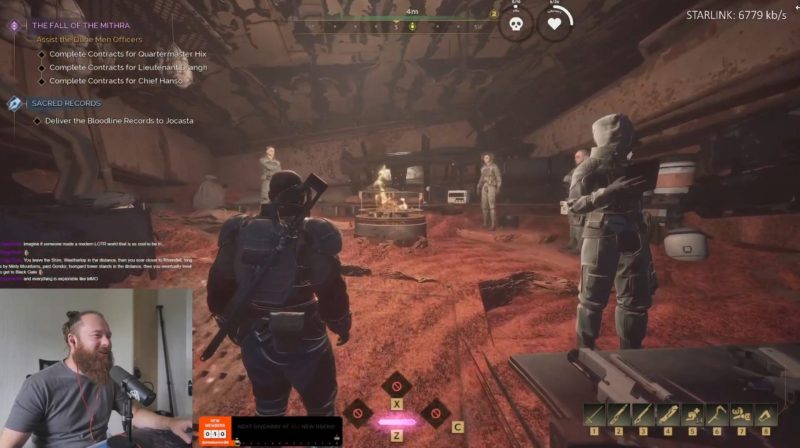
Quartermaster Hix
“Kirab bandits have found their way into the interior of the wreck. Aside from stealing everything they can get their hands on, they may figure out how to use the access doors to attack us from all sides. Get in there and make sure that doesn’t happen.”
Lieutenant Drangh
“I can jury-rig a short-wave transmitter using our dead comms box and a few special parts from Mithra’s stores. Unfortunately, those stores are scattered all over the sector. I need you to find a blue-lattice kyanite crystal, a Torson soundshifter, and a twin-polarity microfram.”
“Thanks to you we now have a way to send out the Mithra’s automated distress call, but the range on this jury-rigged shortwave transmitter is too limited. We deployed a relay beacon on the rocks above, but it’s not responding, and neither are the techs I sent to check on it. I need you to get that beacon working – and whatever else it takes for us to get that distress signal sent.“
Chief Hanso
“There may still be living crew members trapped within the wreck of the Mithra. They won’t last long amid all those hazards without someone guiding them out. Enter the Mitha through the roof hatch and assist any crewmen you can find.“
Villari’s Prize
The next part of your Lost Harvest journey is helping Keif Villari. He has asked for help in recovering a valuable asset stolen from the Wreck of the Milhra.
Listening Devices
First you need to go and pick up the Listening Devices, you will find them at the South West Ironworks in the Hagga Basin.

As you arrive at the Ironworks you will need to dispatch of the mobs and search for the Identification Band to grant you access to the shielded room. You’re looking for the Blue ID Band.

Once you have the Band head up the stairs and into the now open room. You may have been here in previous quests, but this time you will find a small box located on the back wall of the room, you can interact with this box and it will give you the listening devices.

Once you have the listening devices your next task is to plant them around the Hagga Basin in 3 different spots so that Villari can start spying on the Kirab.
Location 1: The Squat

Location 2: Menol’s Folly

Location 3: Dead Mans Depot

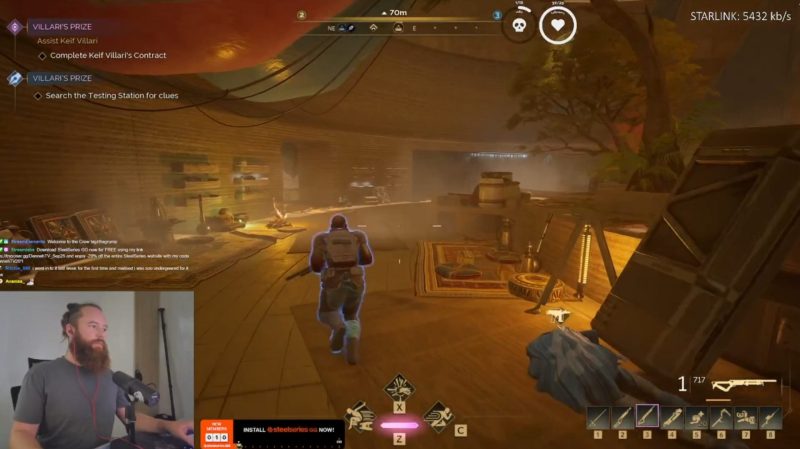
Enter Imperial Testing Station #13
Once you have planted all 3 listening devices you need to head over to Testing Station #13 and search for the Clues.


Once you enter the testing station your task is (just like any other testing station) to clear it of all enemies and grab as much loot as possible – we’re all loot goblins, right… right?
As you make your way through Testing Station #13 you will need to make sure you pick up the ID bands again to progress through the doors all the way to the end of the station.

Once you reach the final room and dispatch of the mobs there, you need to head into the small room at the back, here you will find a nice loot box and opposite that, a man dead sitting against the wall. Interact with him and you will have found your testing station Clue.
When you’re ready, Press J and go to your Journal menu and Contact the Issuer to complete this Quest. Now you can move onto the Digging Deeper quest.
Digging Deeper
“I need you to recover the missing package from that slaver base. Once you find it, you can use what’s inside to complete the mission my late lamented team never got a chance to do.”
Testing Station #117
Your first task on the Digging Deeper Quest is to enter the Imperial Testing Station #117. Testing Station #117 can be found on the North East side of the Hagga Basin.


Once you are in, treat the testing station as you would any other ones and start to clear the rooms, dispatching the mobs making your way to the end. Your task here is to Find Villari’s Package. Once you get to the room with the package in, your quest will change to say “Take the Package” letting you know you are in the right place. You’re looking for the Rectangle box in the middle Island Table.

Testing Station #29
When you’re ready, make your way out of this Testing Station and head to Testing Station #29. This can be found on the Far North East Side of the Hagga Basin.

This was a new Testing Station for me and finding its location was pretty dramatic. You want to head to the quest marker location and then head down the ravine, right to the bottom!
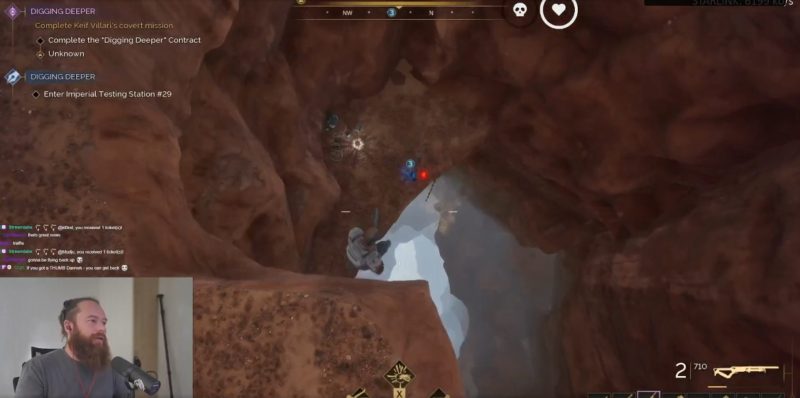

Hidden Lab Entrance – The Forgotten Testing Station
We found this Testing Station to be quite challenging, which made it really exciting. You goal within Testing Station #29 is to find the entrance to the Hidden Lab! We actually found it after reaching the end of the lab and back tracking ourself just outside the final room, where you will find a Bookshelf which doubles up as a secret door!

This Forgotten Testing Station has some new mechanics, you will need to use your mining Laser to clear some of the Buttons and doors.
Finding the Access Port
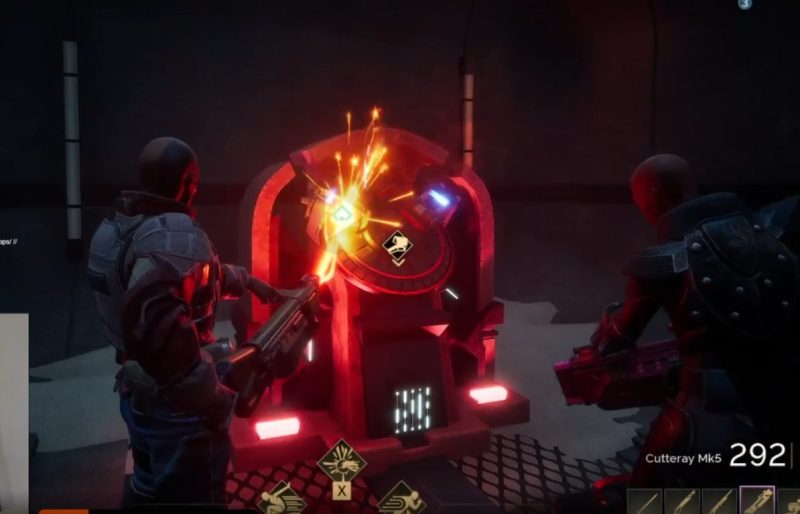
You will find yourself opening multiple doors, and pressing multiple power buttons, which you should find quite easy to navigate through. Once you get far enough you will find the Access Port and the Solido Projection and the Thinking Machine. Here you will come across some Holograms you are going to need to destroy.

Defend the Terminal
This was no easy task, so make sure you have bandages, ammo, spice and determination as this is a difficult, but fun fight!

Once you’ve defended the terminal, head to the final room and collect your rewards then make your way to the Surface where you will be asked by Kief Villari to take the package to your contact in Harko Village.
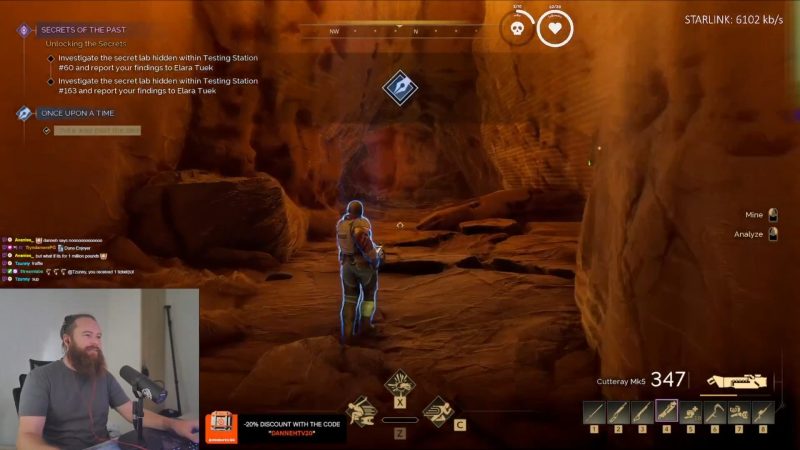
Secrets of the Past – Testing Station #60 and #163 Hidden Labs
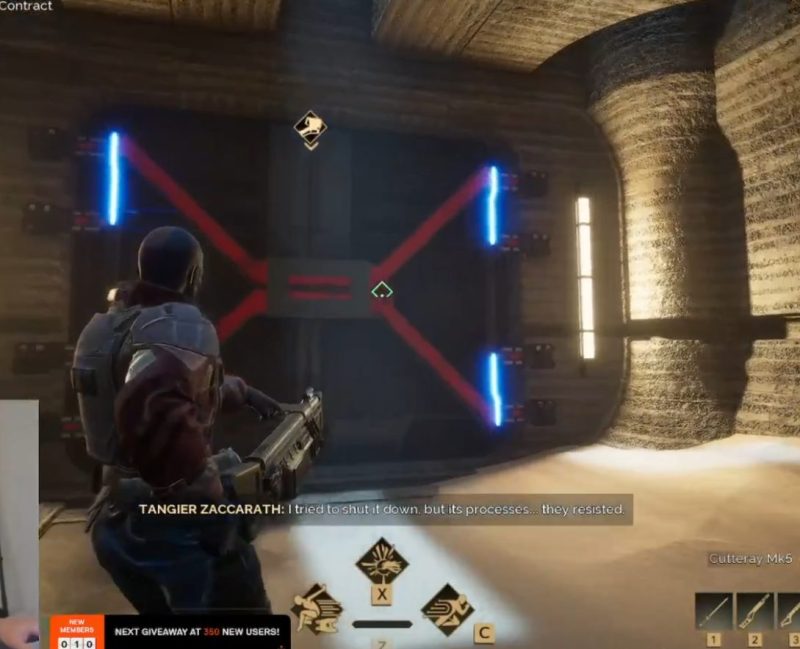
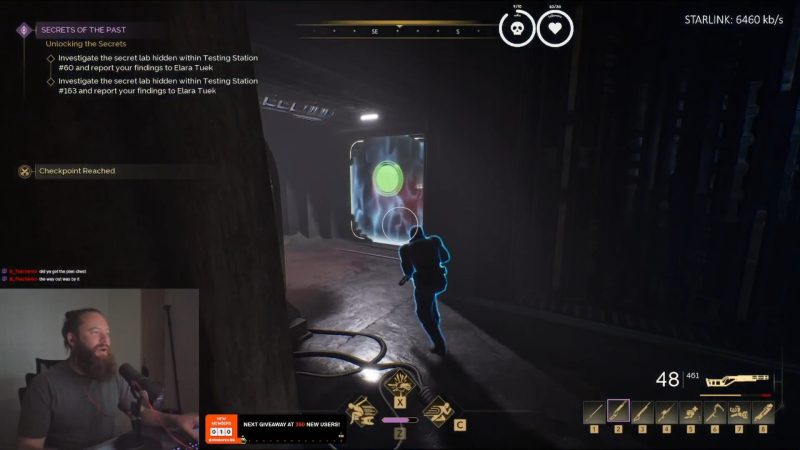
The Secrets of the Past Quest in the Lost Harvest DLC for Dune has been very fun! It introduced 2 secret labs for you to discover! You are tasked to head into testing station #60 and #163 and search for the Secret Labs hidden within. With both Secrets Labs, you’re looking for a door that looks like this:

Testing Station #60 Secret Lab Walkthrough

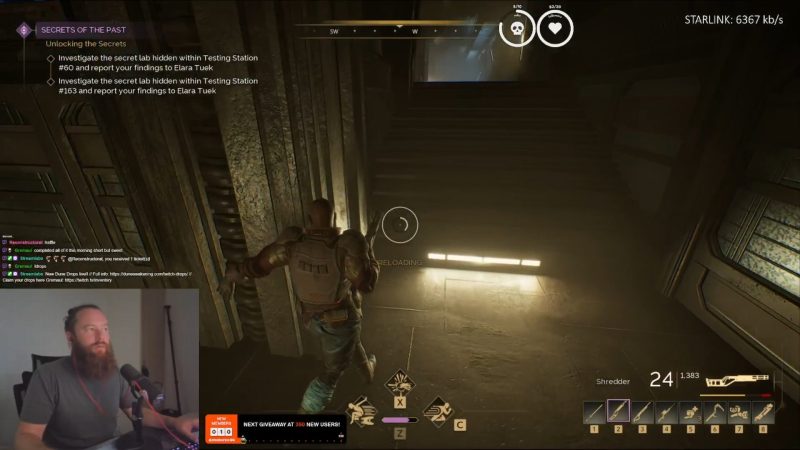
Testing Station #60 is one of the unique secret labs. The first area is massive and you will need to explore until you find a door that leads to the secret lab. Once you access the lab, Head downstairs and you will see a long corridor.

Inside the broken glass section, there is a pick-up identification band. Pick it up.


Enter the passage at your back to get to the next section. Beware, as there are enemies that can spawn. To the back portion of the room is another staircase.

Continue straight until you see a staircase leading you to the lower floor.

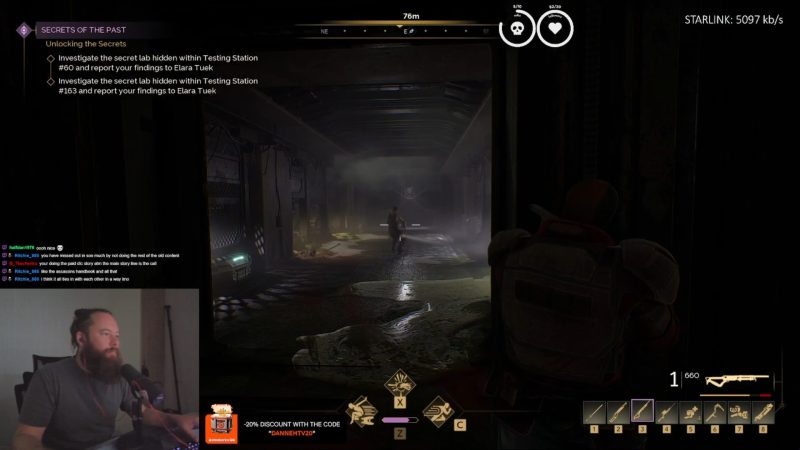
This place is quite spooky! Continue downstairs and you will fight several enemies.
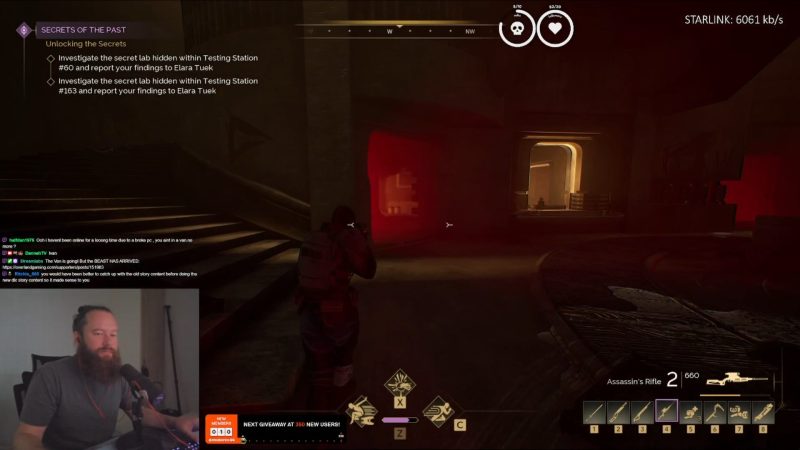

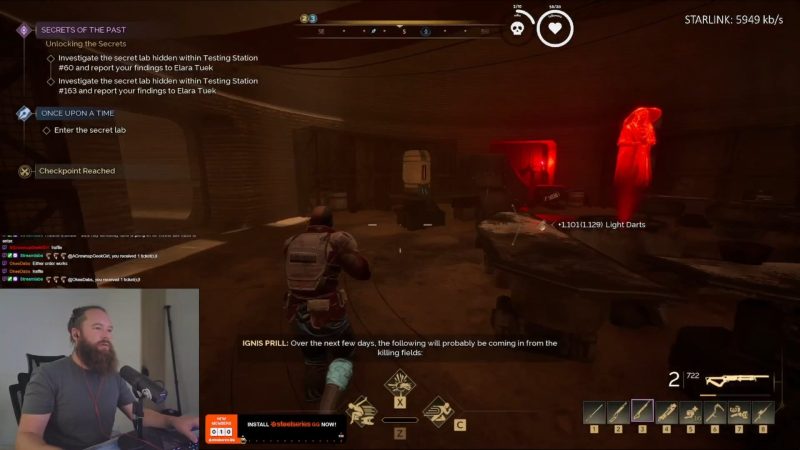
Head to the red room after you have cleared the enemies. In this room, you will see an identification band (orange band) and a lever to interact with it.

Go to the left room, loot all the chests inside, and head back out.

Now, proceed to the right passage this time to access the next section of the secret lab.
Turn right at the corner, but beware of the one enemy standing. At the end of the hallway, there is a room that needs to be unlocked to go to the next part.

The door holds a room full of loot. Get what you need and head back to the hallway and this time turn right.

Make your way up the ladder and claim the logbook for lore building. This place is huge, isn`t it?

Descend these stairs that are found at the end of the one you climbed.

After descent, continue straight and you will encounter a scientific equipment room. Loot all the chests here and claim the tape for lore, since this place is spooky! head out and turn right to continue to the end of the hallway.
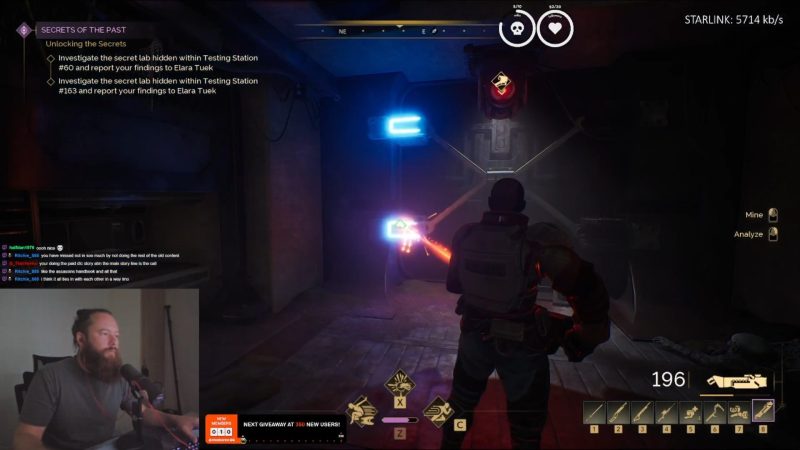
Main Quest Boss Room – Station #60 Secret Lab

This door will unlock, and a checkpoint will be restored. This is the main boss room, and a lot of enemies will be here

Clear all the enemies and interact with the entity.

After confronting the entity, You have now completed the testing station #60. Get the Identification Band (White ID) beside to access the way out.
Way Out of Testing Station #60 Secret Lab
The green door is now accessible, found on the side of the main room. Continue straight and loot every chest along the way.
Continue traversing the path, and you will end up on the cracked station from earlier.

Now you have exited the spooky secret lab! Well done! Let`s proceed to the testing station #163.
Testing Station #163 Secret Lab Walkthrough
Testing station #163 secret lab is found early on the station and you will not need to complete the entire facility. Let`s start!
Base Camp (Testing Station #163) to Secret Lab

Proceed to the main entrance of the station. Make sure to ready your equipment since there will be enemies inside. Let`s go!

Continue straight upon entering the station.
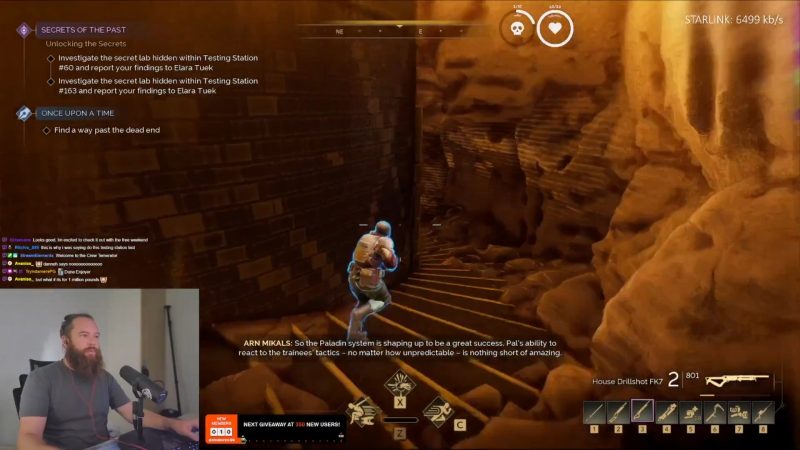
Head to the lower floor of the station and prepare for the great exploration!
Take the left path by the roundtable room.

Take the path on the left side as soon as you have descended from the upper floor.

Get the blue band ID from the table and loot anything from the chest before proceeding downstairs.
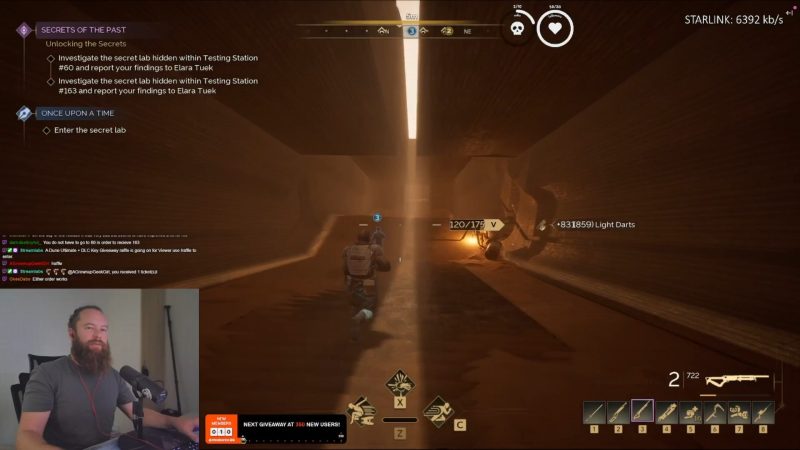
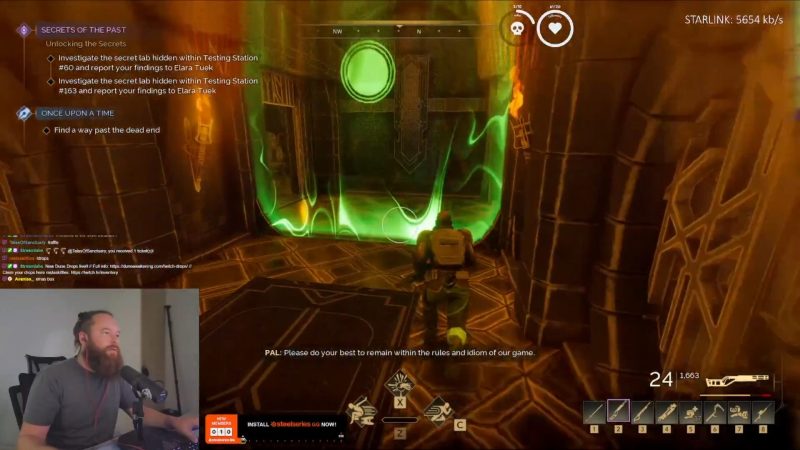
The Entrance to the Secret Lab of Testing Station #163

This door is the passageway to the Secret Lab. Quite early, unlike the first one! Let`s open it!

Interact with Pal to proceed with the quest. You will need a passcode for Pal to grant you access.

The passcode can be acquired from the room on the left side of pal. Go back to Pal to unlock the door.

Turn left at the end of this room. Explore the area.

Fight the holograms to unlock the doors.

Turn right to the intersection, and at the end are some chests for you to loot.

After you have looted the chest, go to the other end of the hallway to fight some hologram soldiers.

Clear the enemies and proceed to the next room.

Turn left to this area and continue forward, and you will fight another set of enemies.

Turn right at the unlocked passage until you see a staircase. Proceed to the upper floor wherein a large room full of enemies is waiting for you.
Clear all the enemies. It has two types: The regular hologram and the shielded one. Then, Continue straight to the next room.


Follow the stairs, and there is a chest that can be looted. Continue heading deeper in the secret lab.

Defeat the enemies and proceed to the next room, where there is a staircase leading downwards.

Access the breaker, and the door will unlock. Enter the room to find some chest to loot.

Access the terminal to unlock the hidden passage in the cave. Turn around and continue straight.
Continue, and you will see the main boss room of the secret lab.
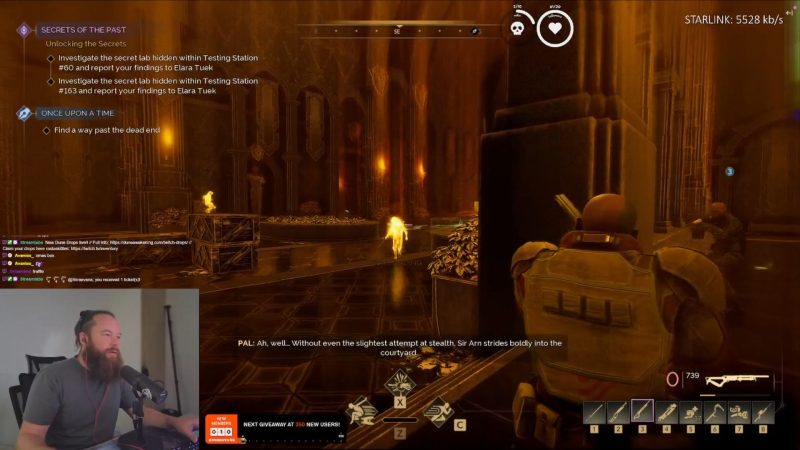
Main Quest Boss Room – Station #163 Secret Lab

The final room contains the dragon-like Boss that attacks with fire breath. Be careful and eliminate the boss. It also spawns a human hologram.

Be aware that it summons 3 hologram soldiers that shoot at you consecutively. Make sure you have enough healing items to sustain their damage.

After the dragon is eliminated, A passageway will now open.

Here is all the goodies and loots to be claimed after the hard-fought journey with holograms. Well done!

Talk to Pal to complete the secret lab quest! Then Continue straight to access the way out.
Way Out of Testing Station #163 Secret Lab

Get the identification ID (Green) to unlock the way out.
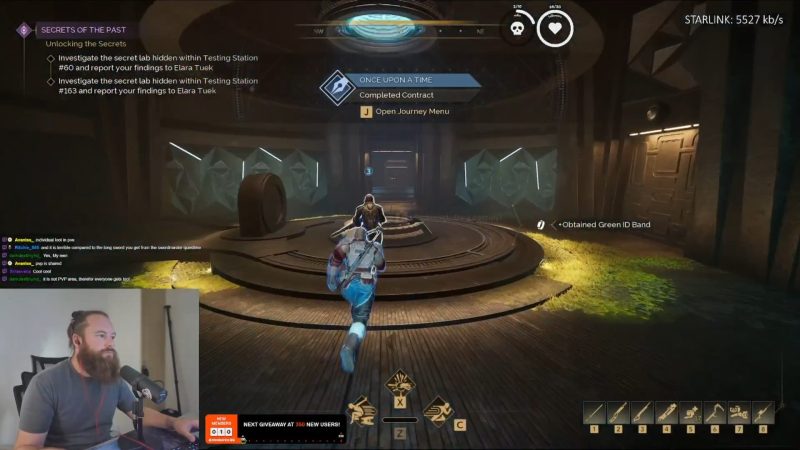
Turn left at this roundtable, and there you have it, the exit to the secret lab! Congratulations on conquering the secrets of the past quest!
If you have liked this guide, do check out the rest of our Dune content for more guides. Also, we have our YouTube channel for more walkthroughs like this one! See you there!

