

Activating the Gate to the Stars: Kindlewastes Dungeon in Enshrouded
To light the Kindlewastes dungeon beacon for Gate to the Stars in Enshrouded, shut off all four alarms with Sparks, then teleport up to the beacon. You reach it by gliding through the Shroud from the Veilwater Basin dungeon, and a short button-and-door stage comes before the alarms.
The team here at MetaForge ran this route in our own 1.0 playthrough and recorded each step from the Veilwater Basin exit to the beacon. There is no boss fight, so prepare for shielded Ancients, Fell spawners, and your Shroud timer before you set off.
What You Need Before You Start
Before you leave the Veilwater Basin dungeon, eat food to raise your maximum health and stamina, since the opening glide and the climb both drain stamina. You also want a grappling hook, a glider, a Frost spell option for shielded Ancients, and spare Sparks if you already carry some.
Food buffs: Extra health and stamina give you more margin on the glide and in the Stage 2 fights.
Grappling hook and glider: The climb has two grapple points, and two of the Stage 2 alarm rooms are only reachable with a glide and grapple.
Ice Bolt or a Frost Totem: Equip one before you enter so you are ready for the shielded Ancient in Stage 1.
Sparks: The dungeon has enough Spark pickups for all four alarms, so bring your own only if you want to skip the backtracking.
Archaic Lockpicks: The official 1.0 changelog states that higher-tier locked chests and doors need a new set of lockpicks, starting with Archaic lockpicks in Cinder's Cradle. Stock up on the Archaic Lockpick before you go.
Once the Gate to the Stars quest is active and you have your supplies, travel to the Veilwater Basin dungeon to start the route.
Route from the Veilwater Basin Dungeon to the Kindlewastes
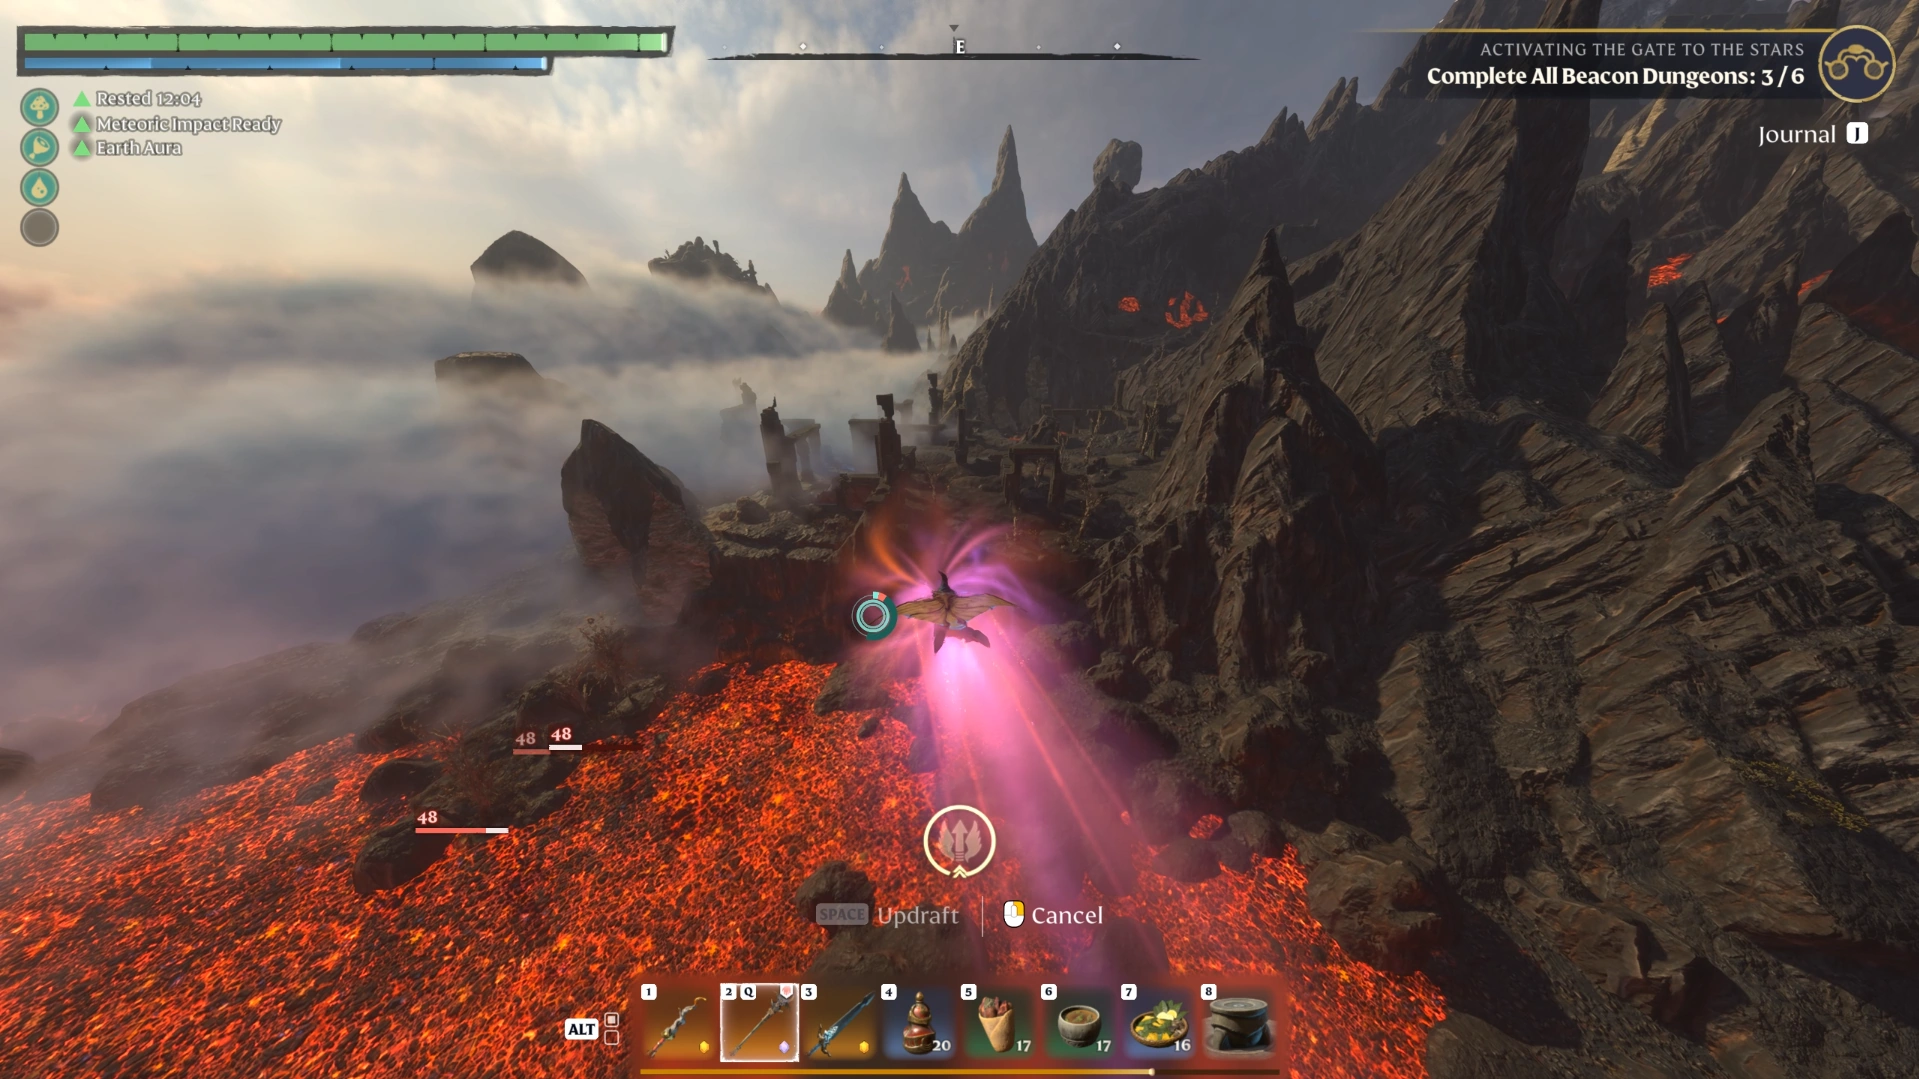
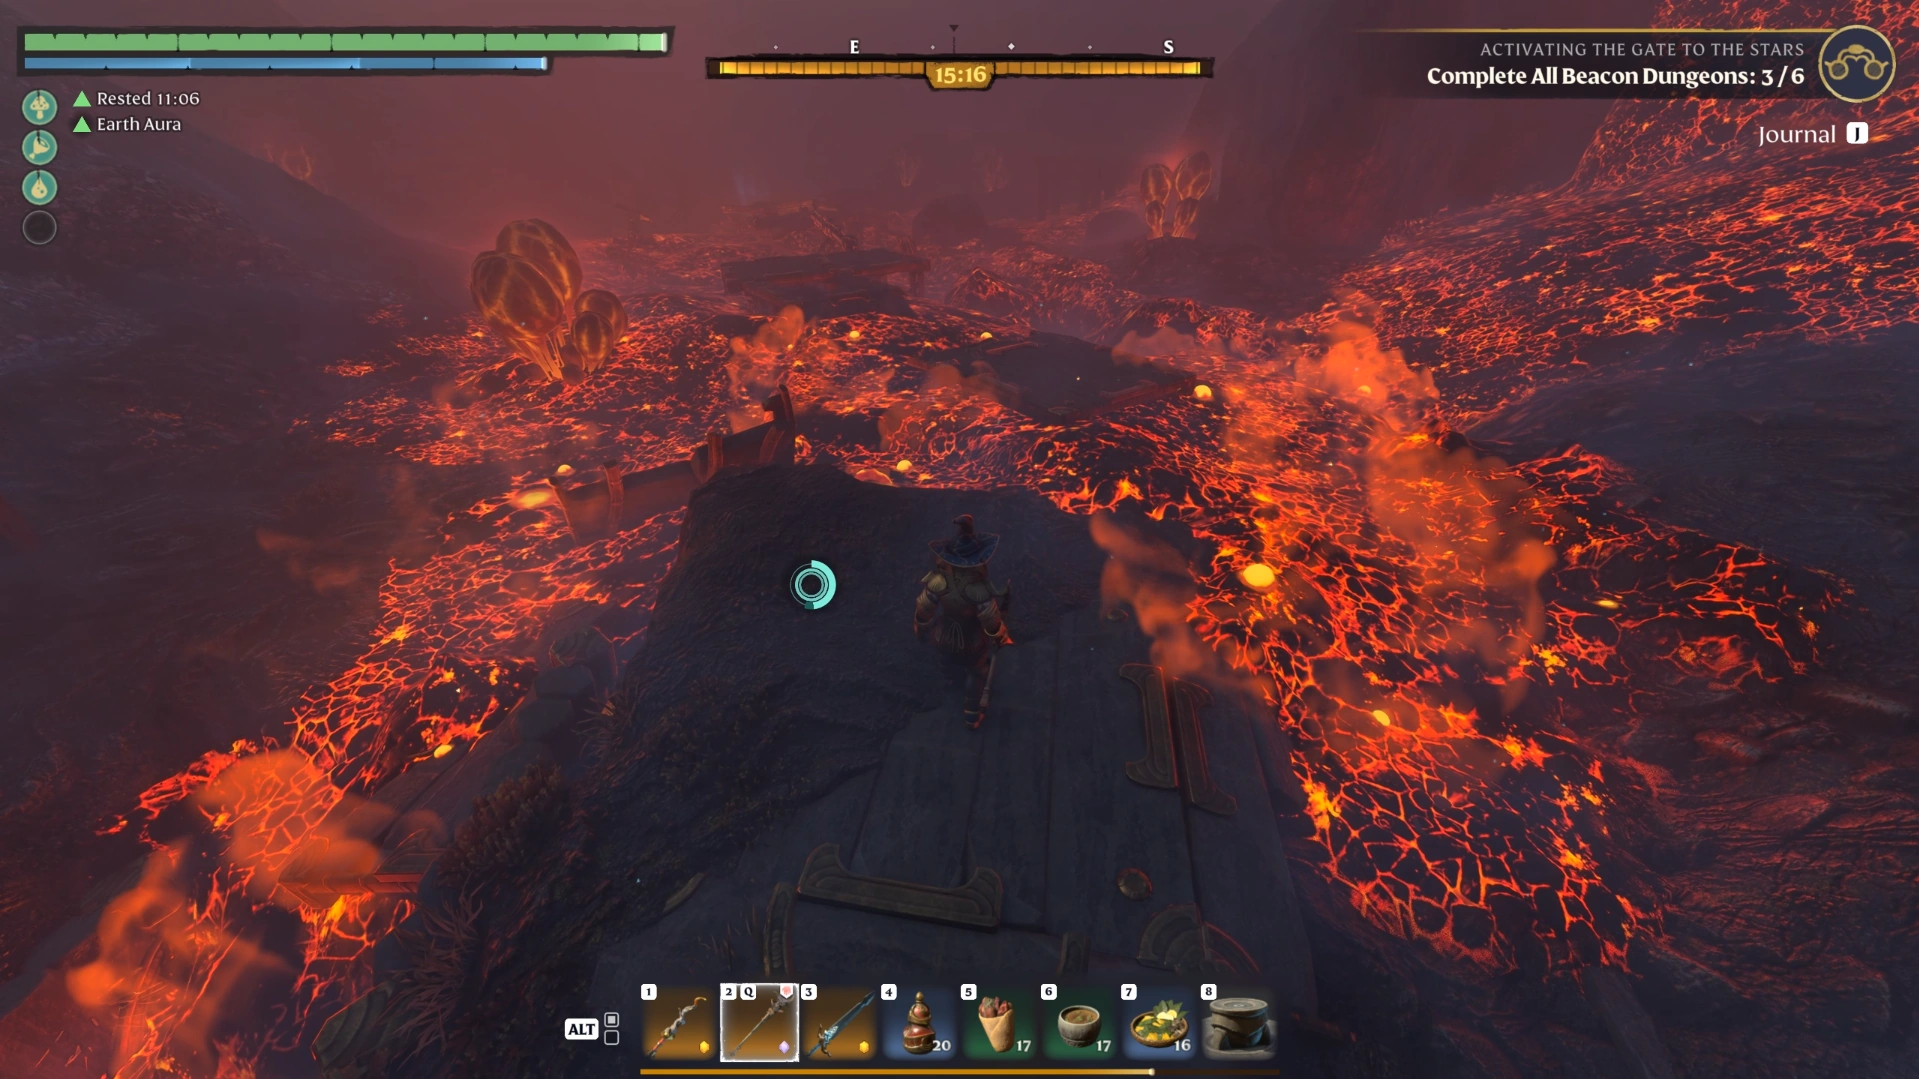
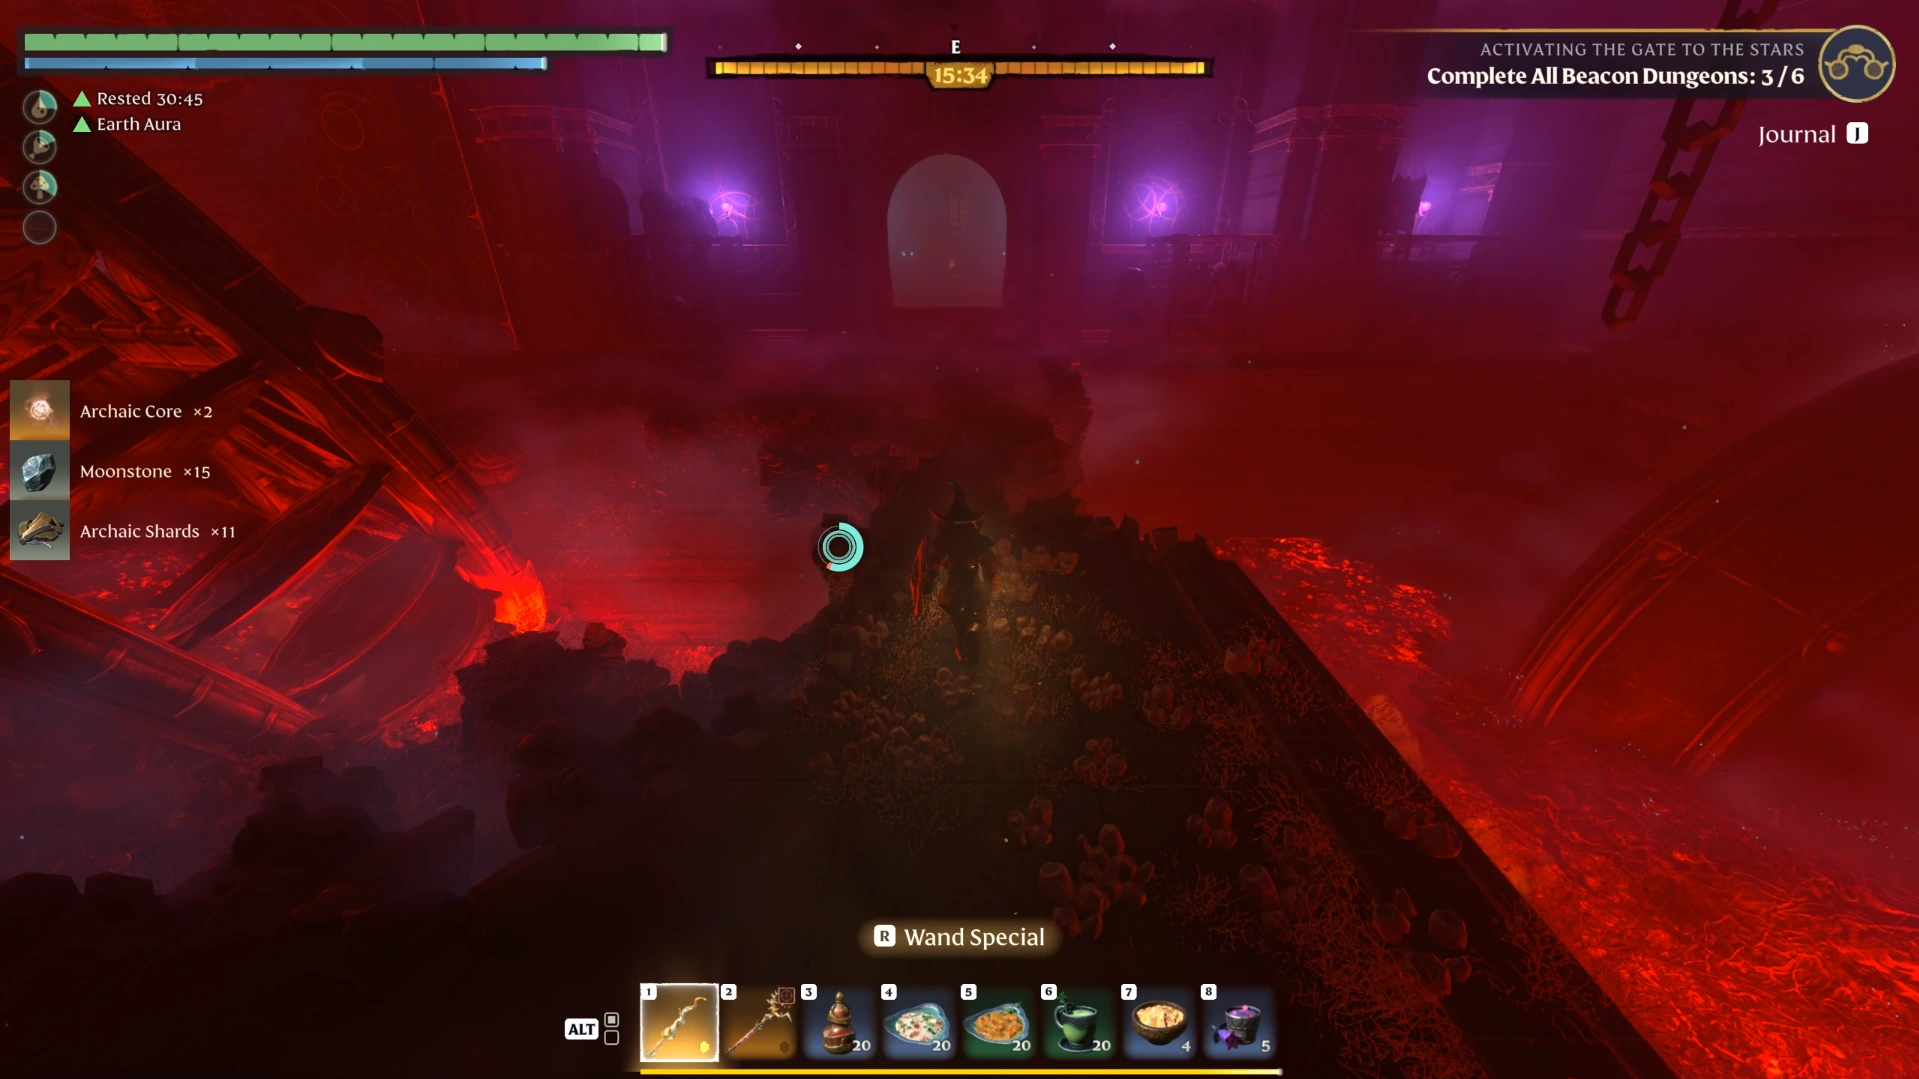
The route to the Kindlewastes dungeon starts at the Veilwater Basin dungeon and runs through the Shroud, so watch your Shroud timer the whole way. You glide toward a set of ruins, follow a road past a large hole, hop across a lava field, then reach the climb.
Jump off to the left: From the Veilwater Basin dungeon, jump off the left side and open your glider.
Glide toward the ruins: Hold an almost straight line, then bank slightly left and aim for the ruins ahead.
Follow the road: Once you land, run along the road until it splits around a large hole.
Pass the hole on either side: Left or right makes no difference. Keep heading straight until you reach the lava area.
Hop across the lava platforms: Jump from platform to platform until you reach solid ground on the far side.
Turn left and keep running: Stay on the path, take the left turn, and follow it to the base of the climb.
Hypothetical example: If your stamina runs out mid-glide and you land short of the ruins, head for the road on foot. It still leads to the lava crossing, so pick up the route from step 3.
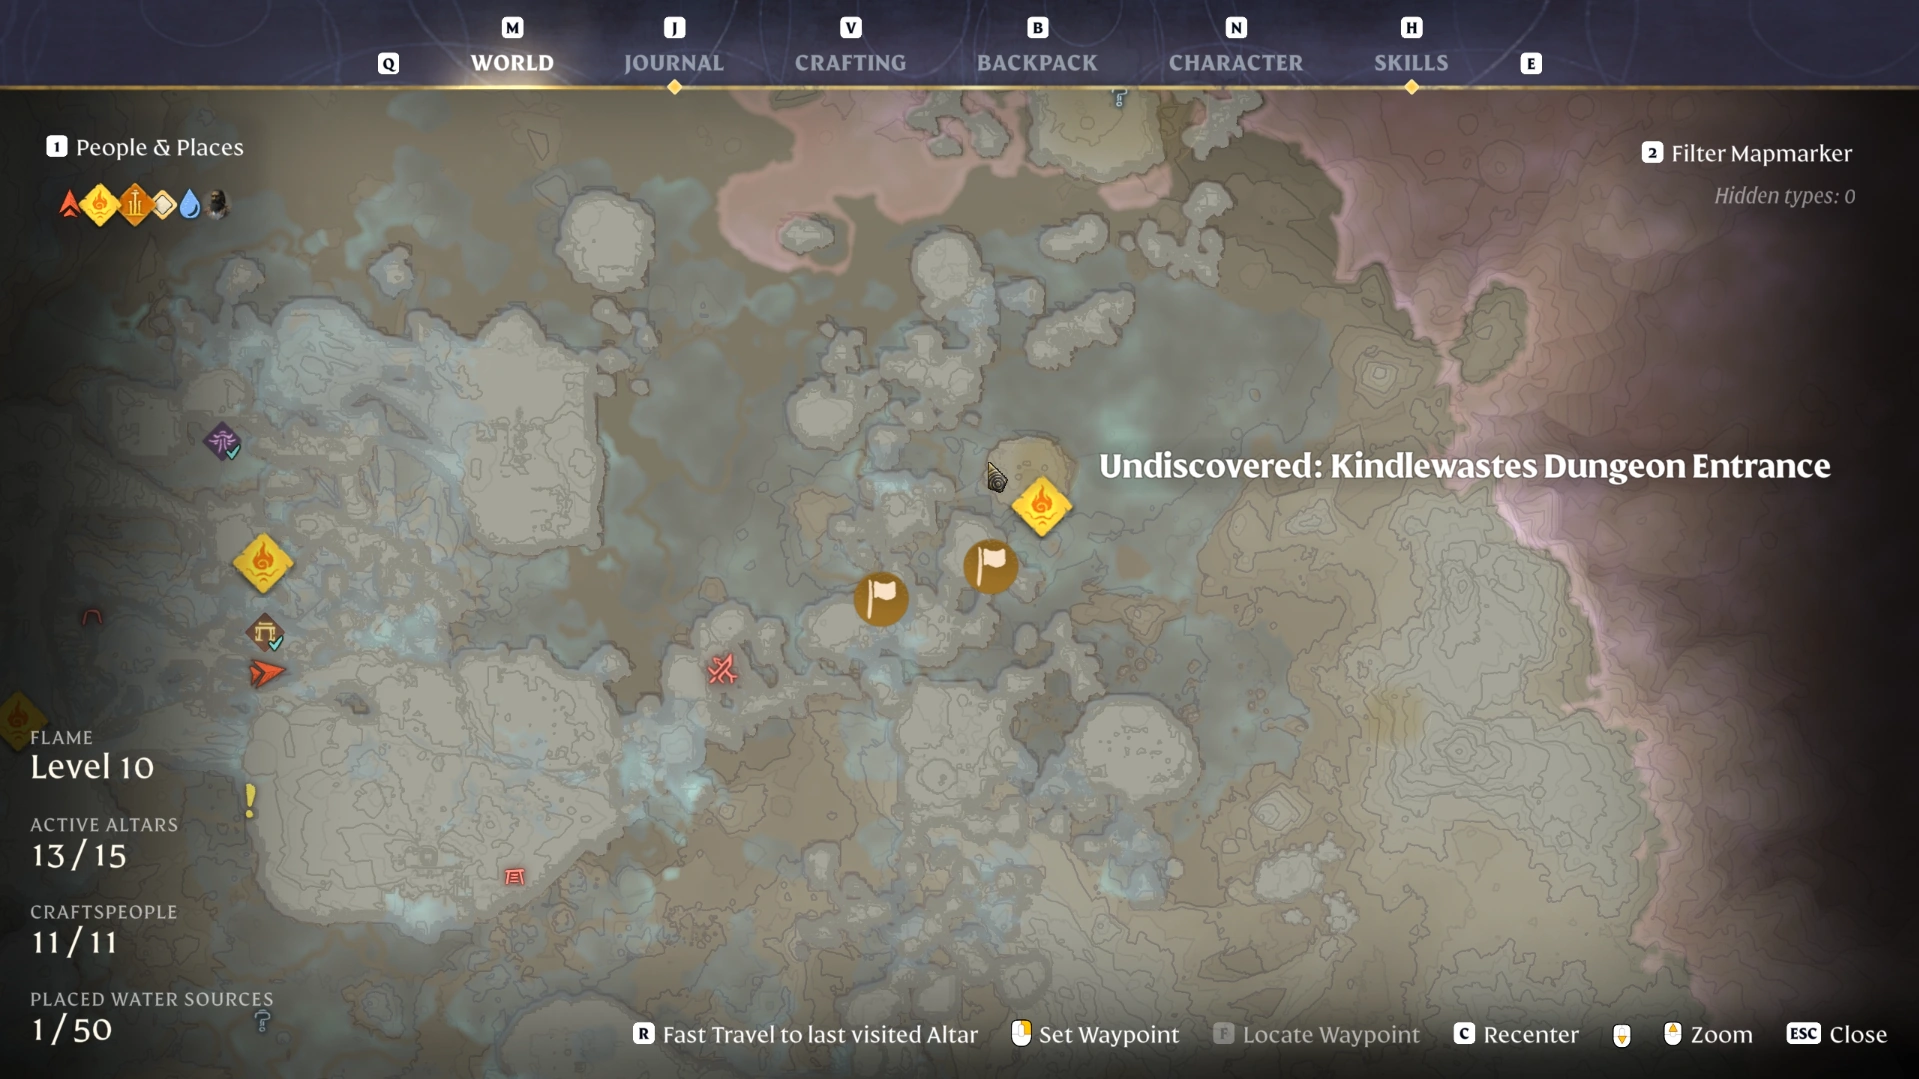
Climbing to the Kindlewastes Dungeon Entrance
The climb to the Kindlewastes dungeon entrance is a short path with two grapple points, and both have a spot where poor positioning knocks you back down. Stand to the left before each grapple, follow the path to the top, then clear the lone Ancient guarding the entrance.
Head straight up the path: Follow it to the first grapple point and pull yourself up.
Stand to the left: Before continuing up, move to the left side, or you will clip the pole in front of you.
Climb and continue straight: Climb the next ledge and keep going straight to the second grapple point.
Grapple from the left side: Position yourself to the left again, otherwise you hit the overhang above and fall.
Climb and follow the path: Loot the container along the way and pick up the lore note on the side.
Clear the Ancient at the top: Defeat it, loot everything around it, and walk straight into the dungeon without going through the gate.
We placed a Flame Altar near the top of this climb so we could return to base without repeating the Shroud run. Build one here before you enter if you expect to leave mid-dungeon.
Additional reading: Enshrouded Interactive Map. Map markers are estimates, so locations in your world may not match exactly.
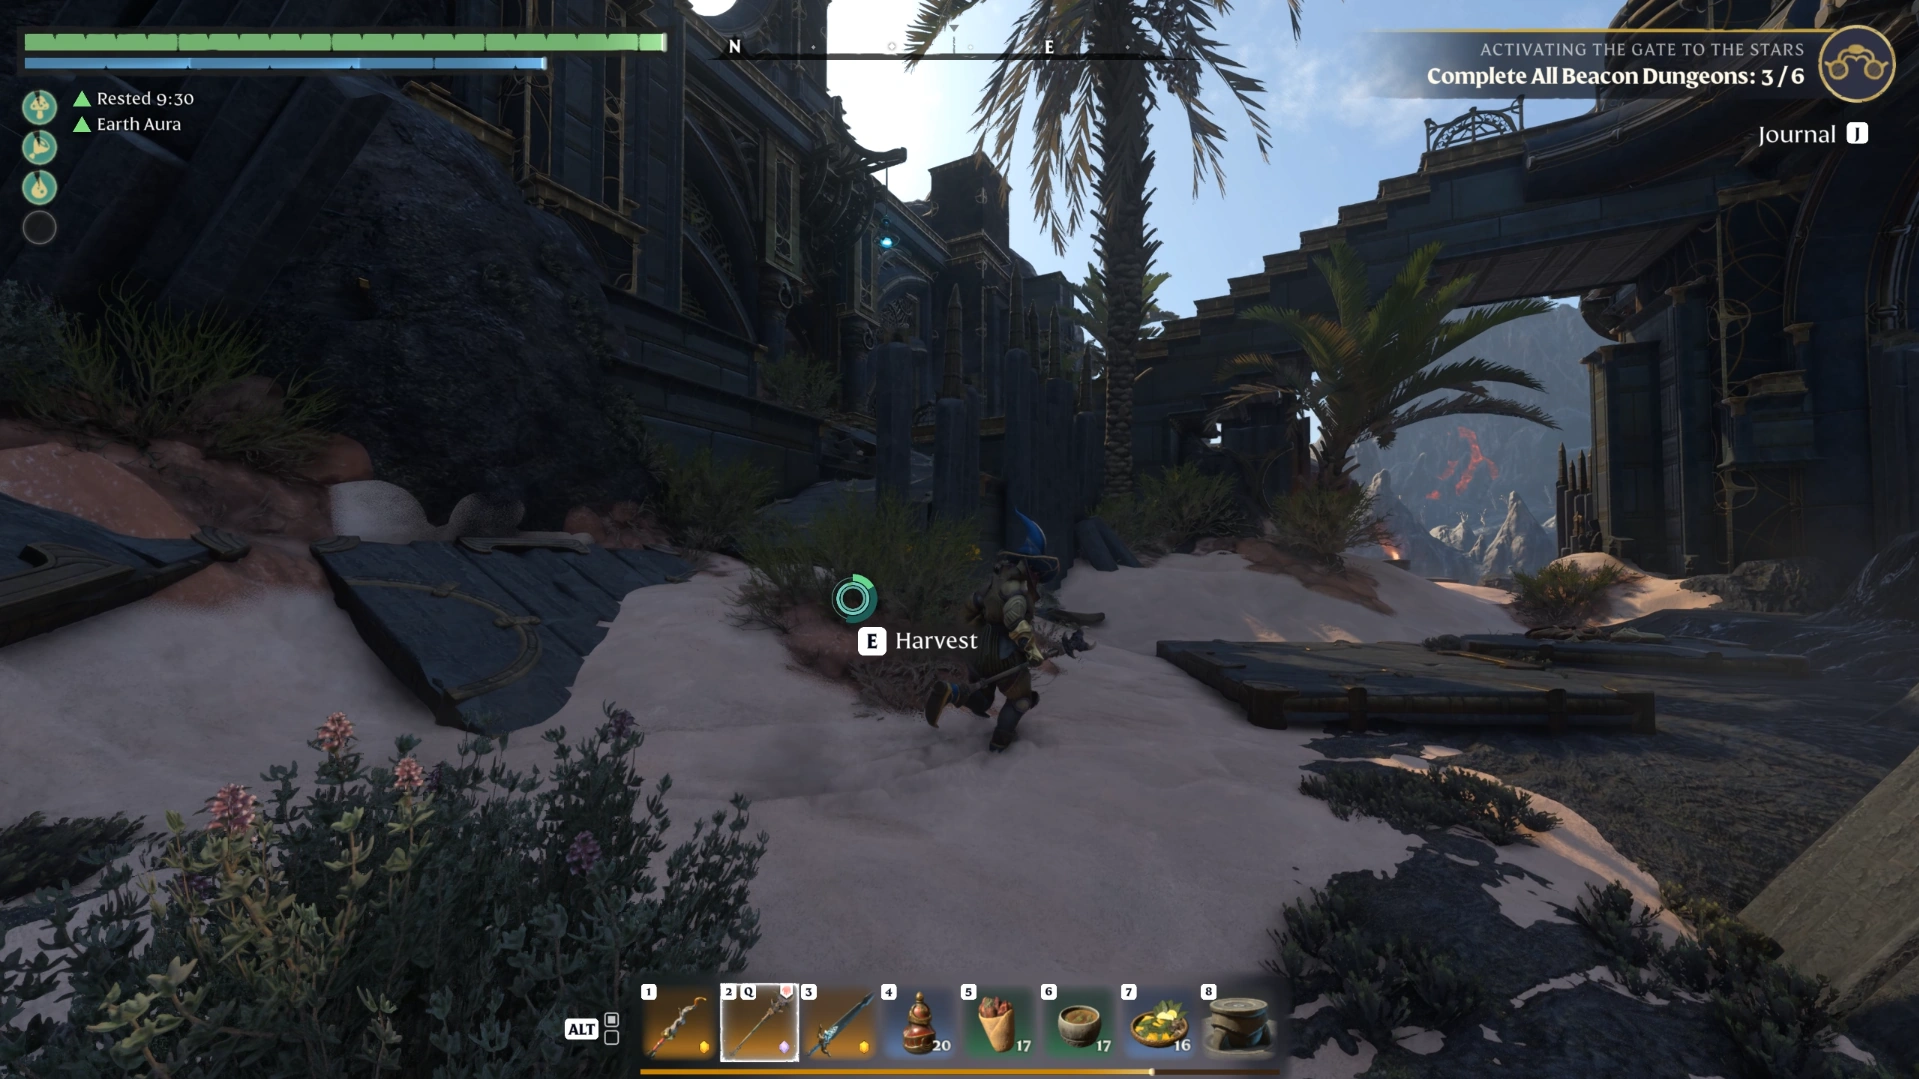
Stage 1: Buttons, Doors, and the Shielded Ancient
Stage 1 is a short run of corridors where wall buttons open locked doors, ending at a portal to Stage 2. The only real obstacle is a pair of Ancients in the button room, where one casts a barrier on the other.
Press the first button: Head down the corridor and press the button on the right to open the door.
Dodge the rotating hazards: Go left and time your movement past the rotating traps. Clear the Ancient on the other side and loot it.
Enter the button room: Go through the next door to find the button guarded by two Ancients.
Deal with the shielded Ancient: Kill it with Frost, or lock both Ancients inside the room (see below).
Press the button and return: Head back to the door the button unlocks and go through to the left.
Take the portal: Defeat and loot the Ancient ahead, go through the next door, and use the portal to reach Stage 2.
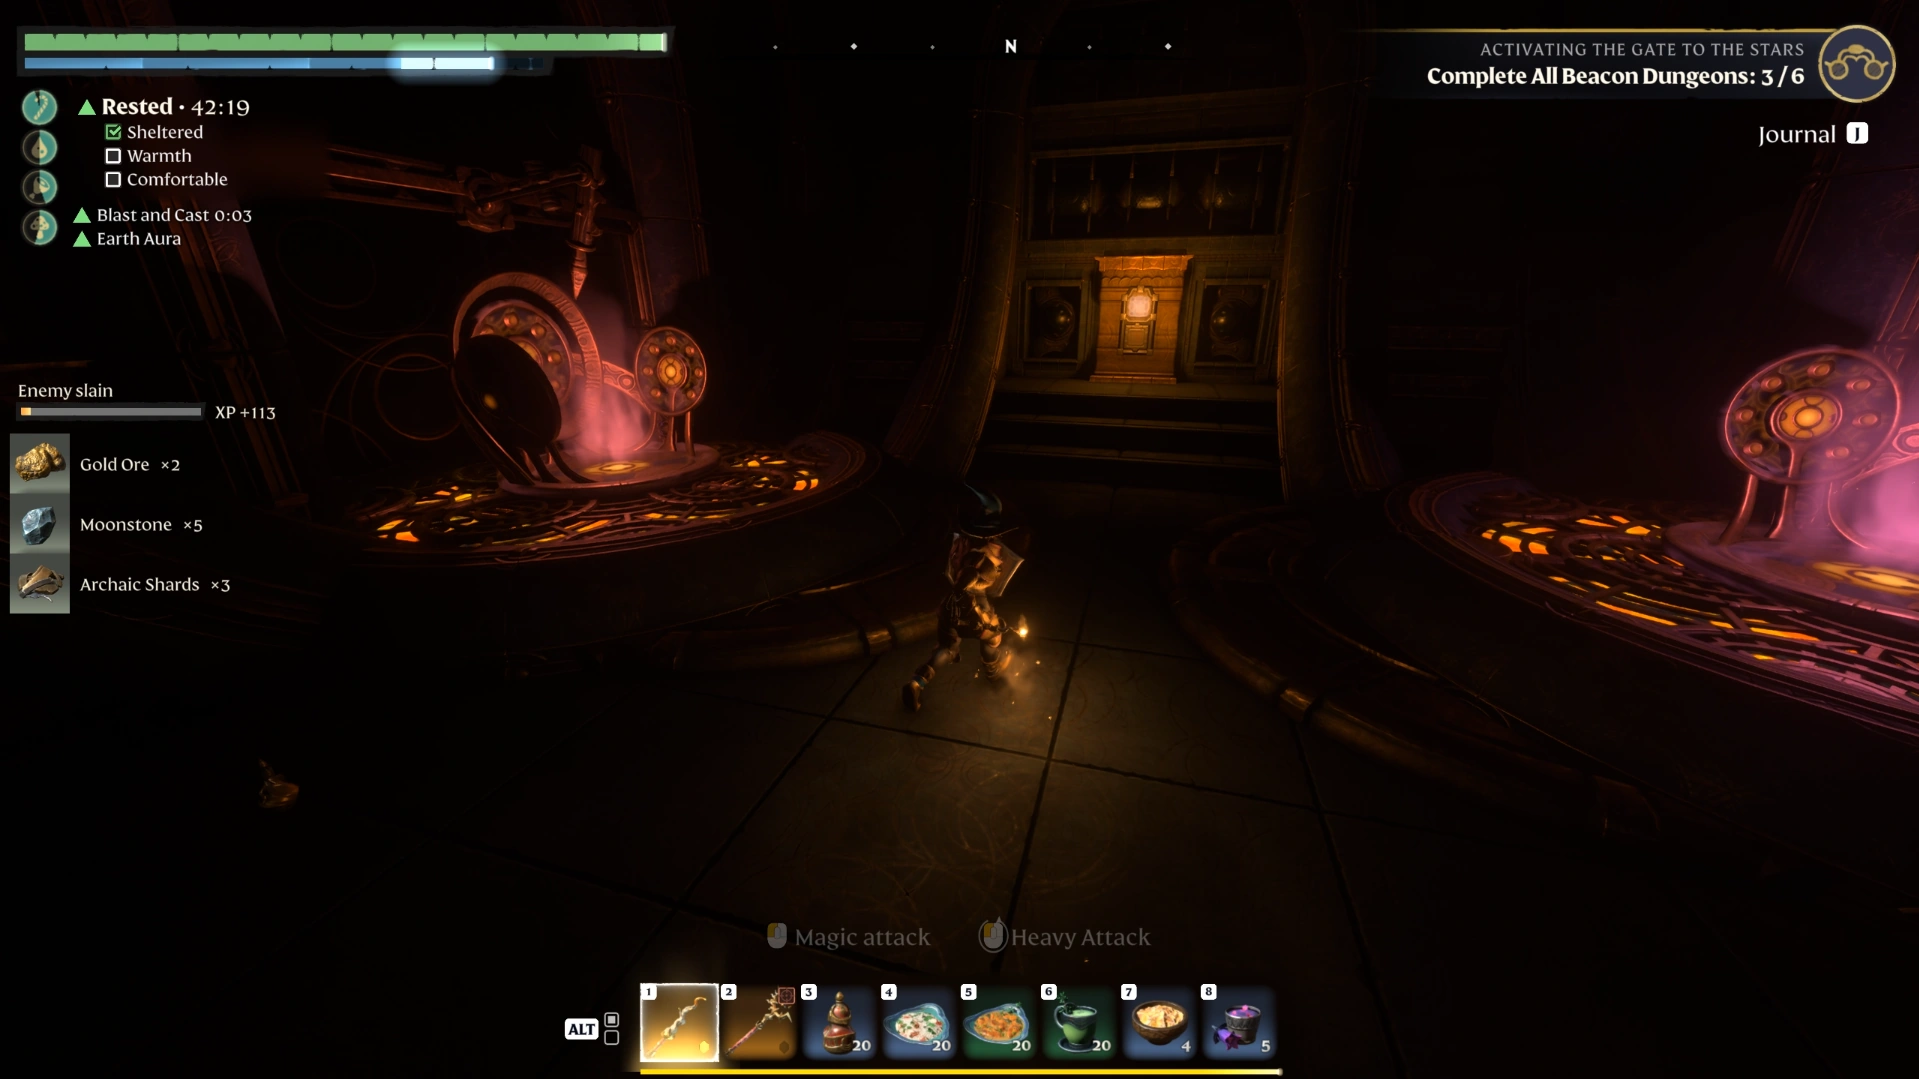
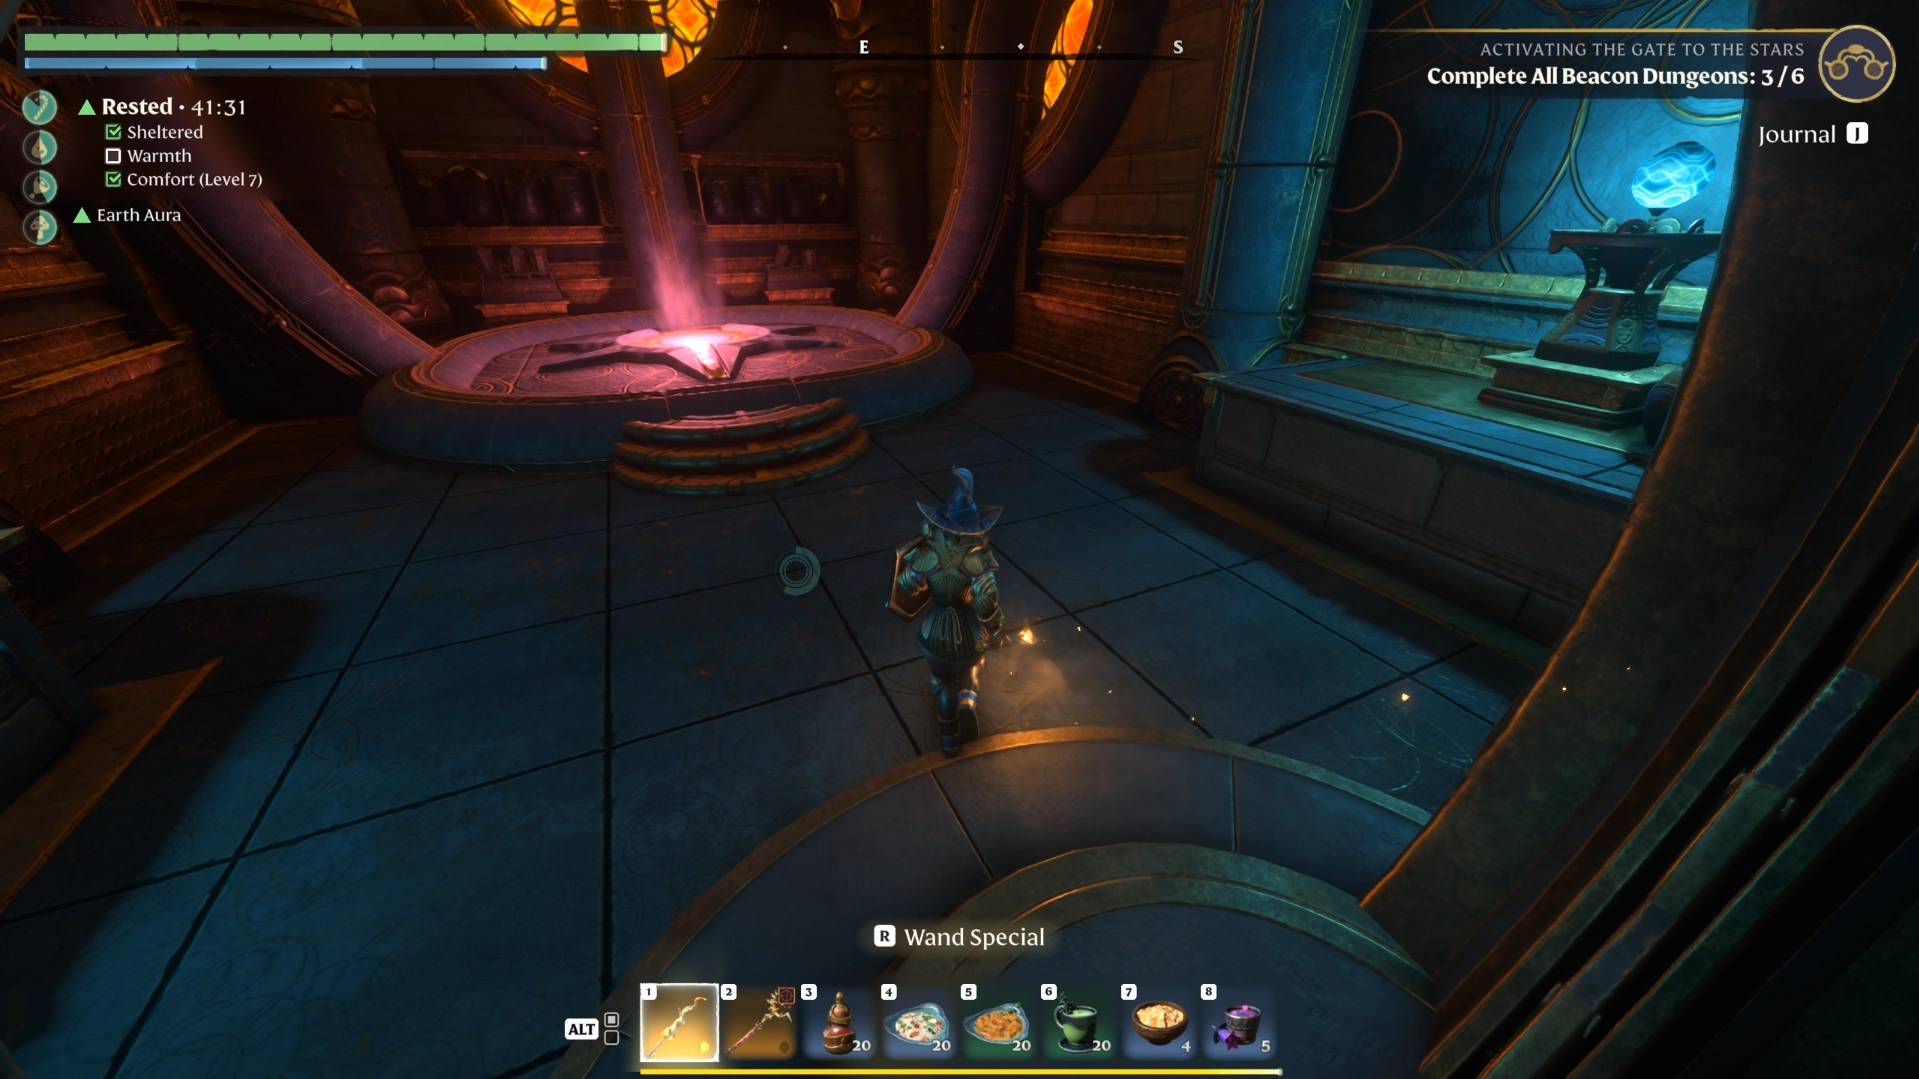
Handling the shielded Ancient
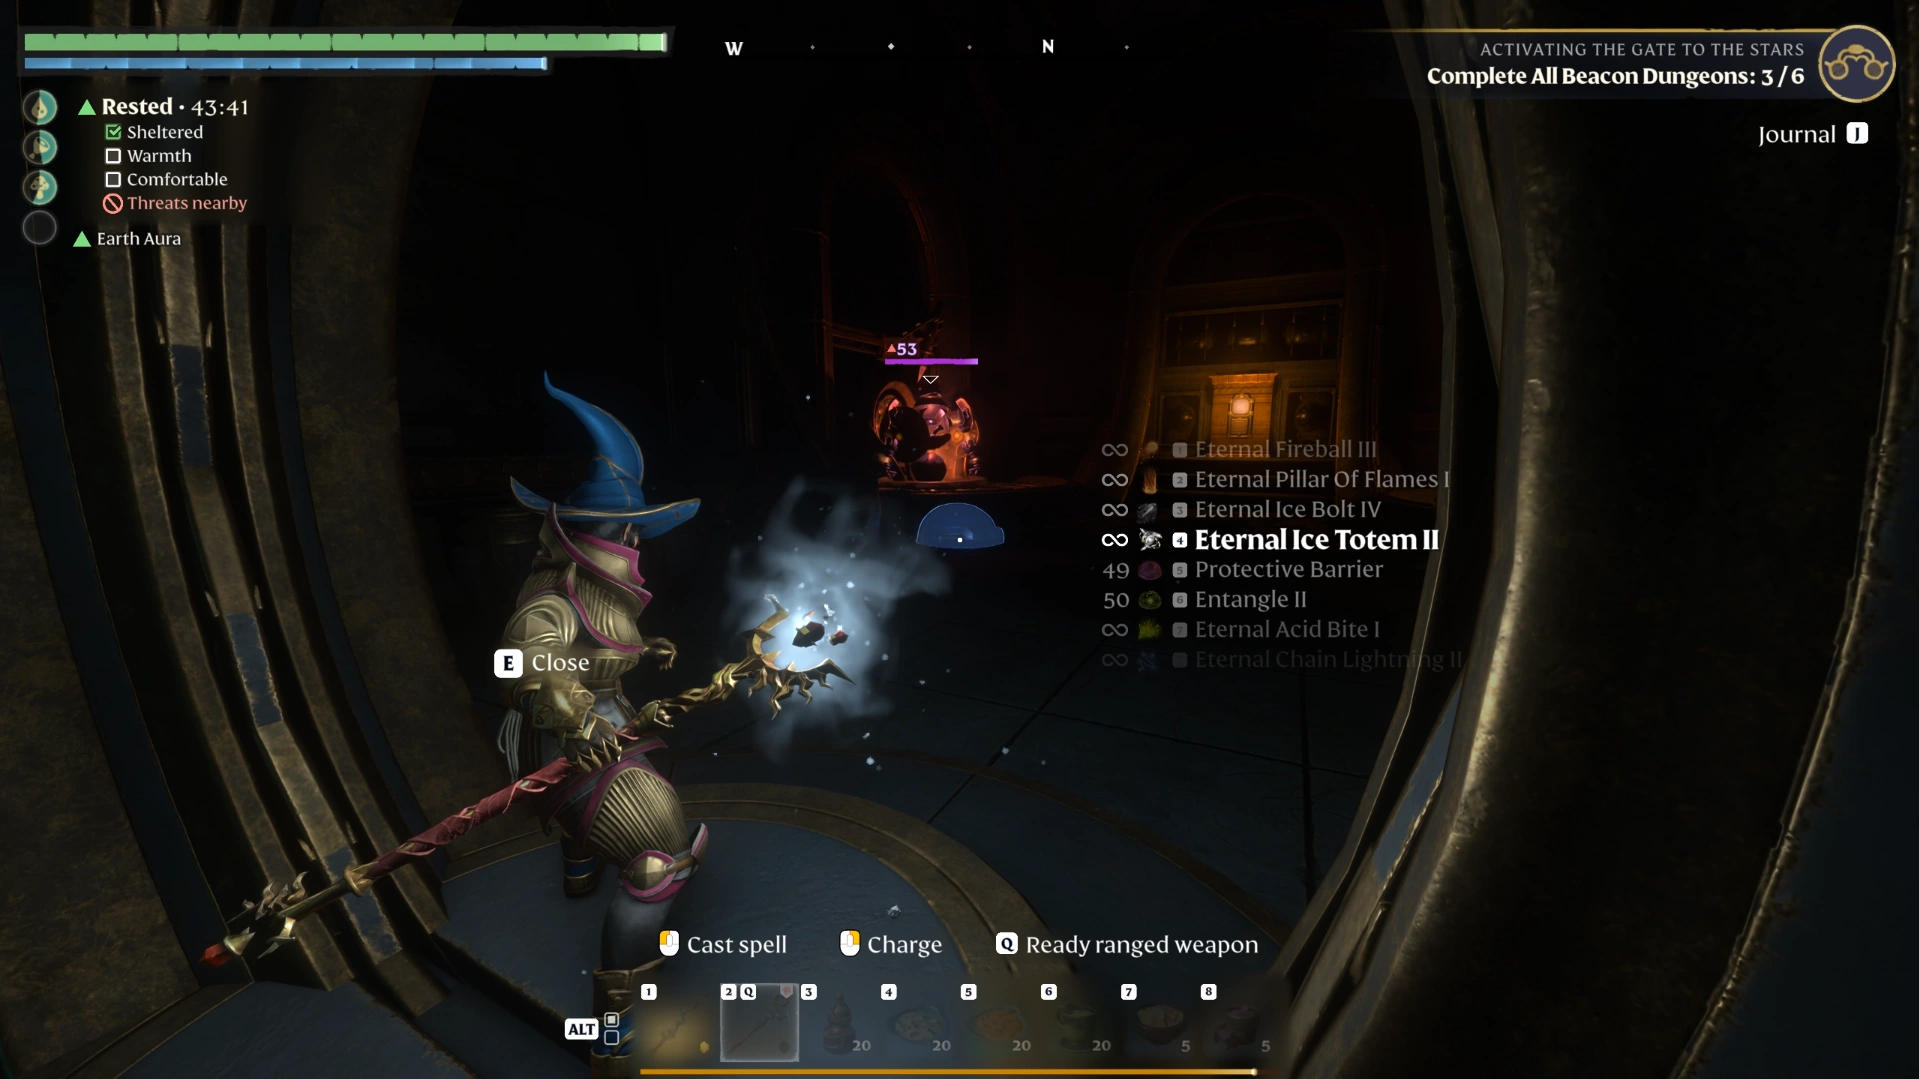
The Ancient on the left places a barrier on its partner, and in our run Ice Bolt and the Frost Totem were among the only ways to damage it through that barrier. If your build lacks Frost, the 1.0 combat changes announcement confirms new spells were added to the mystic classes.
Keep the Ancient out in the open once you start the fight. If it retreats back into its room, its health resets to full.
Hypothetical example: If you are running a melee build with no Frost spells, press the button, run back to the door, and close it behind you. Both Ancients stay trapped inside, so you can carry on to the door the button unlocked.
Stage 2: Shutting off all Four Alarms
Stage 2 is a large Shroud-filled hall with four alarm rooms, two on each upper level, and each alarm needs a Spark to switch off. You collect Sparks from pickups and bodies around the hall, clear the Ancients in each room, then grab the Shroud Root on the lower floor.
When you arrive, the Ancients and Fell on the lower floor are already fighting each other. Leave them alone so they thin each other out, and watch your Shroud timer from the moment you enter.
Alarm | Room | How to reach it | Spark source we used | Watch out for |
|---|---|---|---|---|
1 | First upper level, first room | Stairs from the entrance to the top | Carried in | Shielded Ancient |
2 | First upper level, second room | Run, jump, glide, and grapple from the right side | Right side of the lower Shroud floor, plus a loot spot on the right near the stairs | Ancient scorpions |
3 | Second upper level, left room | Side path left of the stairs, then grapple across | Second Spark from the pair collected for alarm 2 | Breakable first grate |
4 | Second upper level, right room | Cross back, go left, then jump and grapple up | Dead body to the left after crossing back | Group of Ancients |
First pair of alarms
Climb to the top level: Head straight to the next room and up the stairs to the top, where two alarm rooms sit.
Clear the first room: Defeat the Ancients, using Ice Bolt on the shielded one. Loot the silver chest in the corner.
Switch off alarm 1: Use a Spark at the alarm.
Collect a Spark below: Return to the lower Shroud floor, then clear the surviving Fell and destroy the Fell spawner yourself, since baiting enemies into each other did not work in our run. The Spark sits on the right side of this area.
Grab a second Spark: Head back and loot the spot on the right side for another Spark.
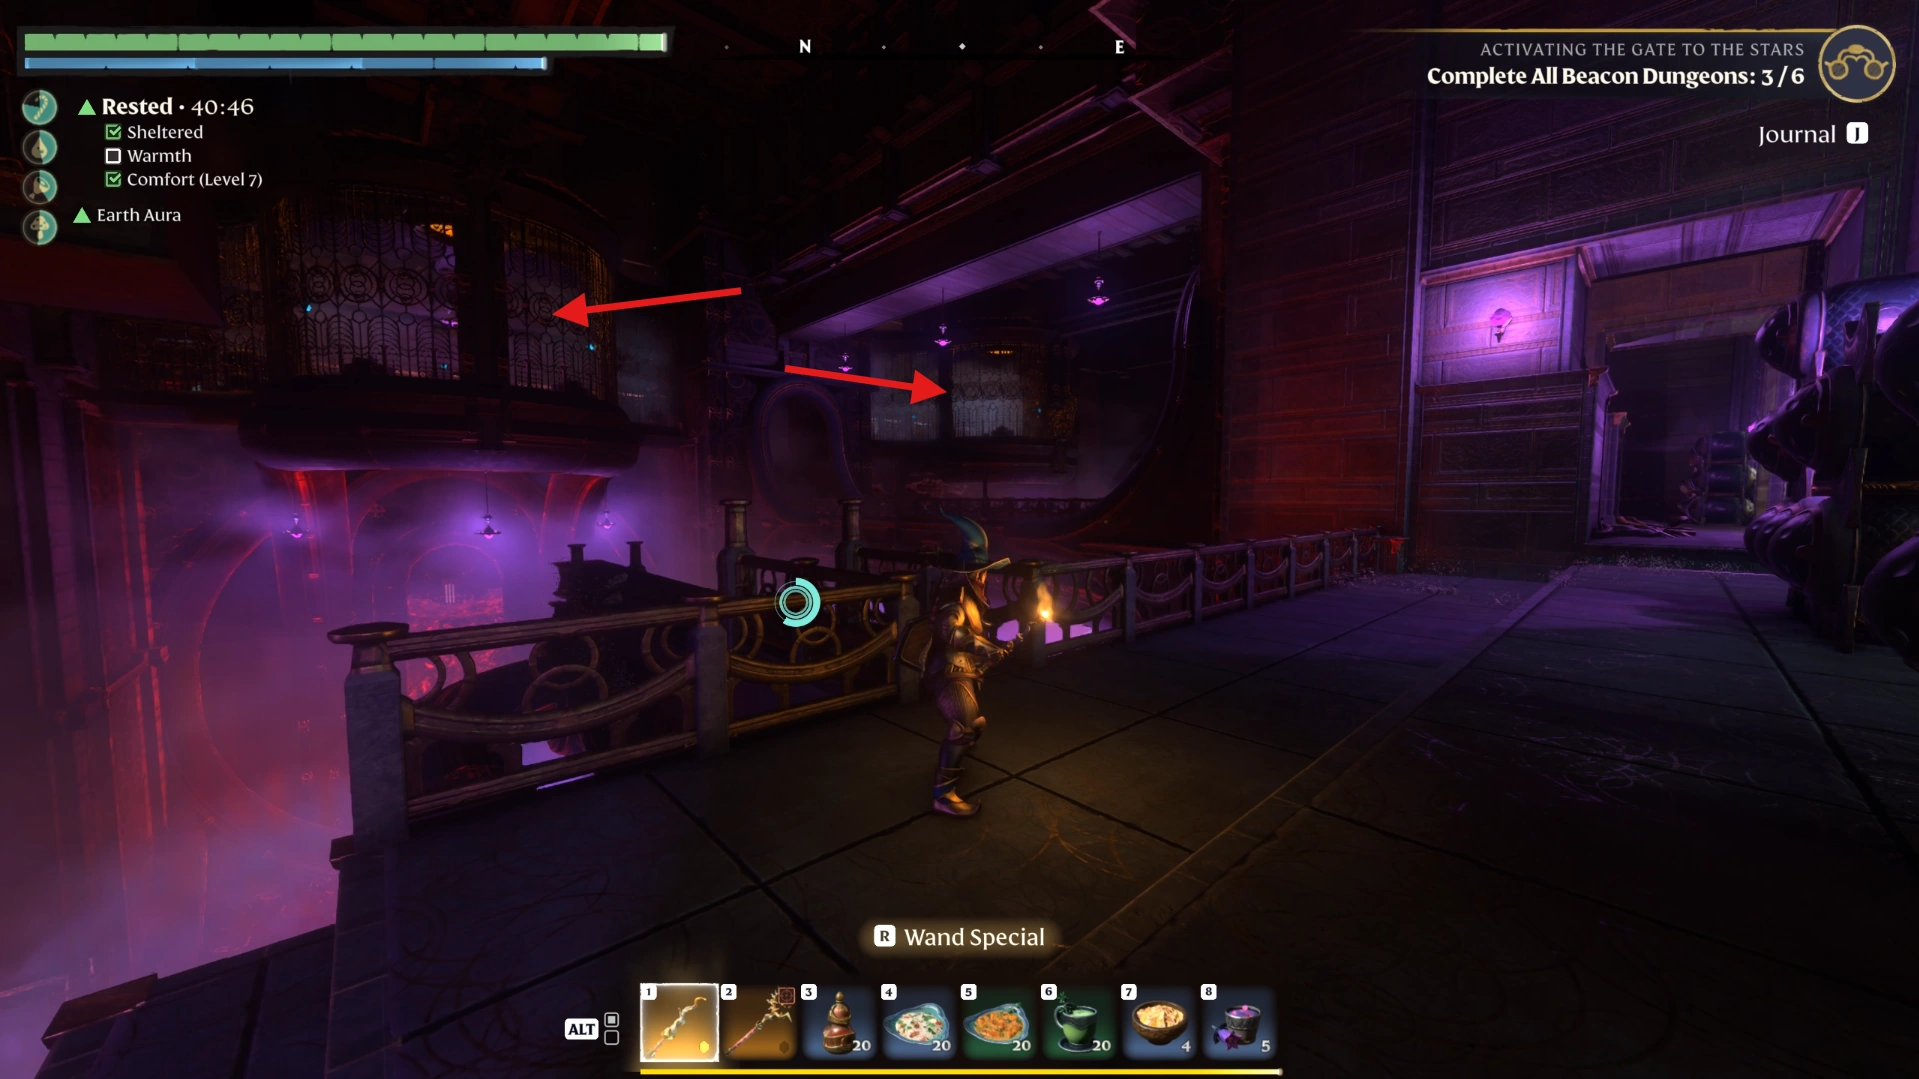
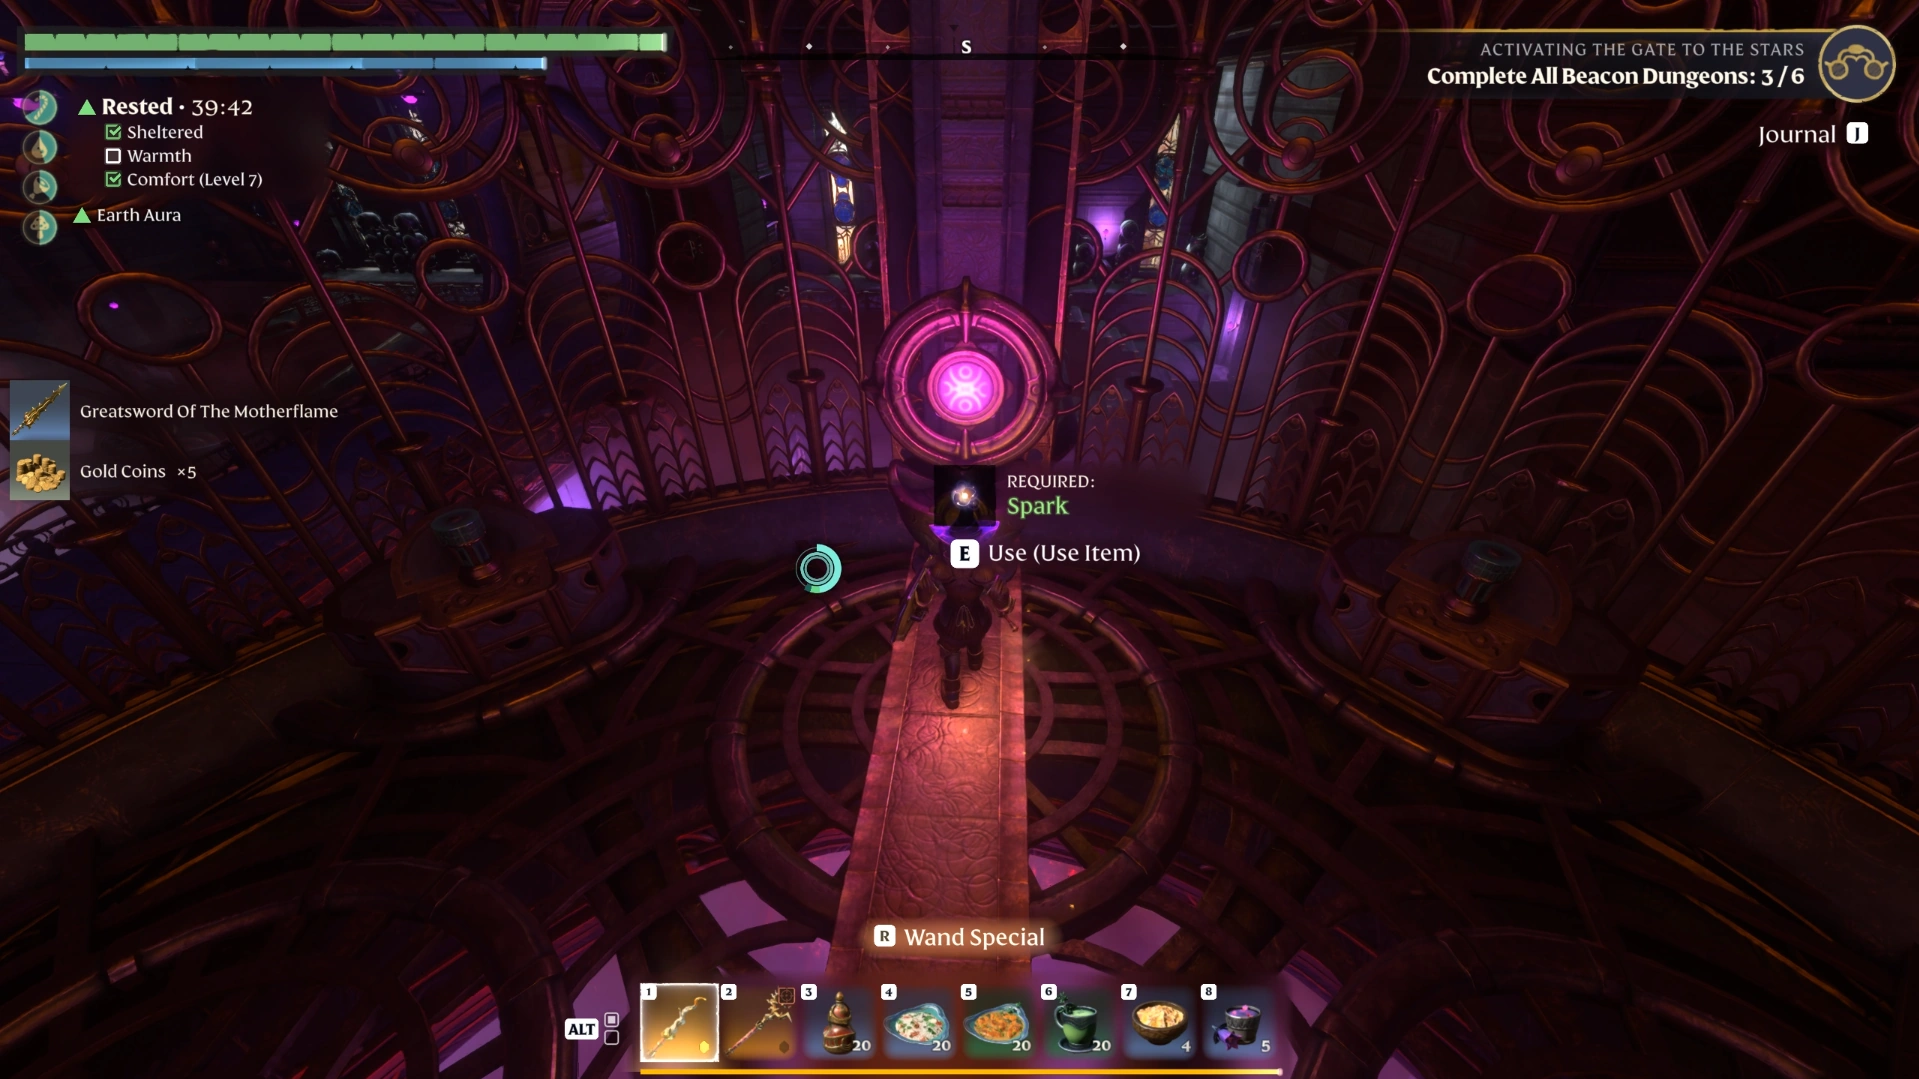
Switch off alarm 2: Run, jump, glide, and grapple up to the second room. Clear the Ancient scorpions and use a Spark on the alarm.
In our run, the Ancient on the left of room 2 was stuck out of position and never engaged. If it is active in your world, clear it before you use the Spark.
Shroud Root on the lower floor
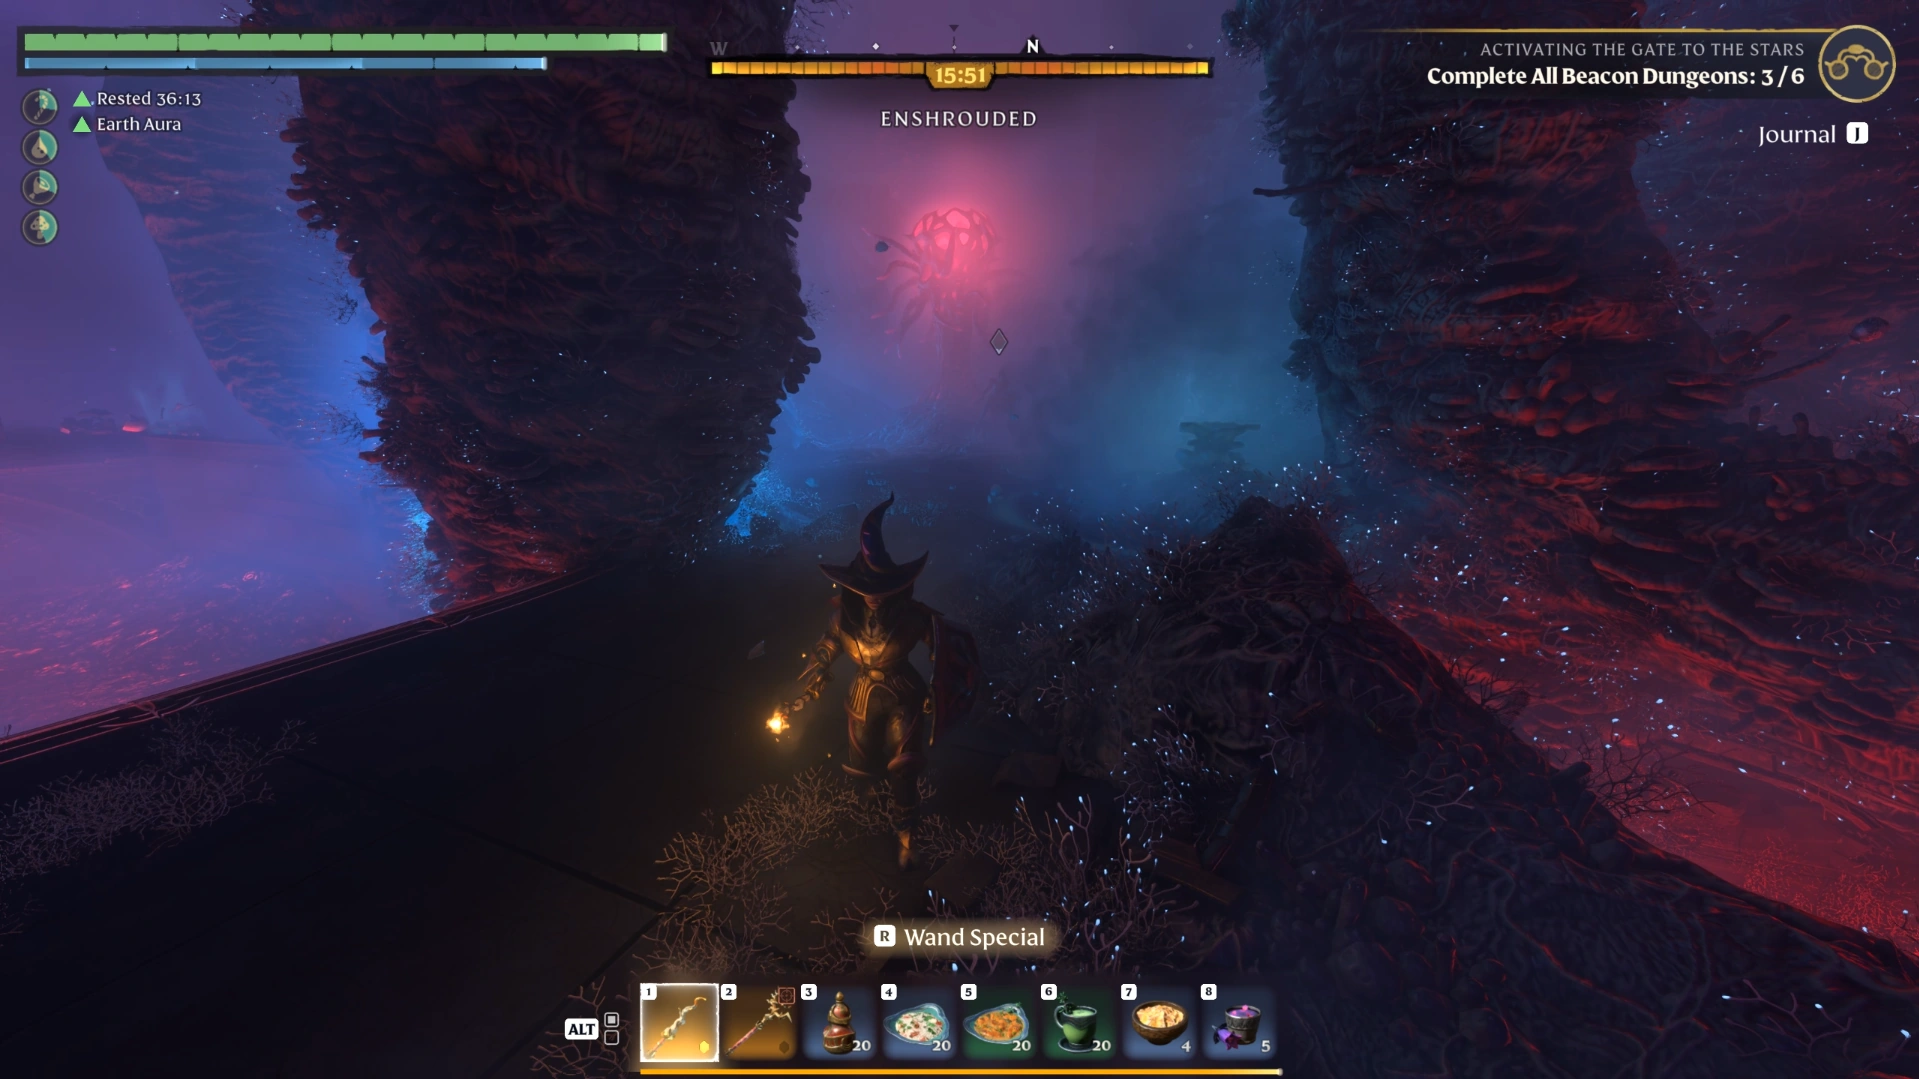
Head down the stairs to the bottom, defeat the Fell guarding the Shroud Root, and chop it down for a skill point. Then head back toward the stairs for the second pair of alarms.
Second pair of alarms
Take the side path: Head back toward the stairs, but turn left before them and follow the small path up the next set of stairs.
Cross to the left room: Defeat the Ancient on the left, loot it, and grapple across. You can grapple to the right room first if you prefer.
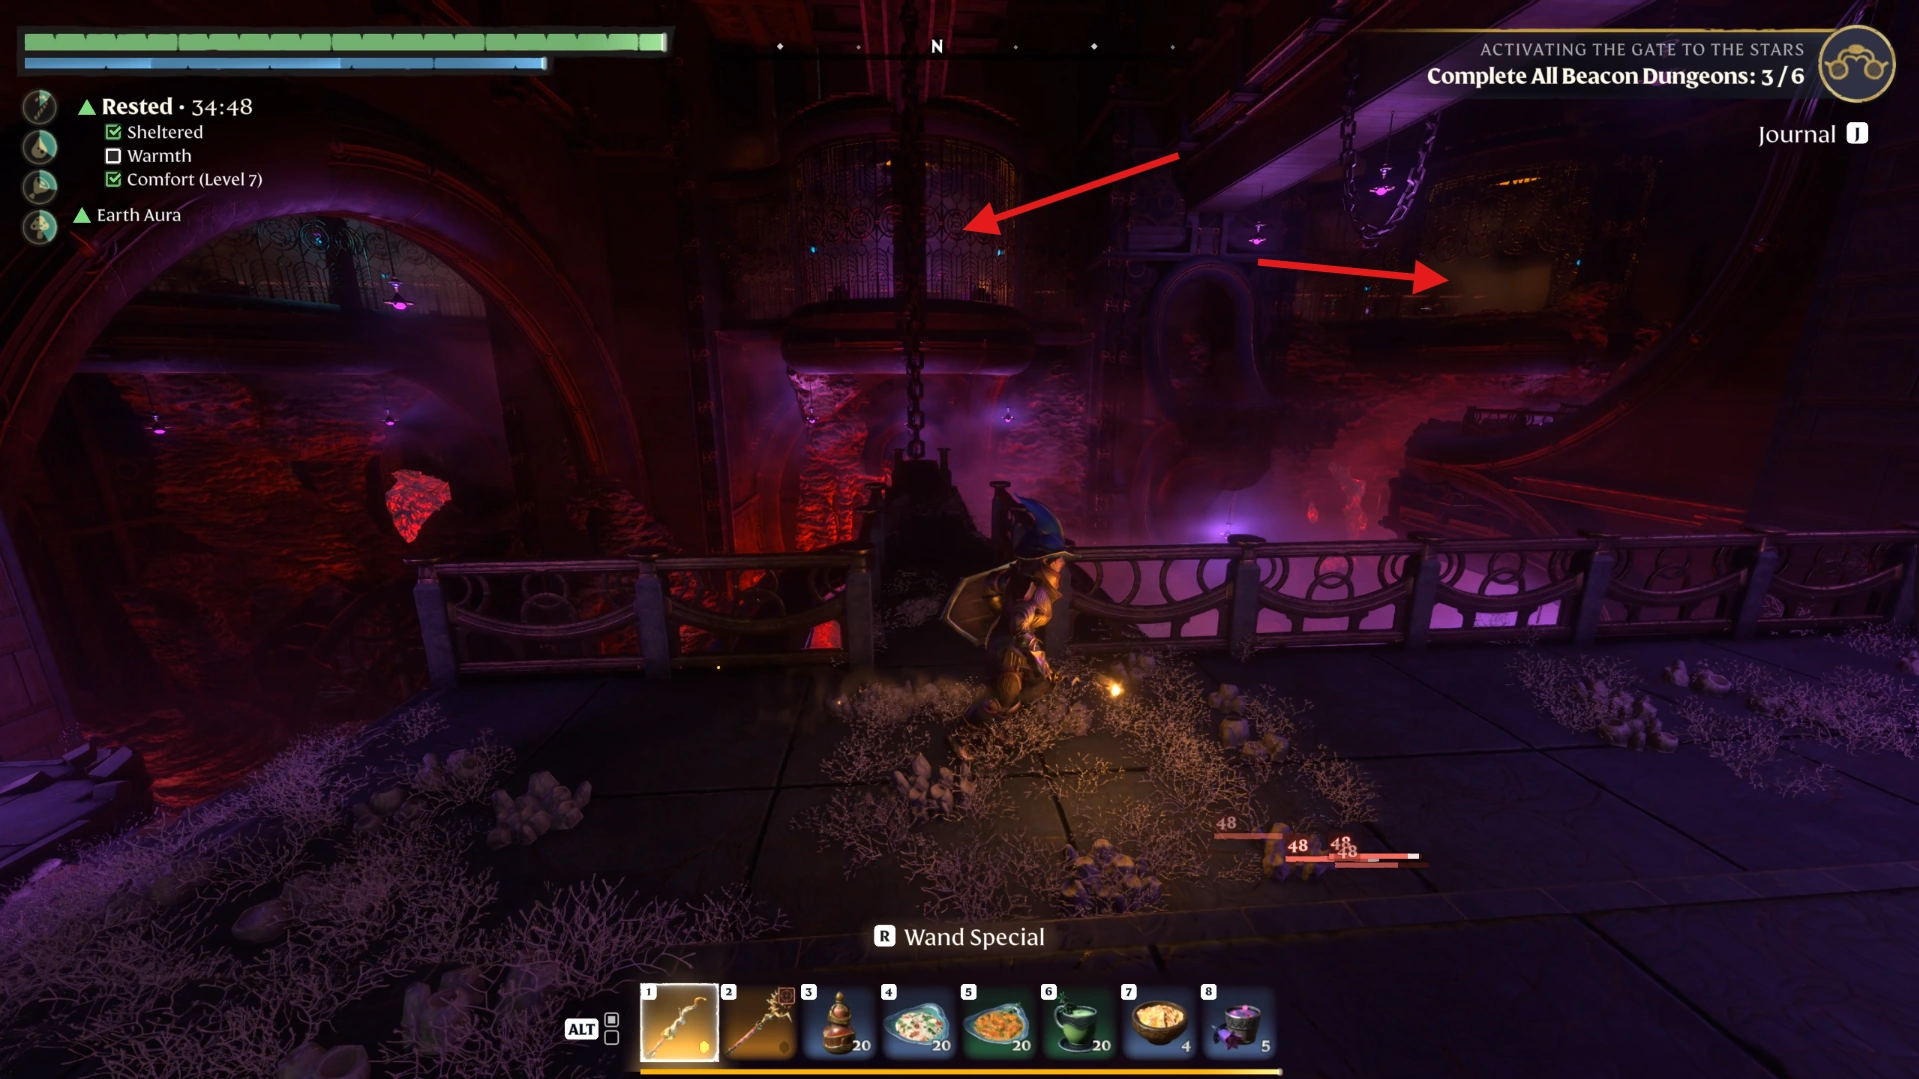
Watch the first grate: Clear the Ancient and scorpions carefully, since the first grate breaks and drops you to the bottom. If it does, climb all the way back up.
Switch off alarm 3: Loot the Ancient in the middle, grab the lore note, and use a Spark on the alarm.
Pick up the last Spark: Cross back, go left, and loot the dead body for another Spark.
Switch off alarm 4: Jump across, grapple up to the fourth room, clear the Ancients, and shut off the final alarm.
Opening the Beacon Door and Lighting the Beacon
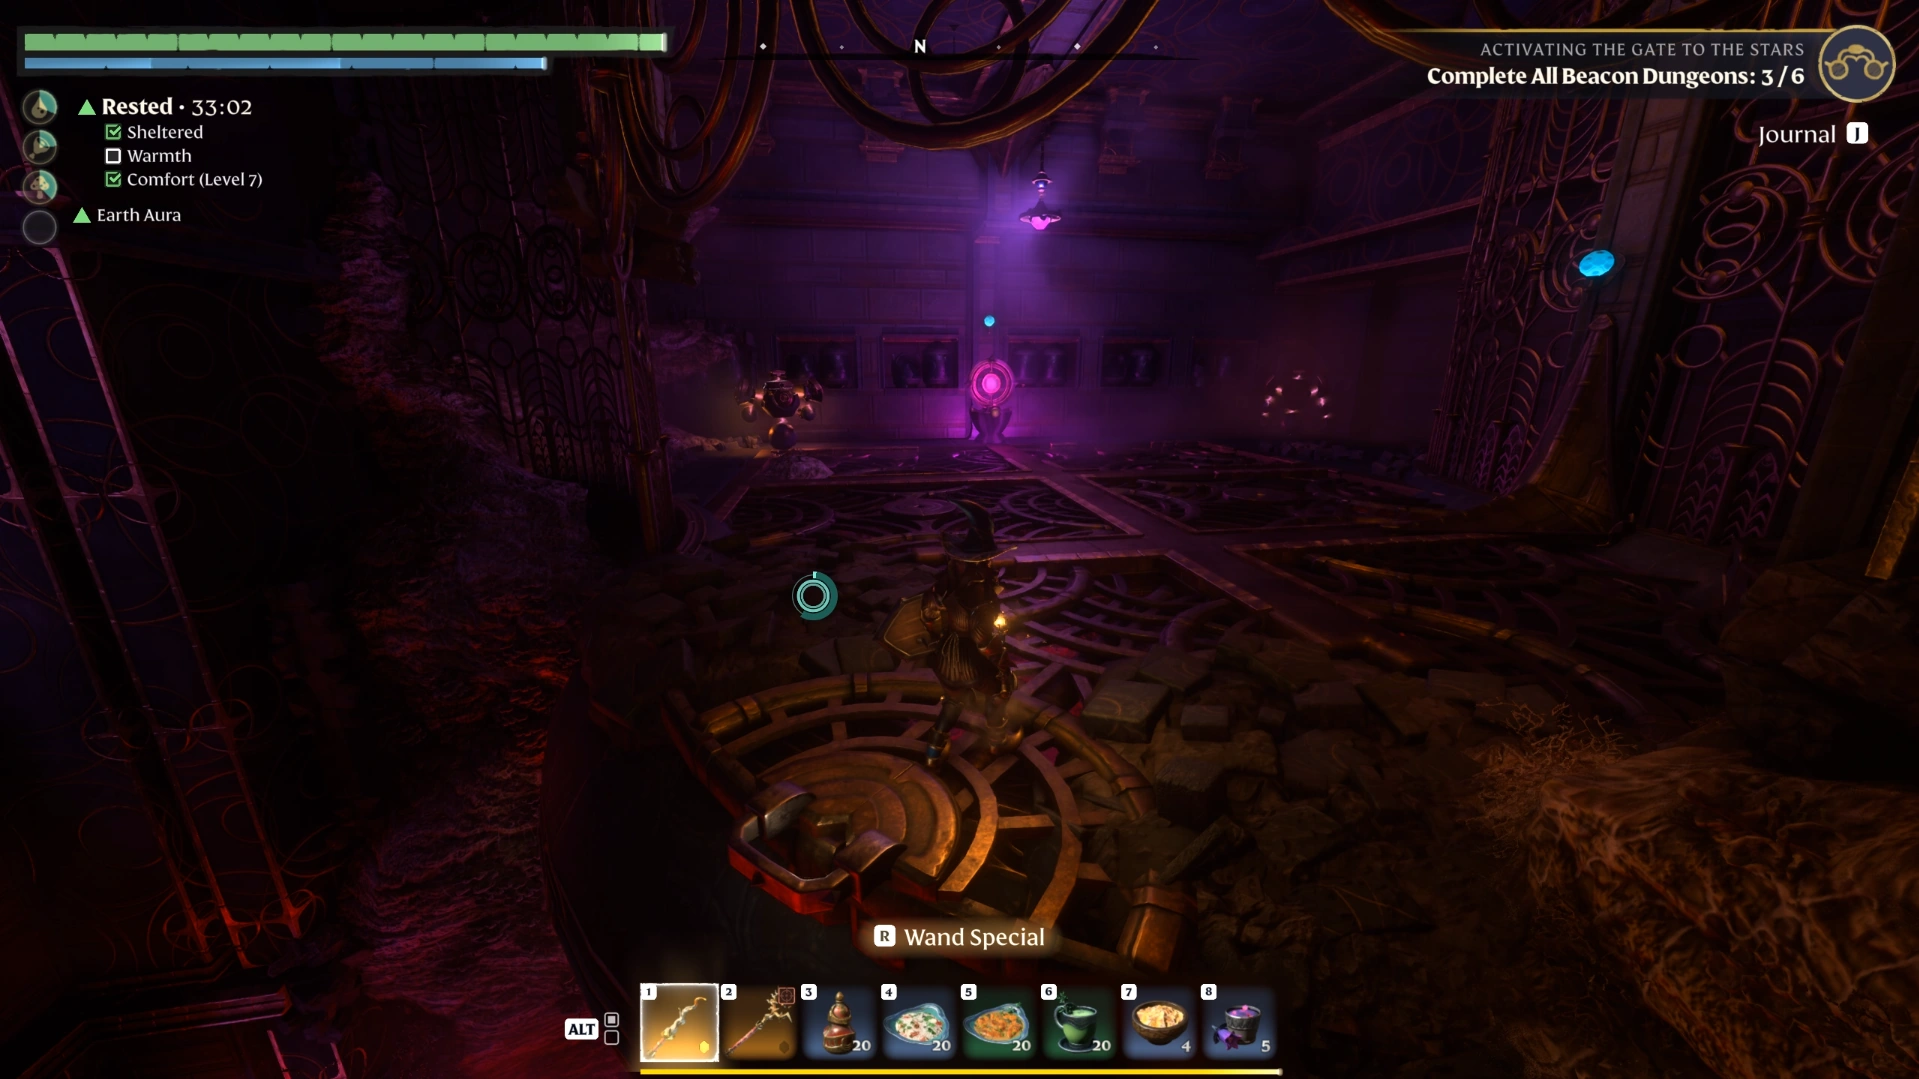
With all four alarms off, glide back to the stairs, descend into the Shroud, and clear the Fell and their spawner again. Cross the bridge to the left, then press a button past the beacon-side room to unlock a silver chest before teleporting up to light the beacon.
Glide to the stairs: Jump off from room 4 and glide to the stairs, then head down into the Shroud.
Clear the lower floor again: The Fell and Ancients fight here a second time. Defeat the remaining Fell and destroy the spawner before moving on.
Cross the bridge to the left: Use the platform to dodge the spikes and grab the lore note on the table.
Enter the beacon-side room: The right-hand room is locked behind a button, while the left room leads toward the beacon. Dodge the spike traps and clear the Ancients and scorpions, which kept arriving in small waves in our run.
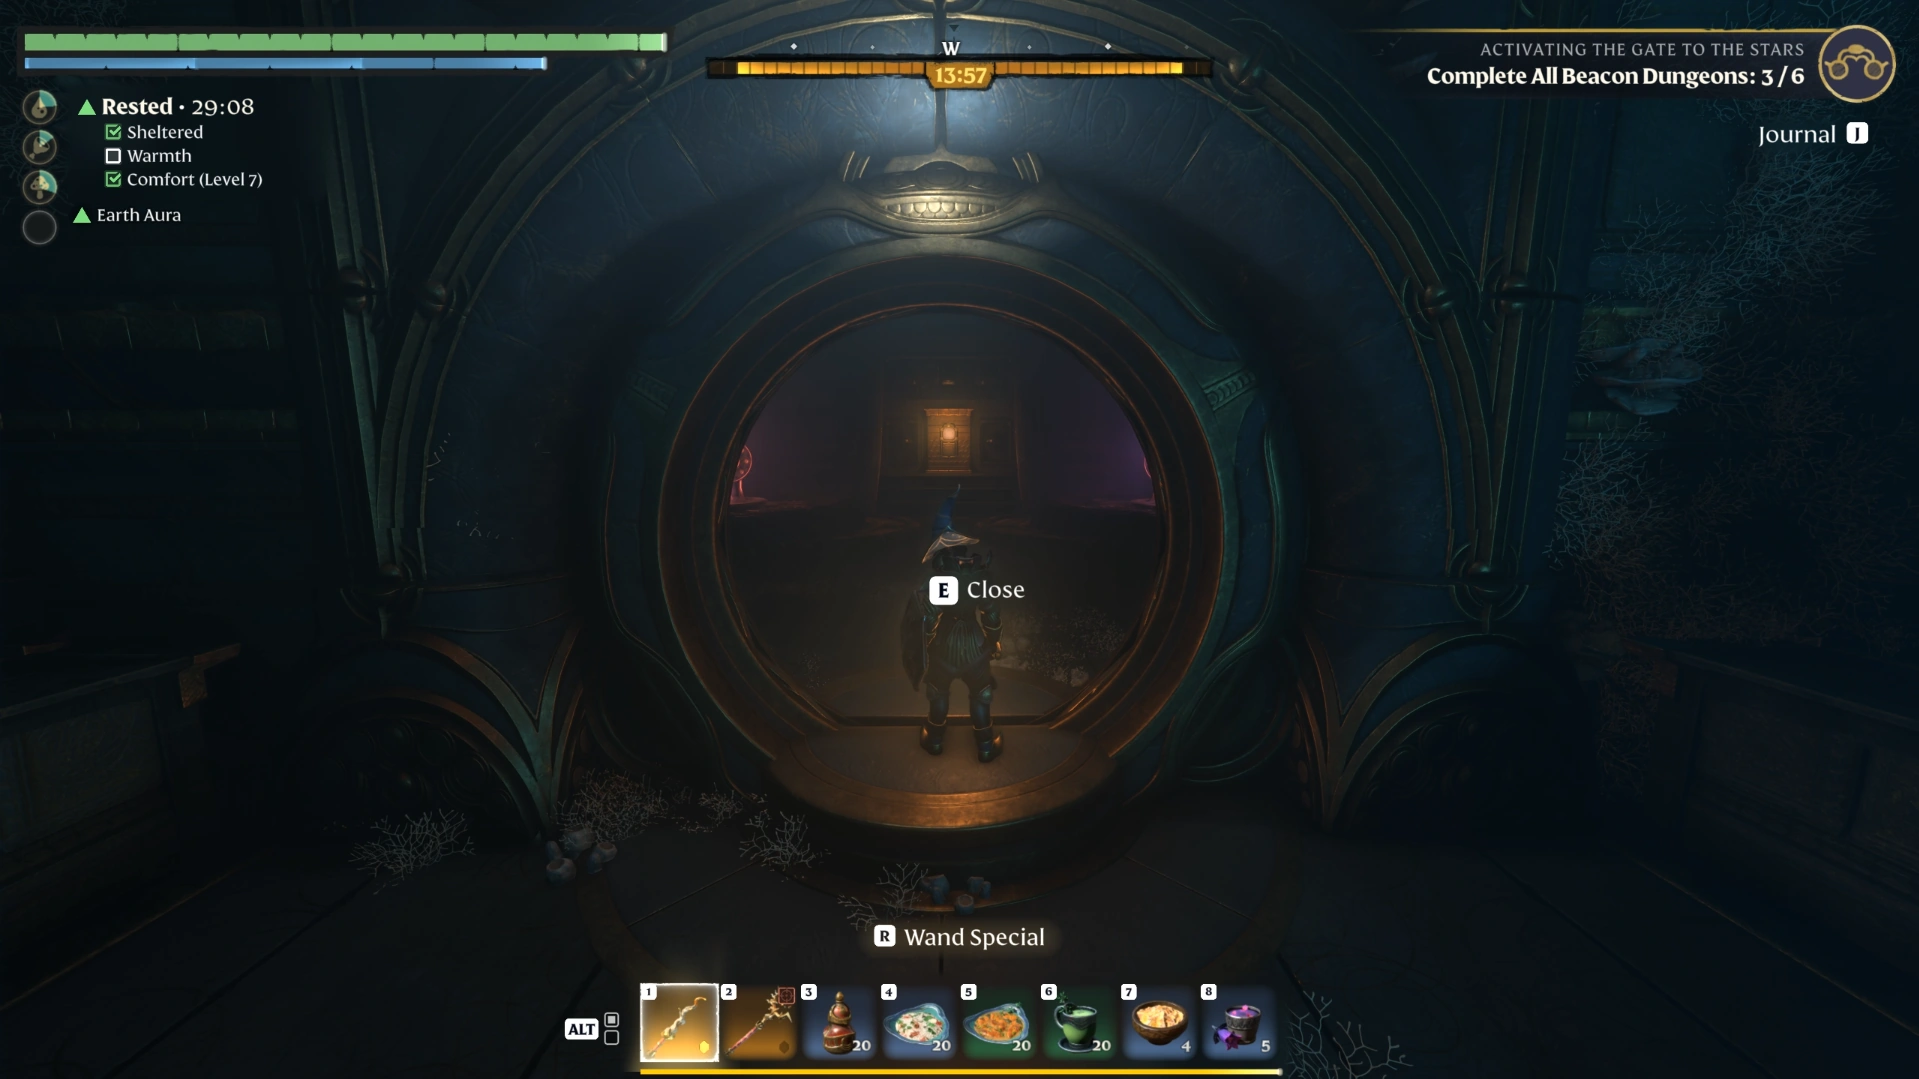
Press the button: Go through the door to the button, press it, then run back and close the door so the Ancients do not follow.
Loot the silver chest: Open the now-unlocked right-hand room and loot the chest inside.
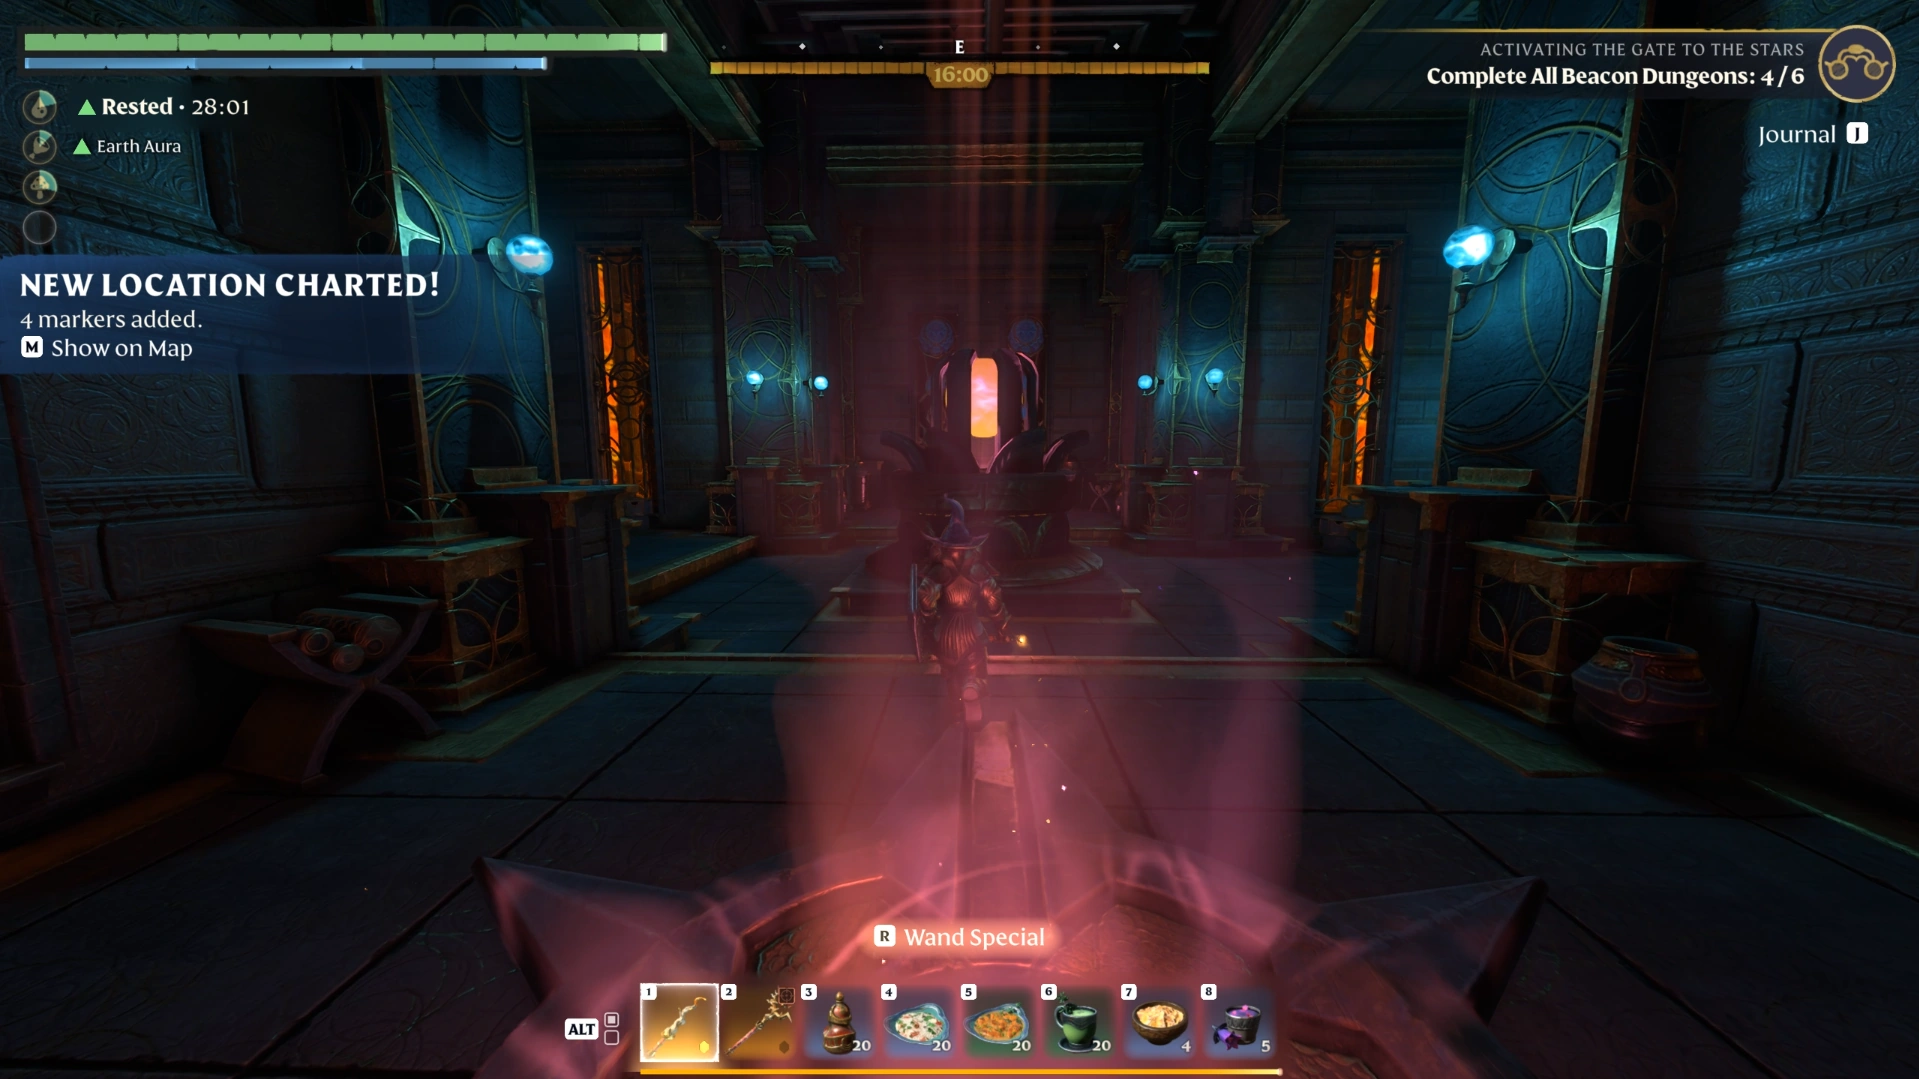
Teleport to the beacon: Take the teleporter up and activate the beacon.
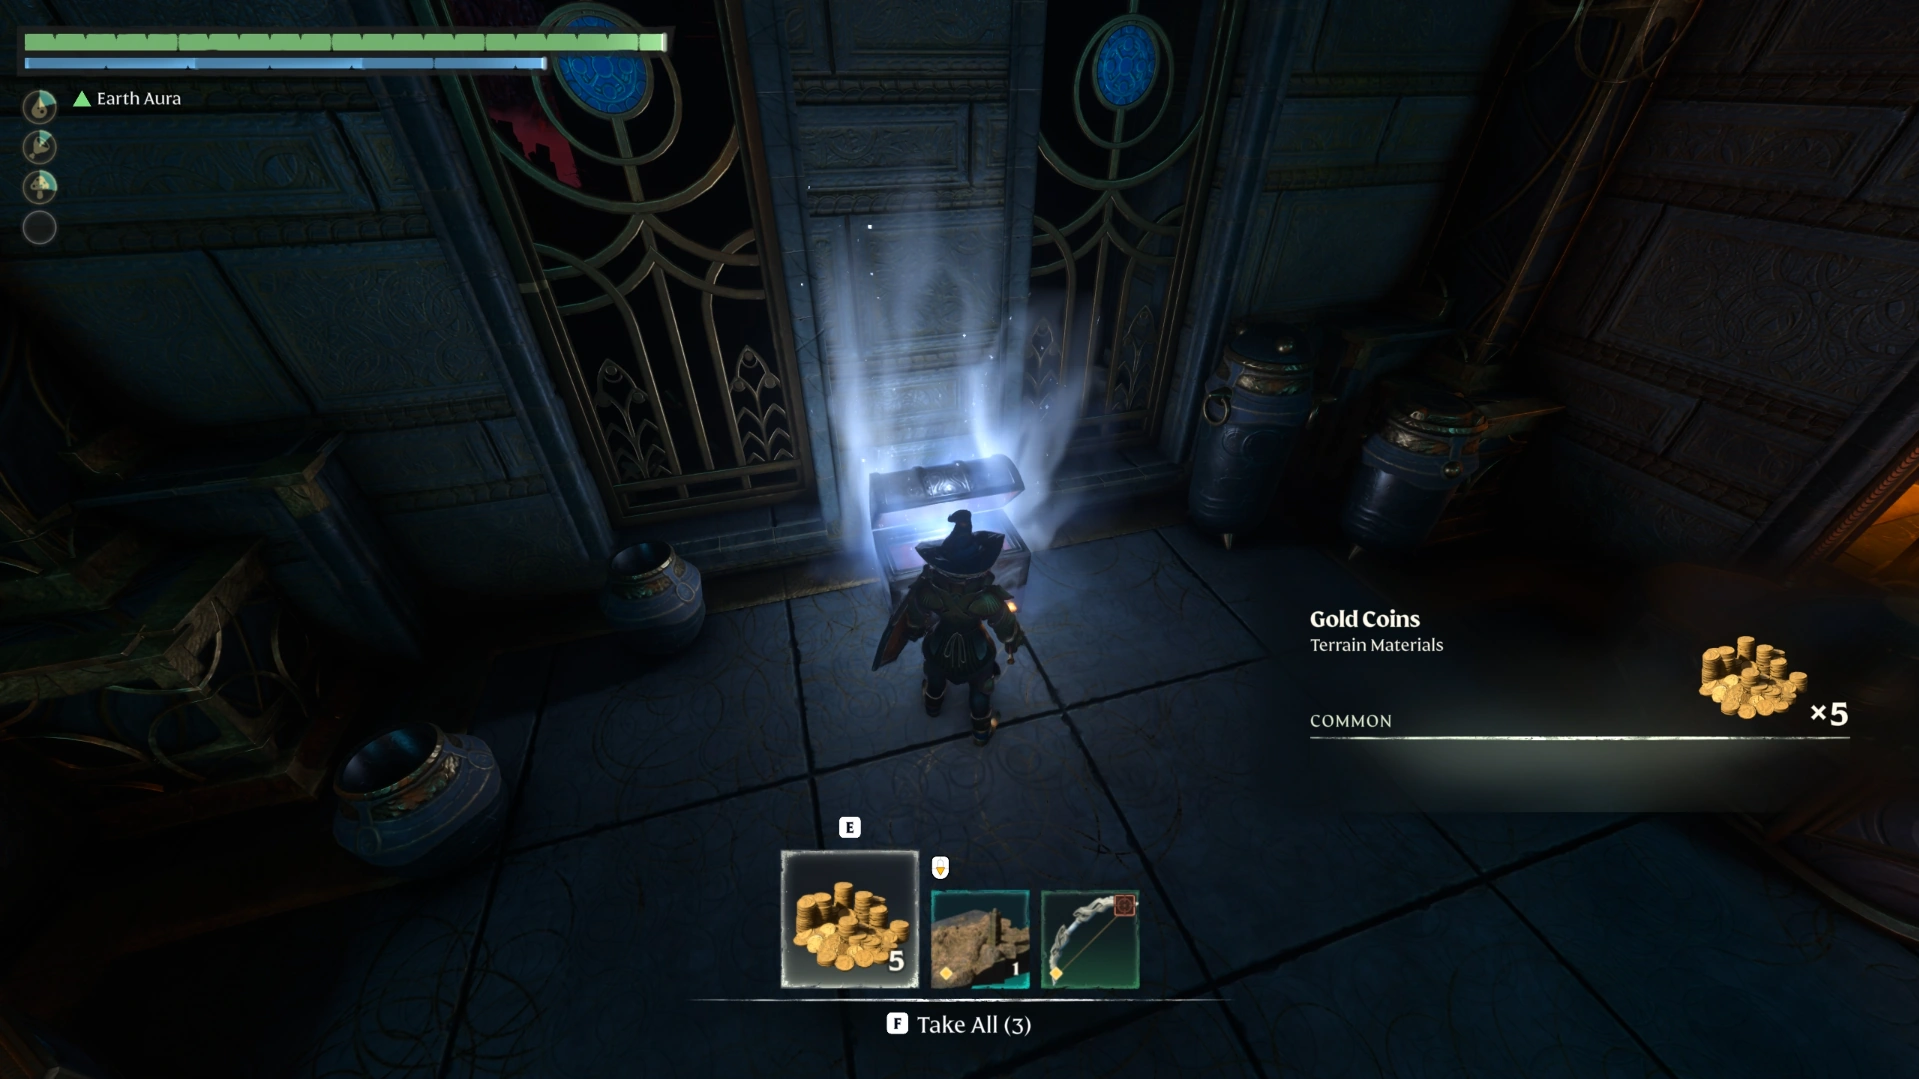
Open the chest by the beacon: Loot the chest to the left of the beacon before you leave.
Kindlewastes Dungeon Rewards
Clearing the Kindlewastes dungeon rewards you with a skill point, a wand, and the Kindlewastes Miniature Piece, alongside lore notes and loot from defeated Ancients. We confirmed each reward below in our own run, and the table shows where each one sits so you can collect them in one pass.
Reward | Where you get it | Stage |
|---|---|---|
Silver chest loot | Corner of alarm room 1 (nothing notable in our run) | Stage 2 |
Skill point | Shroud Root on the lower Shroud floor | Stage 2 |
Wand (name TBC) | Silver chest in the button-locked room | Beacon area |
Kindlewastes Miniature Piece | Chest to the left of the beacon | Beacon area |
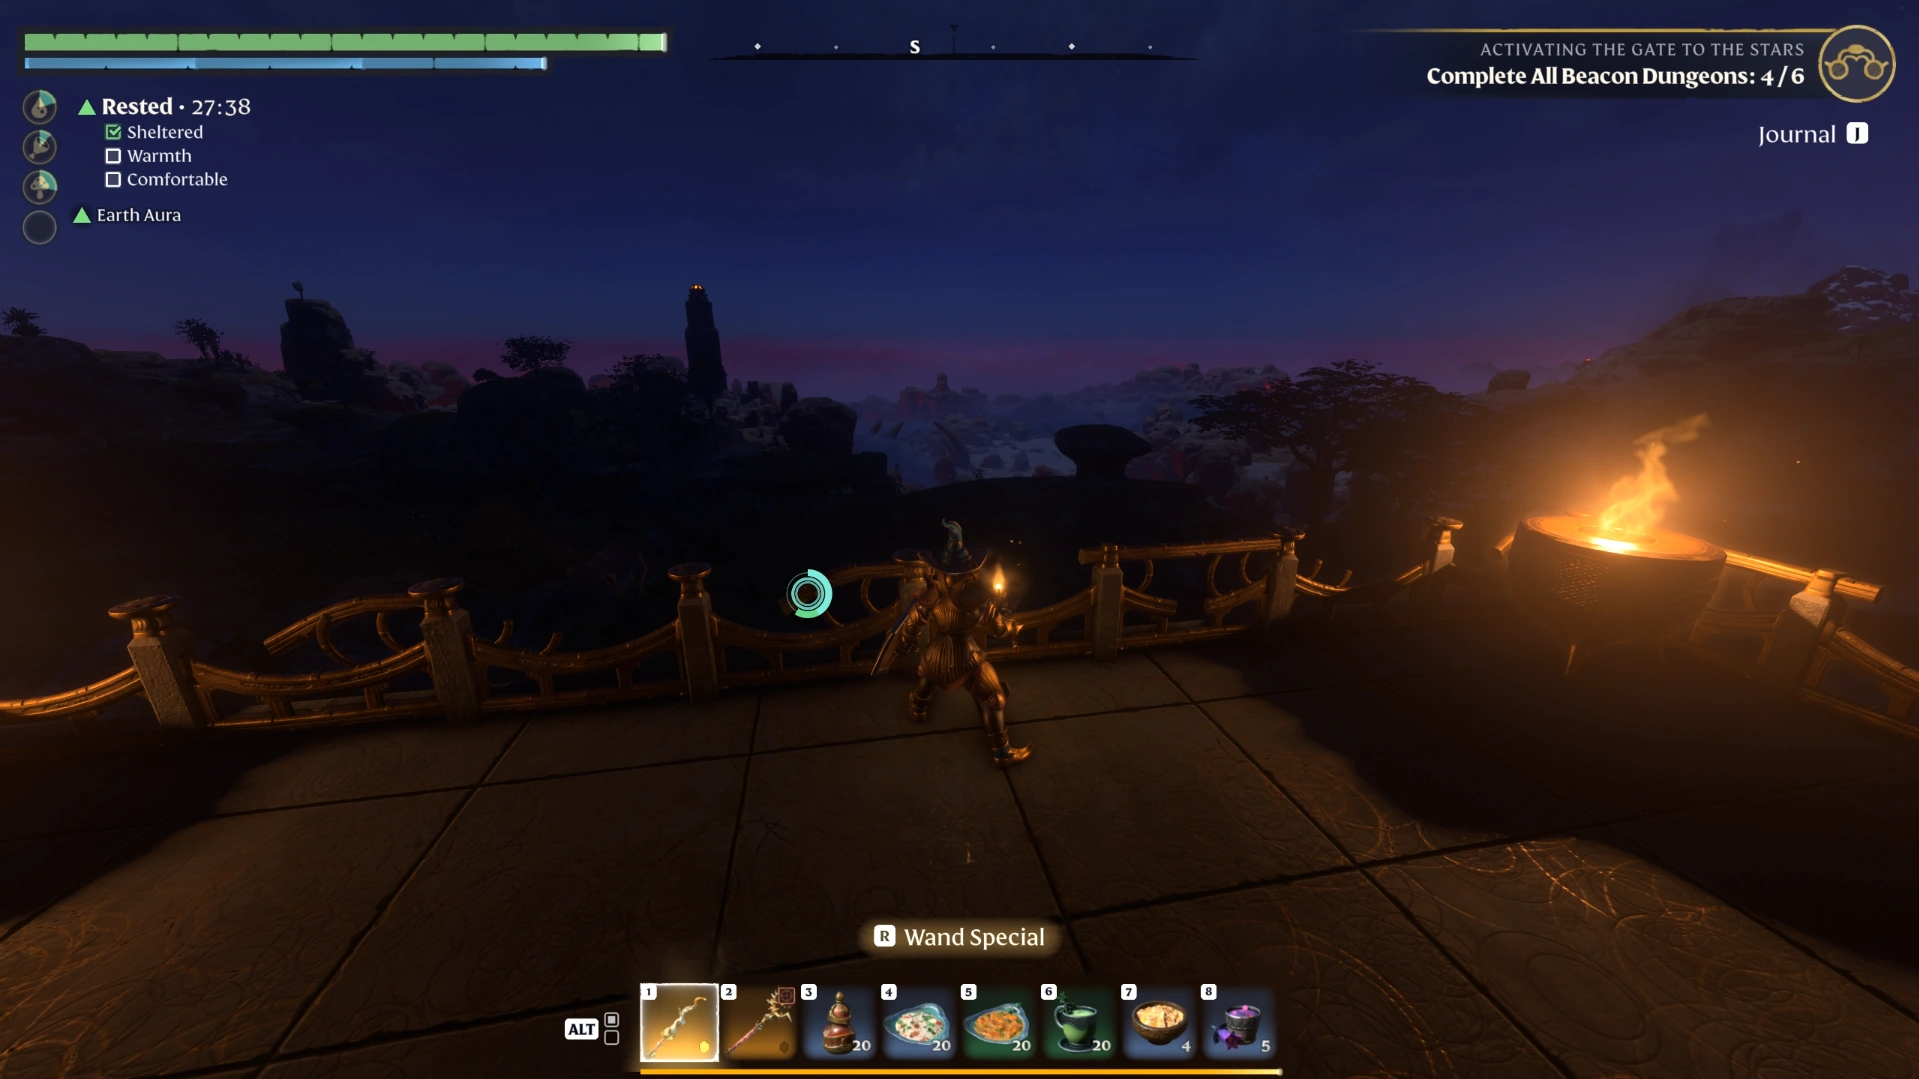
Before you leave, walk to the edge at the top of the dungeon for a view out over the area.
Additional reading: Enshrouded Database
One Beacon Closer to the Stars
With the Kindlewastes beacon lit, take the same approach into the remaining beacon dungeons: clear spawners first, let factions fight, and collect your Sparks before each alarm. Spend the skill point from the Shroud Root, fast travel back to base to restock, then set off for the next beacon on your list.
FAQs
Can you do the Kindlewastes dungeon in Enshrouded co-op?
Yes, you can clear the Kindlewastes dungeon in co-op, since the official Steam store page lists Enshrouded co-op for up to 16 players. In a group, one player can collect Sparks on the Shroud floor while another clears the upper alarm rooms, though each player has their own Shroud timer.
How many Flame Altars can you place in Enshrouded 1.0?
You can place up to 16 Flame Altars in one Enshrouded world after unlocking Flame level 11, according to the 1.0 changelog from October 2026. The same changelog states that Flame Altars push back the Shroud, so an altar near the Kindlewastes dungeon can cut Shroud exposure on return trips.
Why did Enshrouded 1.0 reset my skill tree?
Enshrouded resets your skill tree the first time you load an existing save in version 1.0.0.0, as confirmed in the official 1.0 changelog. Your skill points are refunded rather than lost, so reopen the skill tree and reassign them, including the skill point from the Kindlewastes dungeon Shroud Root.
What is the max level in Enshrouded 1.0?
The max player level in Enshrouded 1.0 is 50, and fully upgraded equipment caps at item level 55, per the official 1.0 changelog. We found no official recommended level for the Kindlewastes dungeon, so compare your gear level to the Ancients on the climb before entering.
Which Enshrouded world settings help with dungeons like the Kindlewastes?
Two Enshrouded 1.0 world settings can ease progression: updraft charge duration is now configurable, and the required flame level can be lowered to any level, per the official 1.0 changelog. Change these in the world settings before loading in, since the 1.0 hosting menu groups options into simpler selectable modes.