

Activating the Gate to the Stars: Revelwood Dungeon in Enshrouded
To complete the Revelwood dungeon in Enshrouded, press five buttons, cut the alarm with a spark, then aim the telescopes at the sky islands and mountain. Finishing the Revelwood dungeon lights one of the six beacons you need for Activating the Gate to the Stars in Cinder's Cradle.
The team here at MetaForge tested this route in-game on Enshrouded version 1.0, the full release Keen Games launched on October 15, 2026. Here is the full sequence at a glance:
How to Complete the Revelwood Dungeon
Reach the entrance: Follow the road from the altar near the Drak camp, take two left turns, and grapple up the mountain.
Open the first barrier: Dodge the spinning blades, press the button behind the door, and loot the Revelwood Miniature Piece.
Press four buttons: Take the portal, then press two buttons in each of the two side rooms to open the outside doors.
Glide to the second building: Use the updrafts to cross the gap, then deal with the alarm using a spark.
Solve the telescopes: Aim the right telescope at the sky islands and the left telescope at the large mountain.
Light the beacon: Activate the beacon once the barrier opens to bring your Gate to the Stars counter up by one.
Before You Start: What You Need
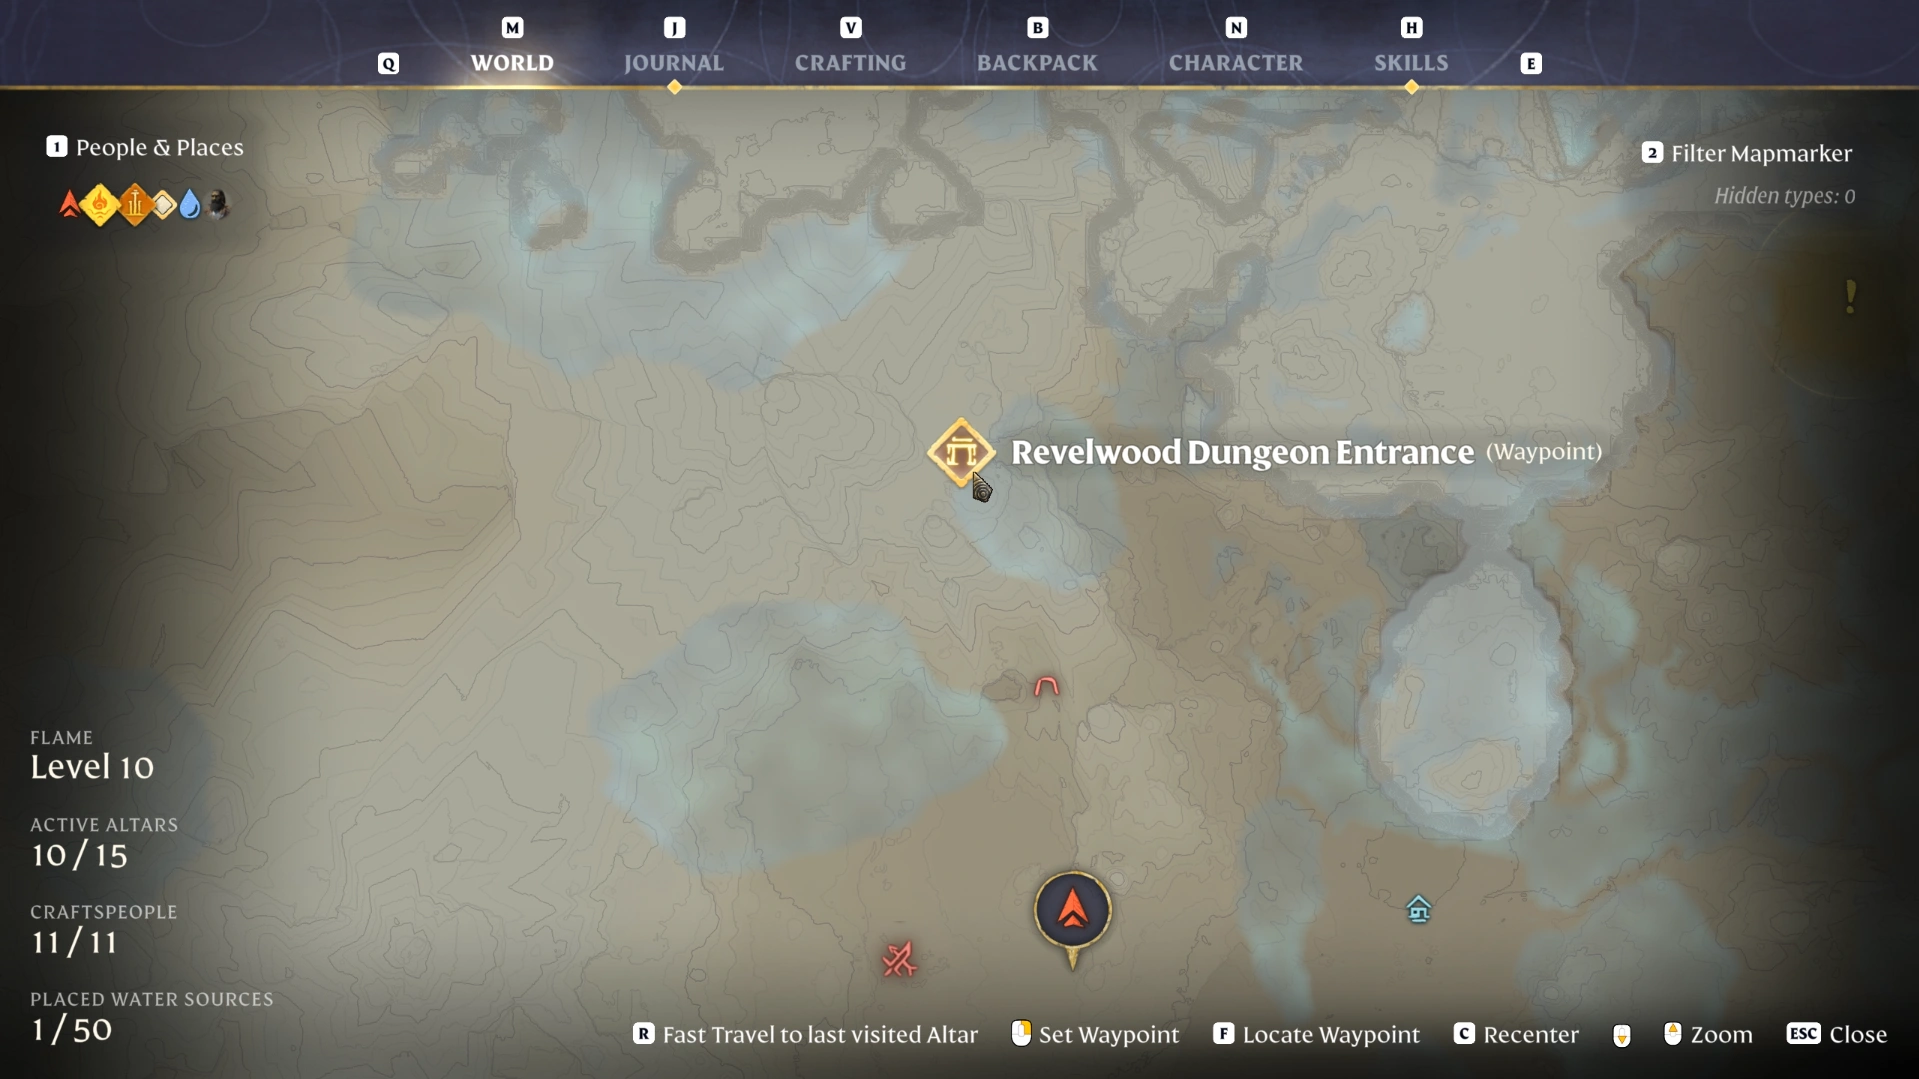
The Revelwood dungeon is part of the Activating the Gate to the Stars quest, and its entrance is marked on your map. Bring the following before you set out:
Grappling hook: You need it to climb the cliff below the entrance.
Glider: One section has you cross a wide gap using updrafts, so you need a glider on the standard route.
Spark: The alarm in the second building is switched off by inserting a spark, so loot the containers at the entrance if you have none.
Healing items: Ancient constructs guard every section, and the alarm room sends a group of small ancient scorpions at you.
How to Reach the Revelwood Dungeon Entrance
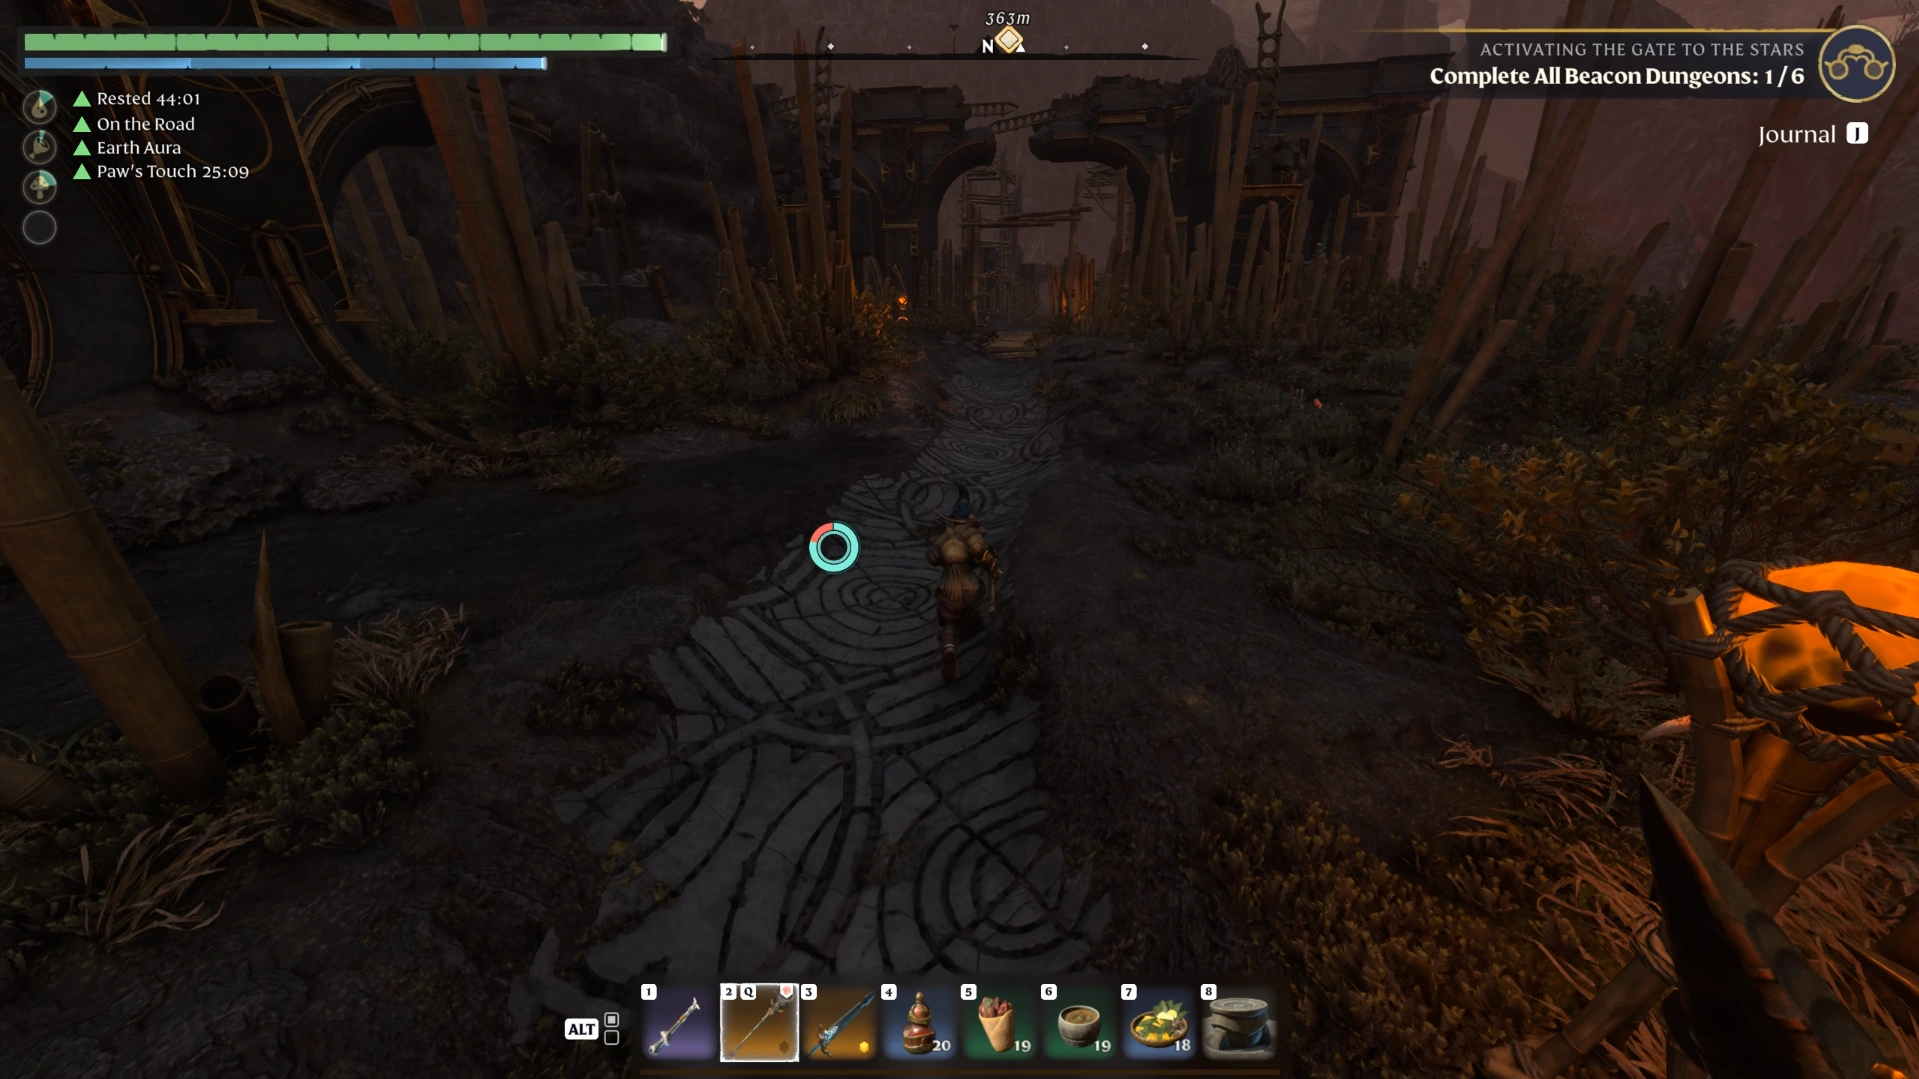
The Revelwood dungeon entrance sits north of Cinder's Cradle, just above the Drak camp. The route starts at the nearby altar, runs straight through the camp and a cave passage, then climbs a mountain path to a cliff you grapple up. Follow these steps in order:
Start at the altar: Head down the small road from the altar, which runs directly through the Drak camp above you on the map.
Go through the cave passage: Stay on the road through the camp, down into the cave passage, and out the other side.
Take the first left: Keep to the path until you reach an intersection, then turn left.
Take the second left: Continue a short way and take the next left, which leads up the mountain.
Grapple up the first ledge: Follow the mountain path to the top and grapple onto the first ledge.
Back up before the second grapple: Move slightly back from the next anchor, jump, and grapple mid-air. Grappling while standing directly underneath it makes you hit the top of the ledge and fall.
Climb to the entrance: Grapple up again, climb the handholds, and you arrive at the dungeon entrance.
An ancient construct guards the top, so kill it and loot every container around the entrance for sparks. Then head inside to start the first section.
Additional reading: Enshrouded Interactive Map
Map markers are estimates, so the exact in-game route may differ slightly from what the map shows.
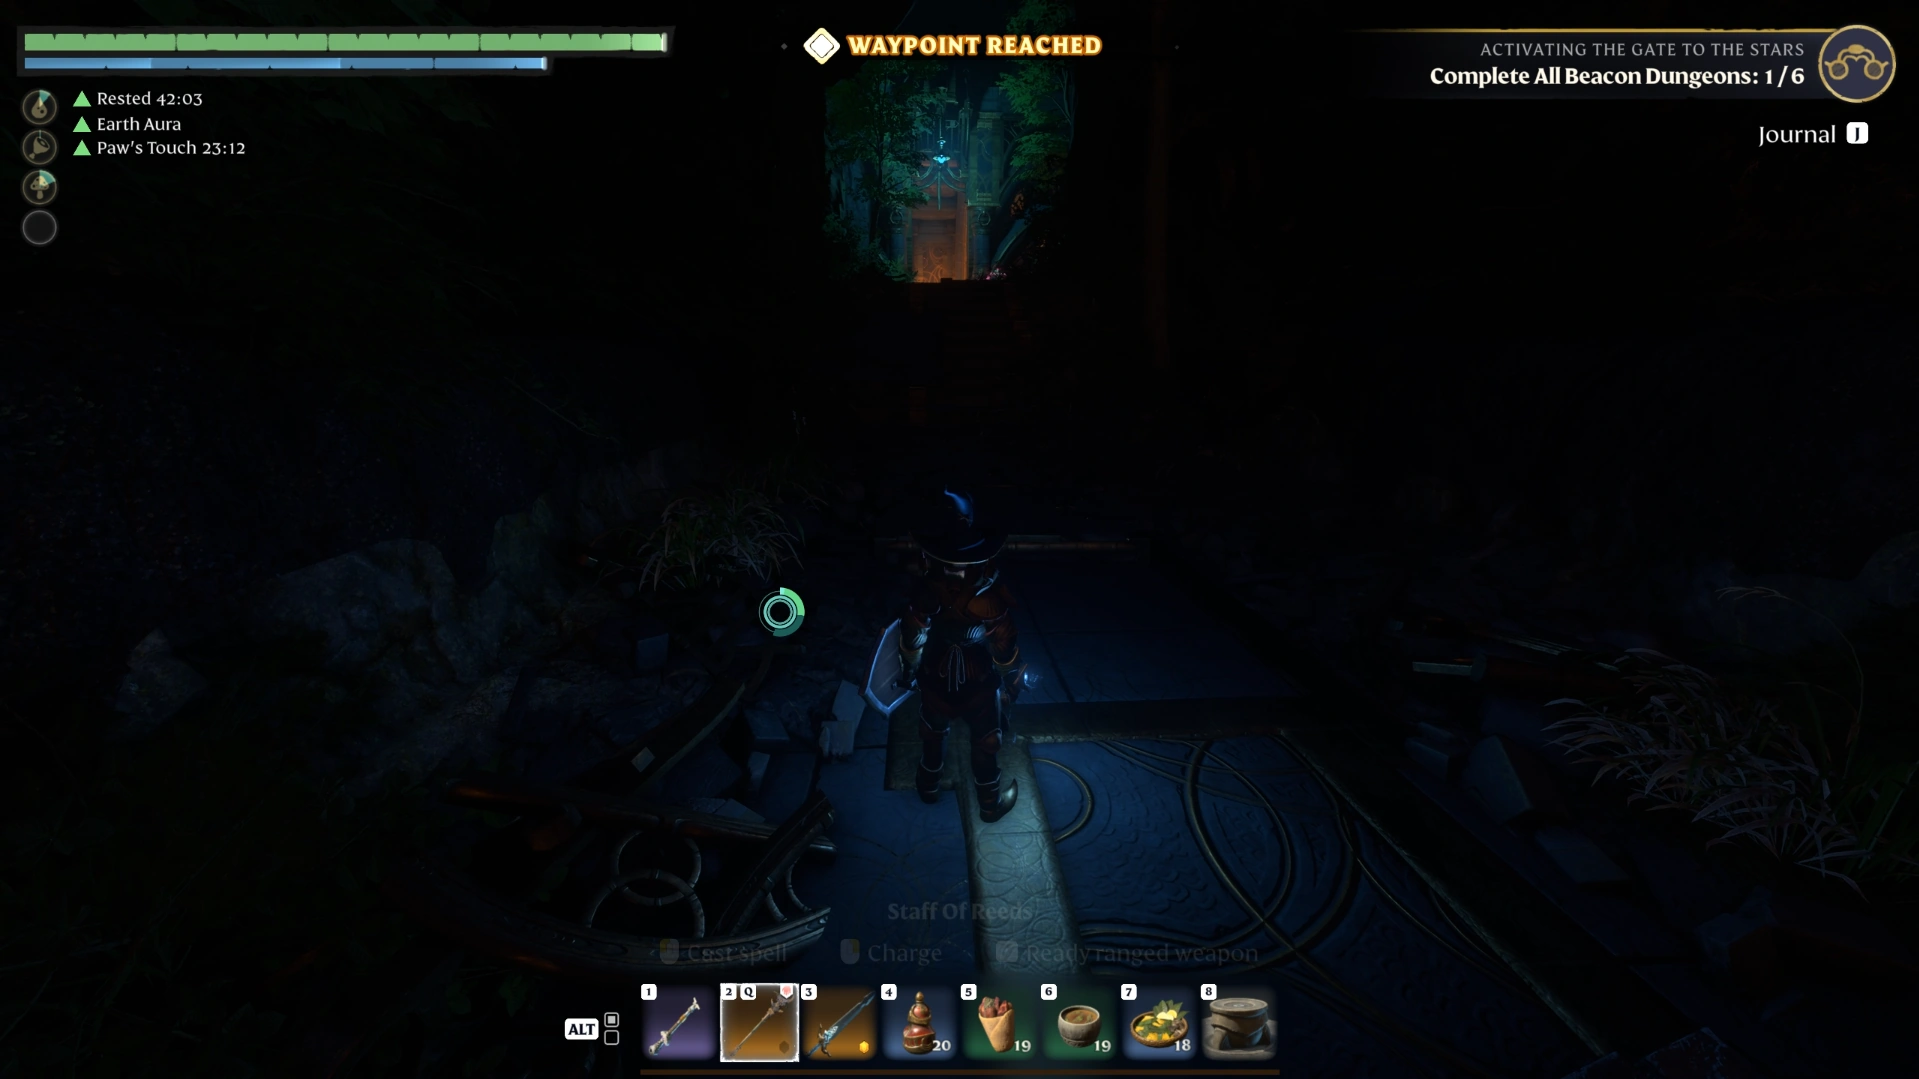
First Section: Open the Barrier and Loot the Miniature
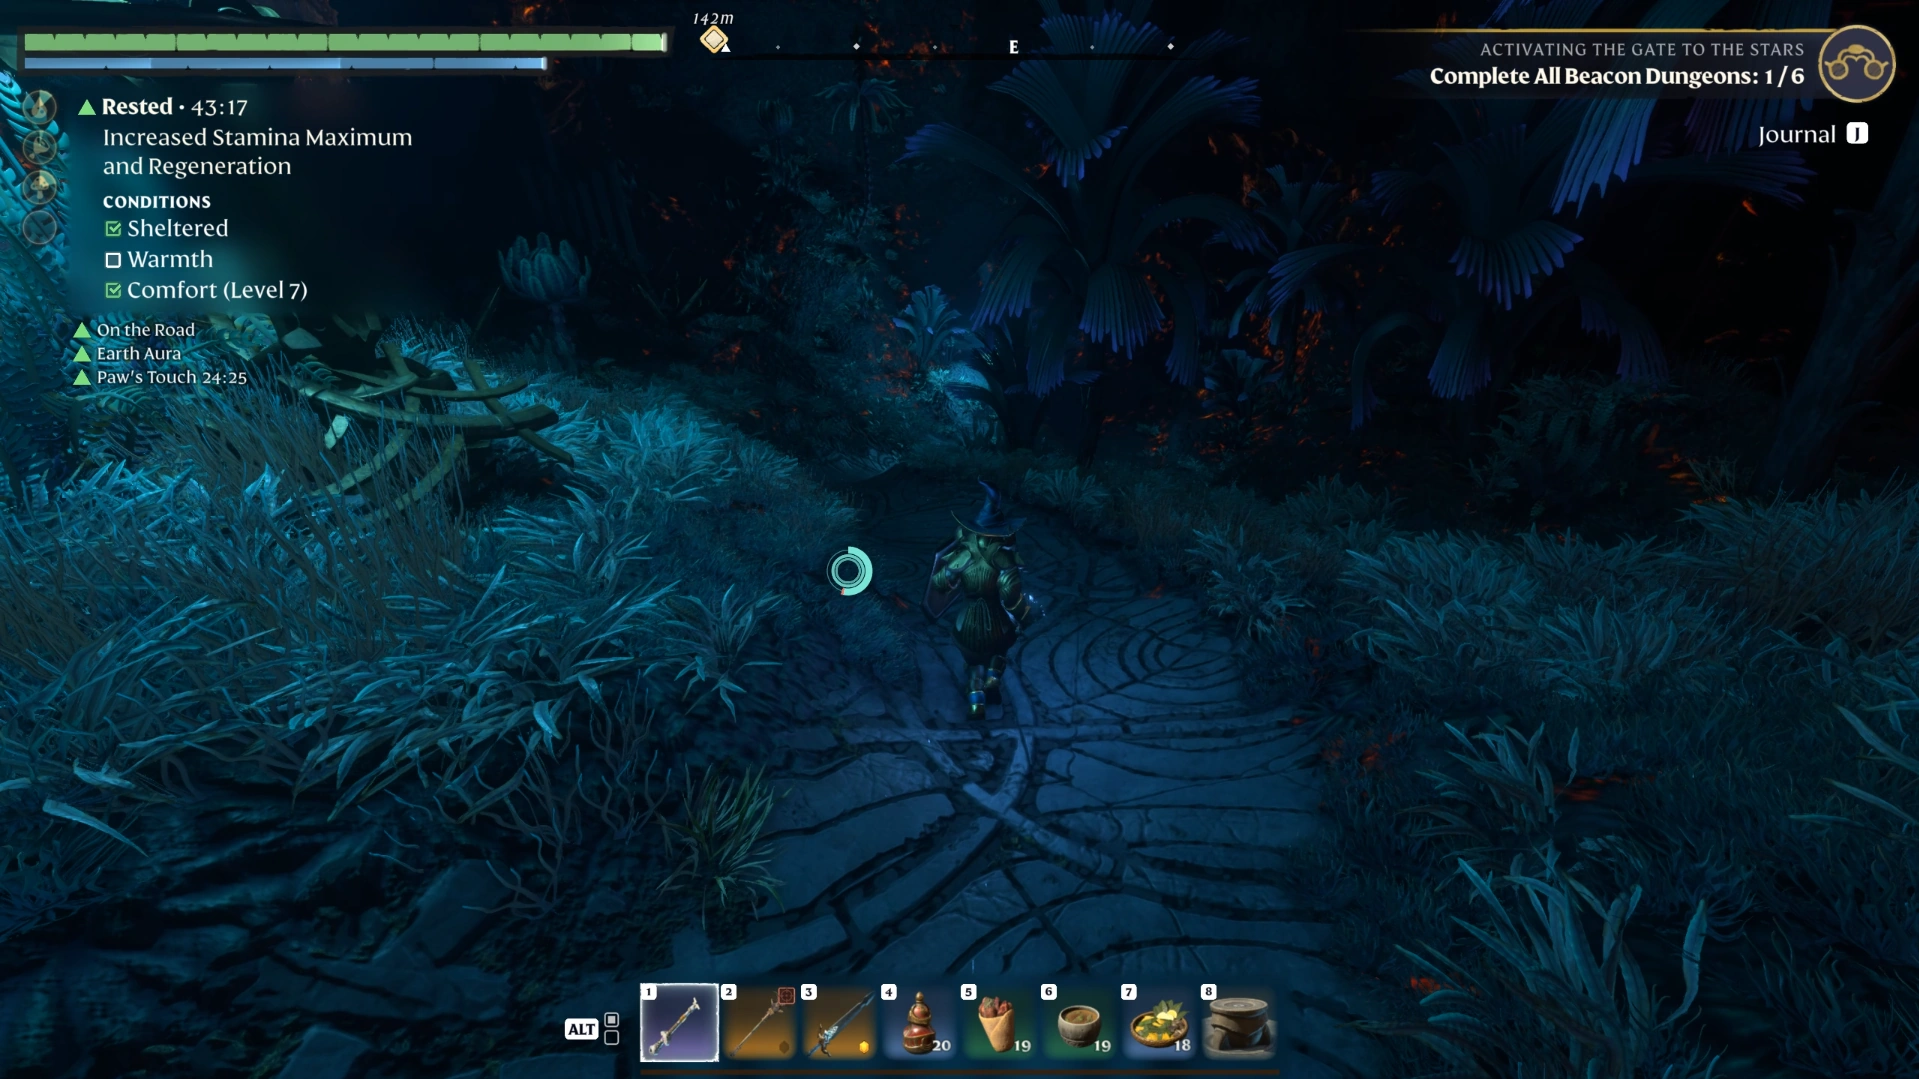
The first section is a library where a barrier blocks a chest holding the Revelwood Miniature Piece. Kill the ancients past the spike traps, then go right through the spinning blades and press the button behind a door, which unlocks the barrier so you can loot the chest.
The dungeon interior sits far from the entrance on the world map, deep in Revelwood itself. Like the Springlands beacon dungeon, you can reach this interior directly if you locate it on the map. Work through the section in this order:
Pass the spike traps: Move through the spike traps at the start, timing your runs so they do not hit you.
Clear the left side: Go left, kill the ancients, and loot them.
Check the bookcases: Search the small shelves on the large bookcases, as these often spawn diamonds. You need diamonds regularly for endgame items and gear.
Head right through the blades: Go right and dodge the spinning blades, then touch the two objects on the right to open the door.
Press the button: Kill the ancients behind the door, or ignore them, and press the button to unlock the barrier.
Loot the chest: Return to the barrier and open the chest for the Revelwood Miniature Piece.
Take the portal: Head back toward the start, go left through the door, and take the portal to the next section.
The ancient on the way back dropped an Archaic Core in our run. Kill every ancient you pass for a chance at more cores before stepping through the portal.
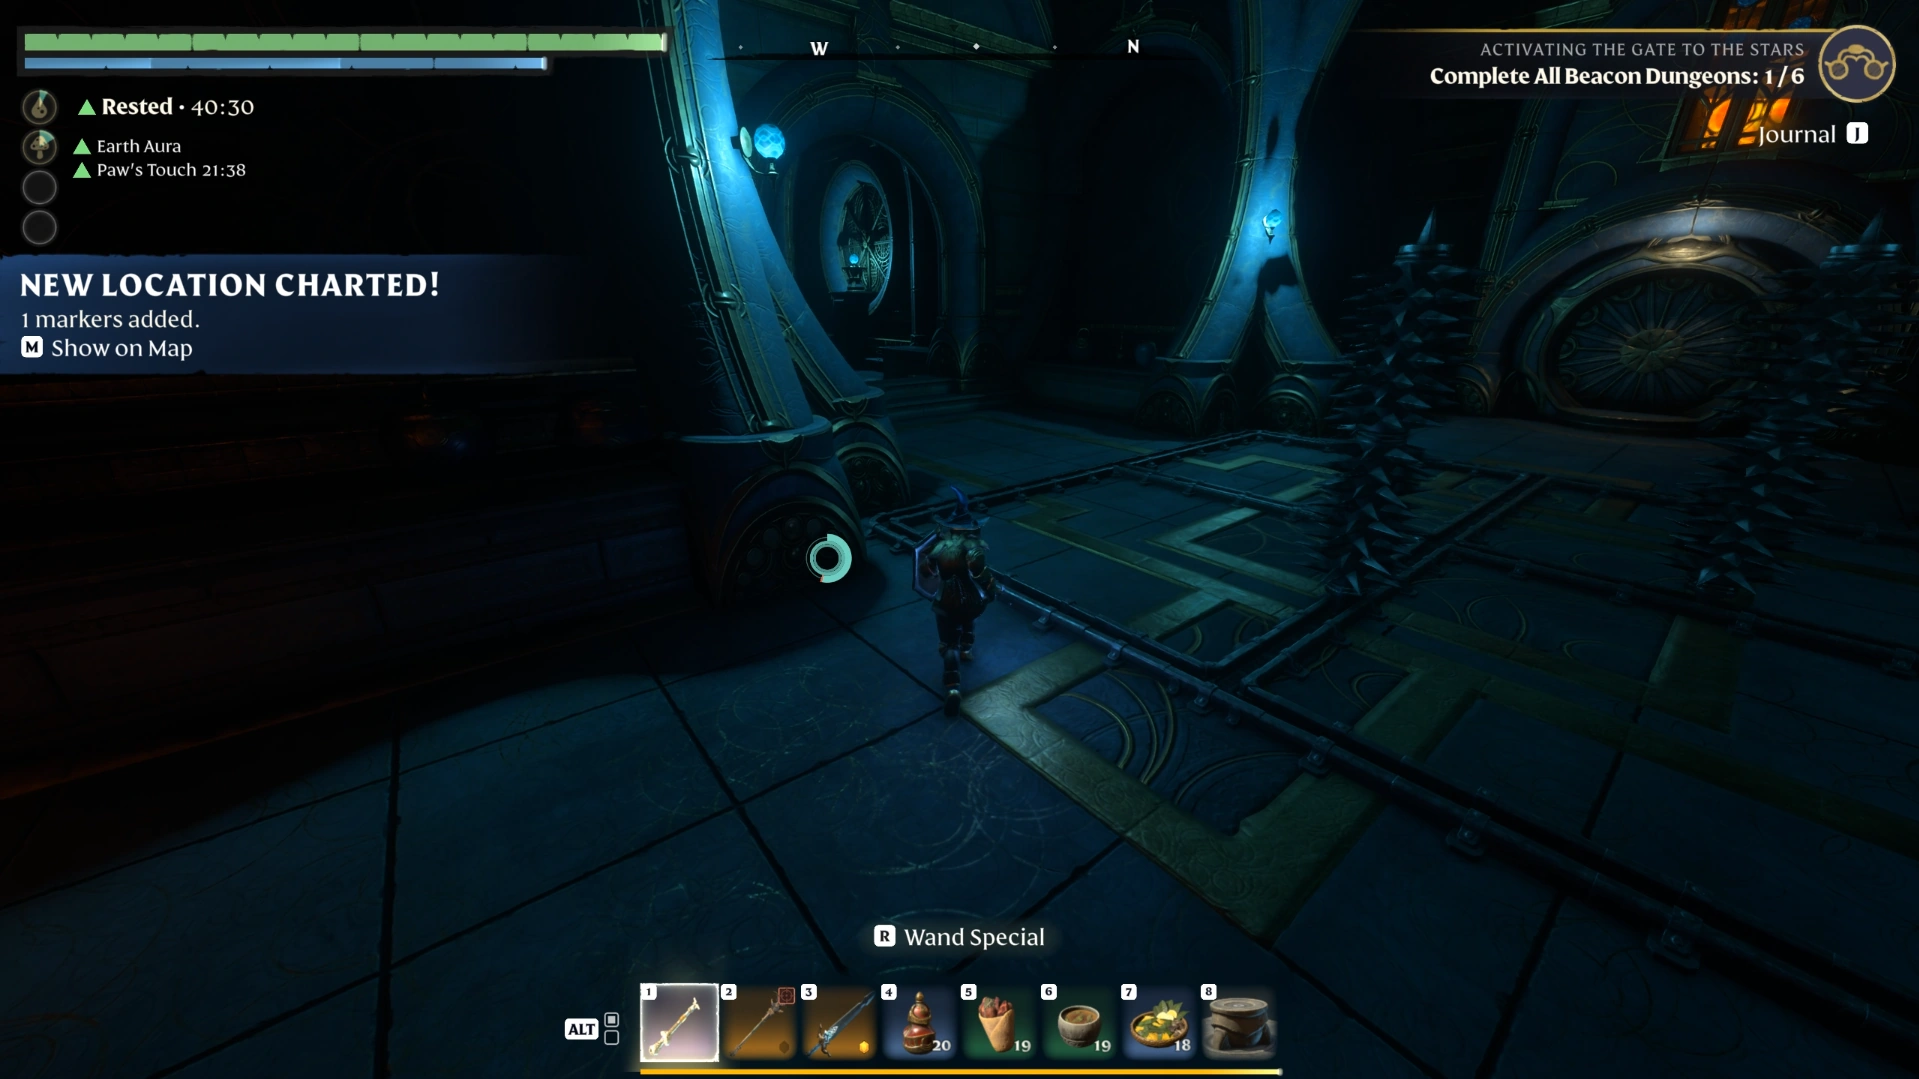
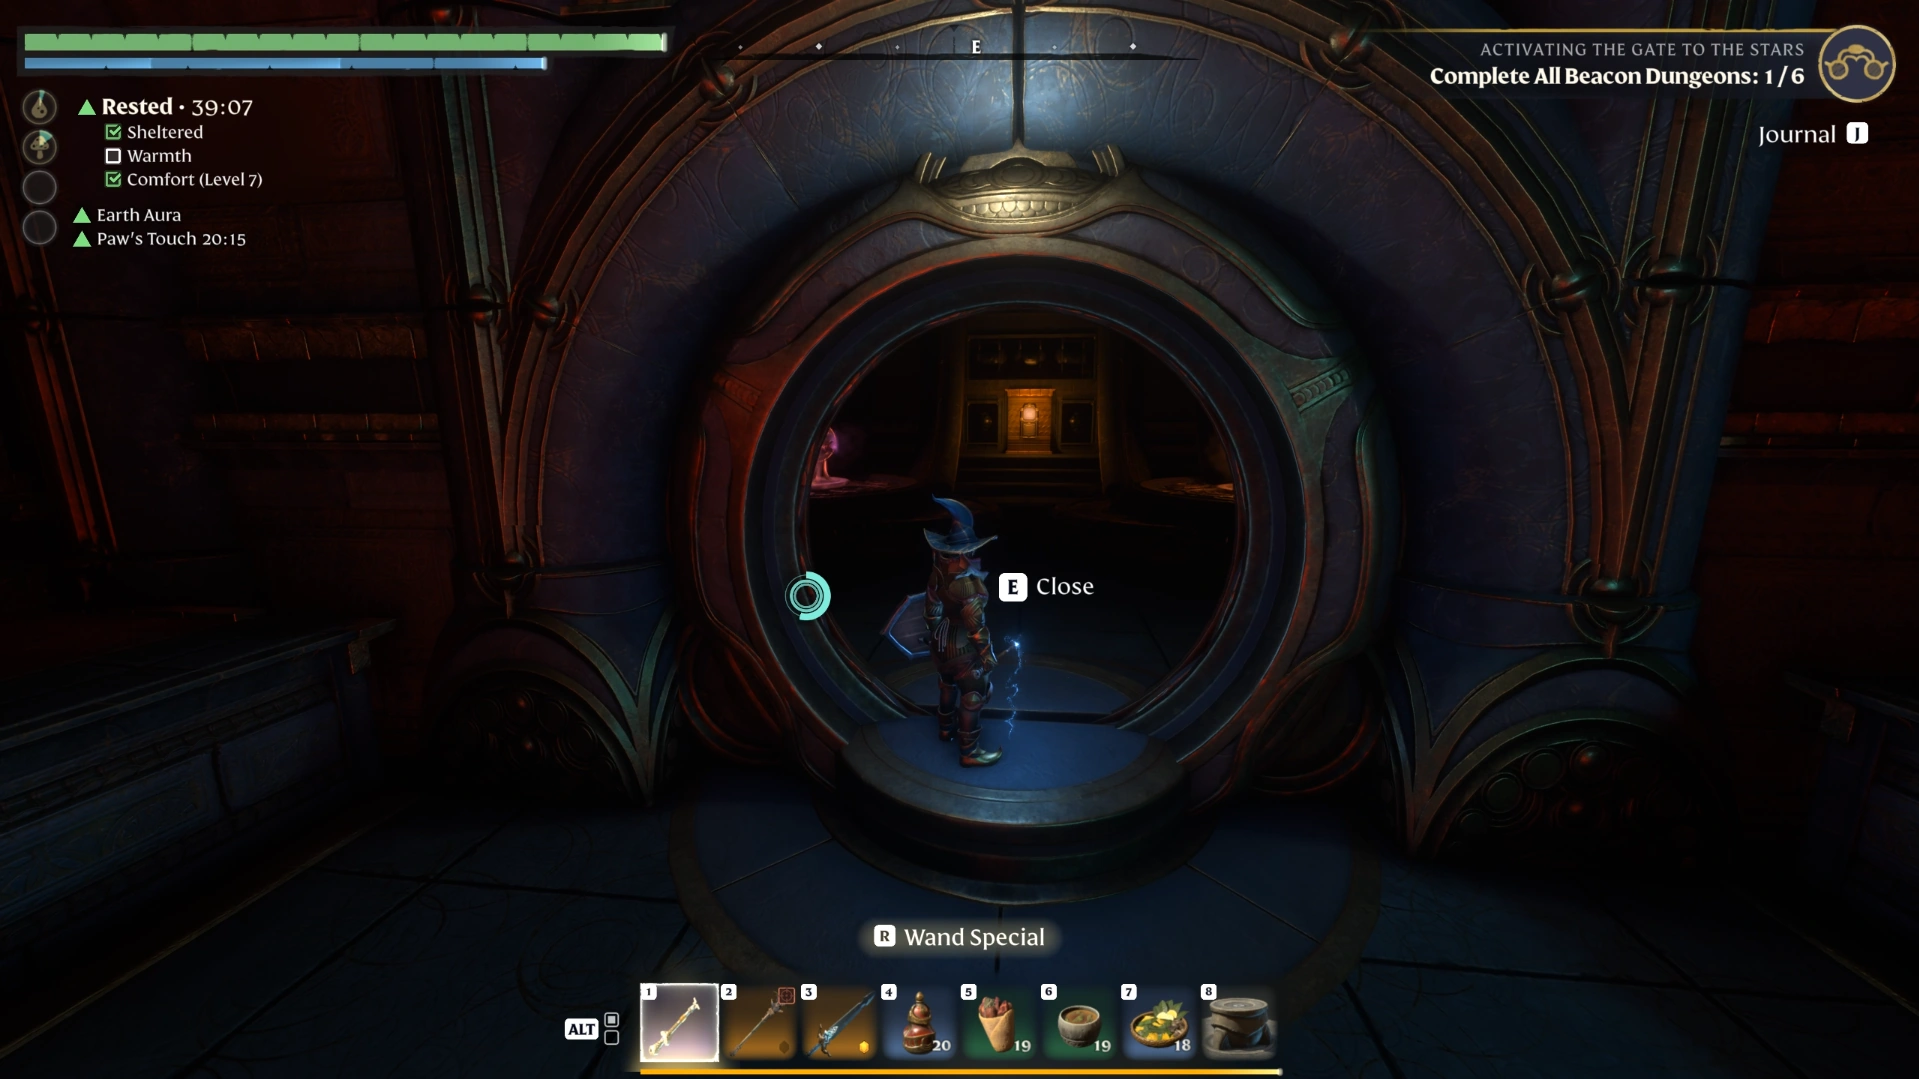
Second Section: Press the Four Buttons
The second section requires you to press four buttons, two in each of two rooms, to open the doors leading outside. You can go straight down the middle to the button rooms, but each side of the entrance hall holds three ancients worth farming for Archaic Cores first.
These side ancients do not move until you attack them. You can walk right up to them, so fighting them is optional. Once you reach the button rooms, use this order:
Clear the entrance hall: Kill the first group of ancients, then farm the three passive ancients on each side if you want cores.
Go through the middle door: Head straight down the middle and through the door to the button area.
Pick a side room: A room sits on your left and right, and the order makes no difference.
Press the first two buttons: The first button is in the room, and the second is directly opposite it on the other side. Pressing both opens that room's doors and two doors on the other side.
Check the upper level: One side usually has a chest upstairs, and the bookcases there can hold a diamond. The other side generally has no chest, so skip it if you want.
Clear the second room: Cross over, kill the ancients, and press the remaining two buttons to open the outside doors.
Our upper-level chests held health potions, Celestium Ore, and experience scrolls, so loot them if you need more ore. Then step through the open doors to start the third section.
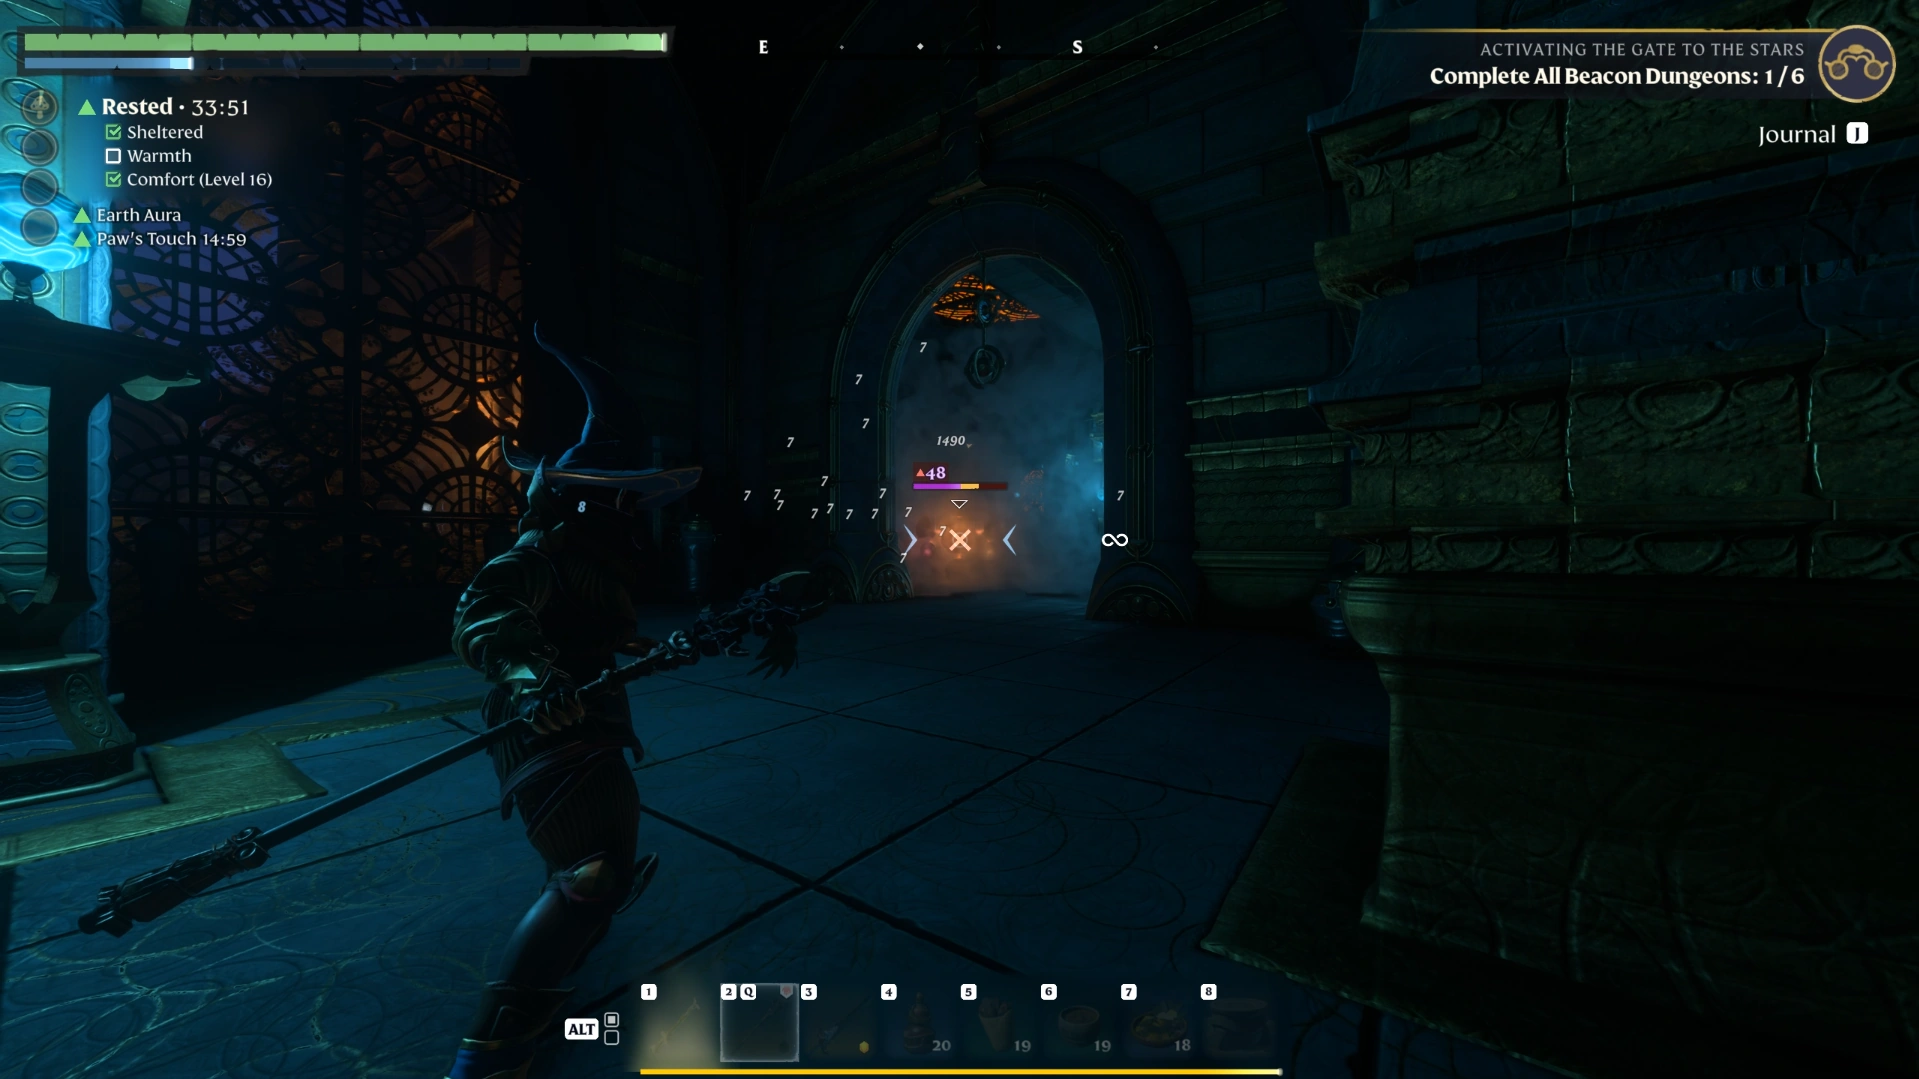
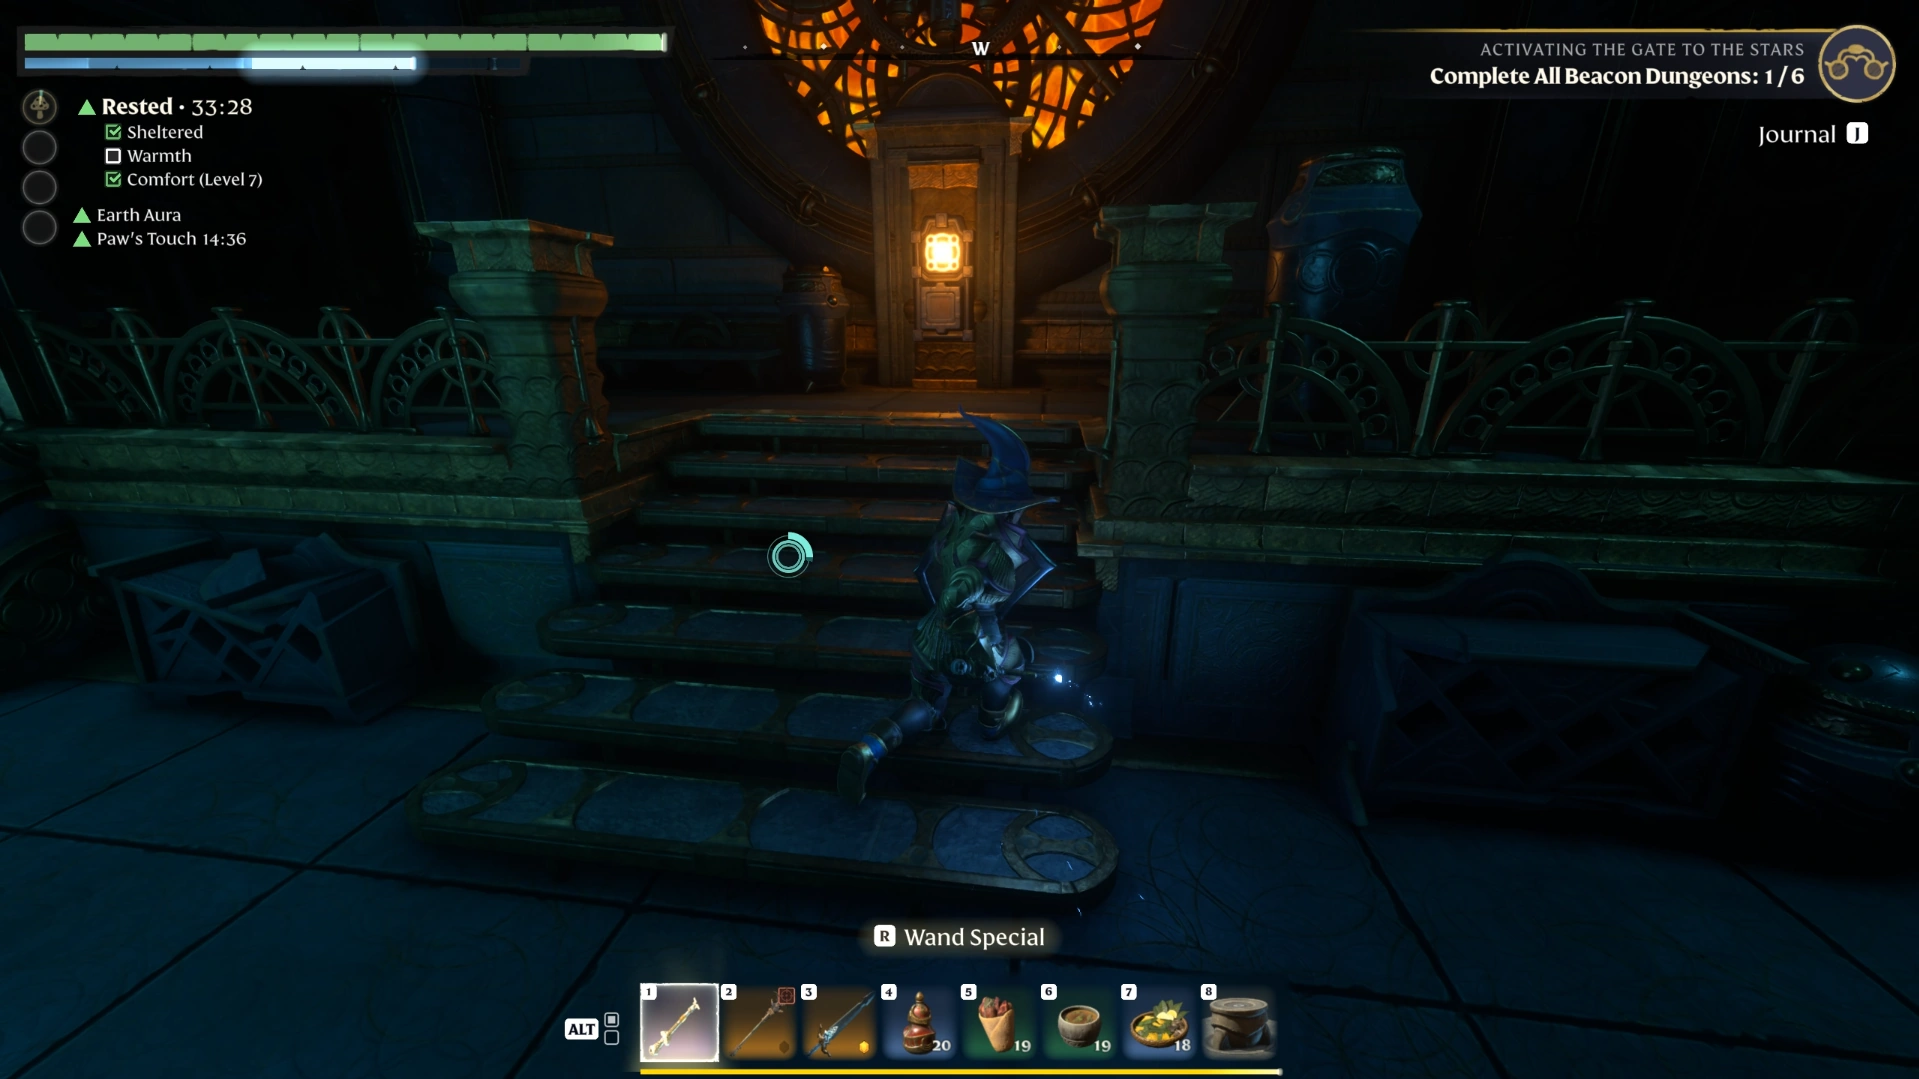
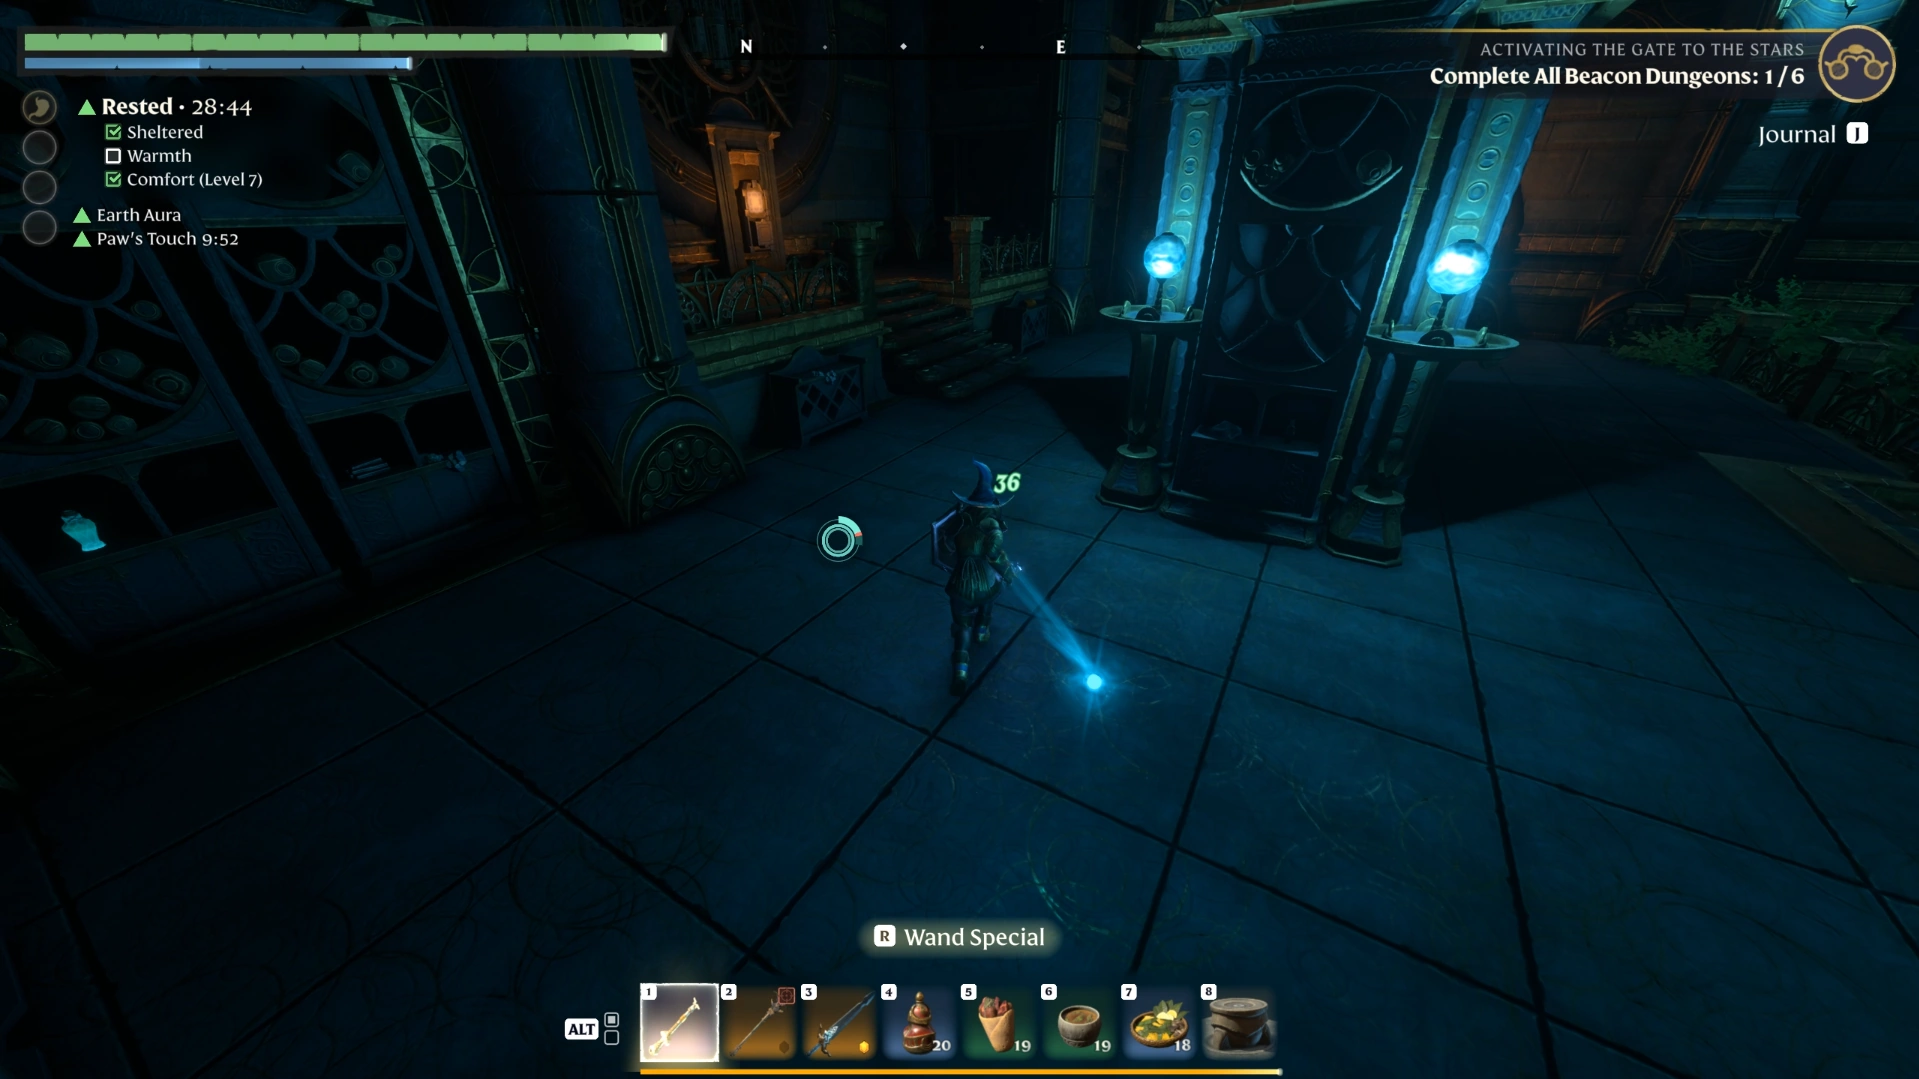
Third Section: Glide Across and Switch off the Alarm
The third section starts with a glide to a second building and ends with an alarm you must switch off by inserting a spark. Killing any ancient inside triggers the alarm, as in the Springlands beacon dungeon, and the device sits in the room to the right.
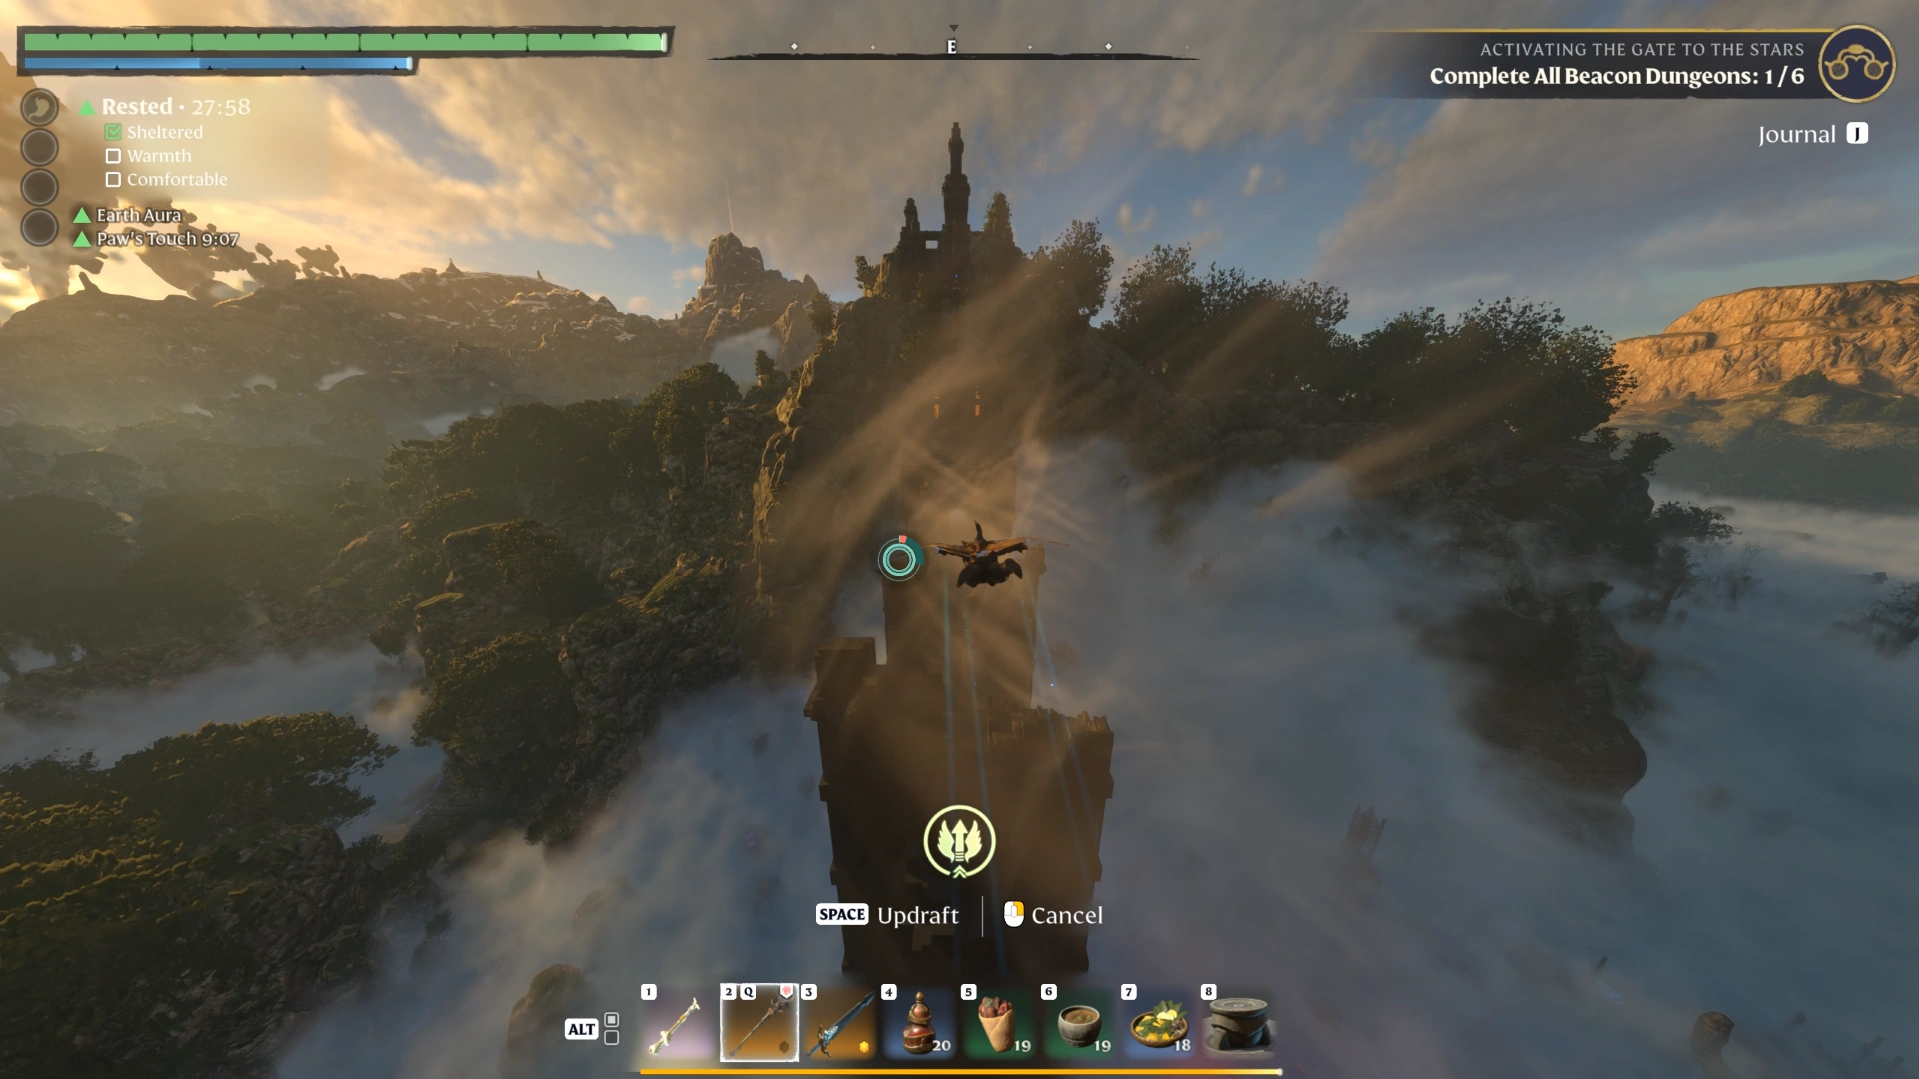
You can jump and glide straight down from the exit ledge for a quicker descent. The stair route below keeps you on track for the updrafts:
Take the stairs down: Go down the first set of stairs, then the next set on the left.
Run to the end: Run to the end of the walkway and jump.
Ride the updrafts: Glide across to the other side using the updrafts in the gap.
Climb to the entrance: Head up beside the stairs to reach the second building's entrance.
Clear the first room: Kill the ancients here and loot them.
Kill the scorpions: Head to the right side and kill the small ancient scorpions.
Switch off the alarm: Insert the Spark into the device to turn the alarm off.
Loot the golden chest: Return, continue straight, and open the golden chest on the right.
Teleport onward: Head back out to the right and take the teleporter to the final area.
Hypothetical example: If you reach the alarm device without a spark, the entrance containers are the closest source we found on this route. Backtrack there, grab one, and return to switch the alarm off.
Our golden chest held standard loot rather than a legendary item. Take what you need from it, then head straight for the teleporter.
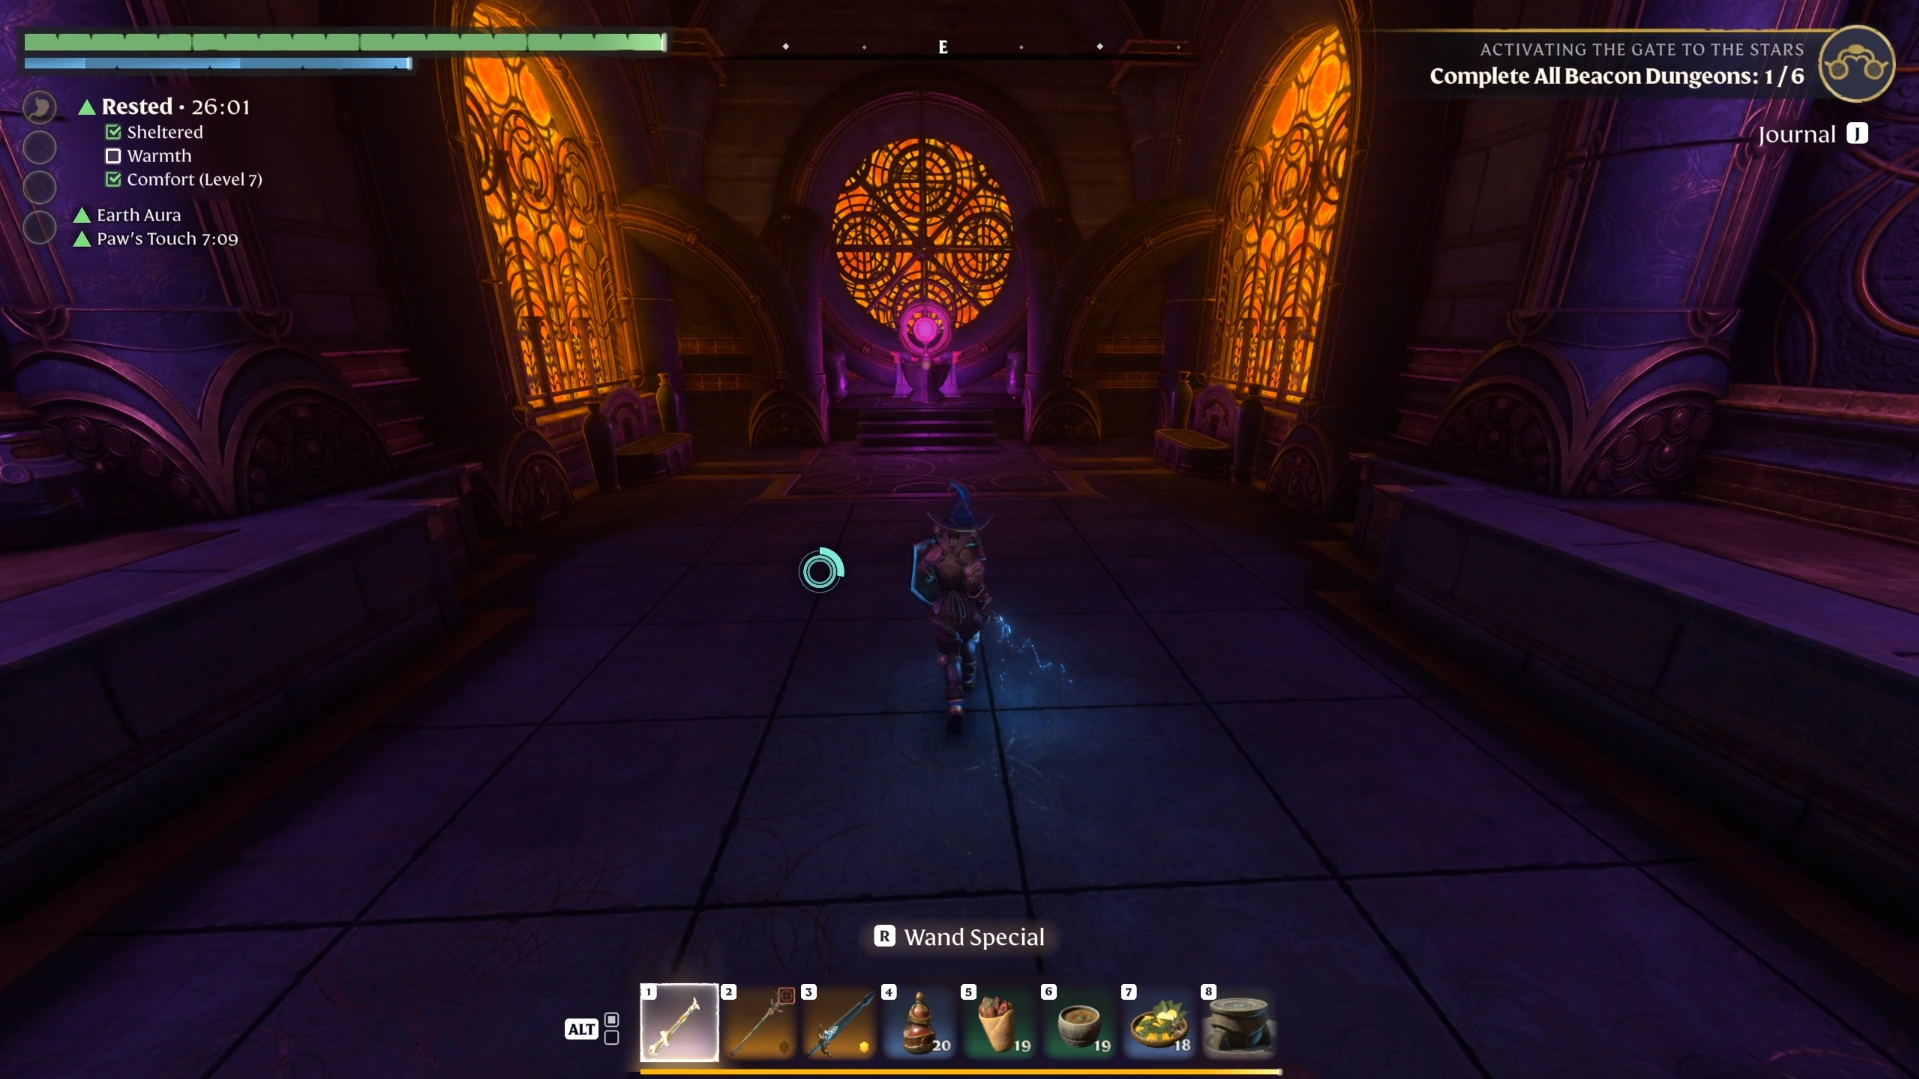
Final Section: Solve the Telescope Puzzle and Light the Beacon
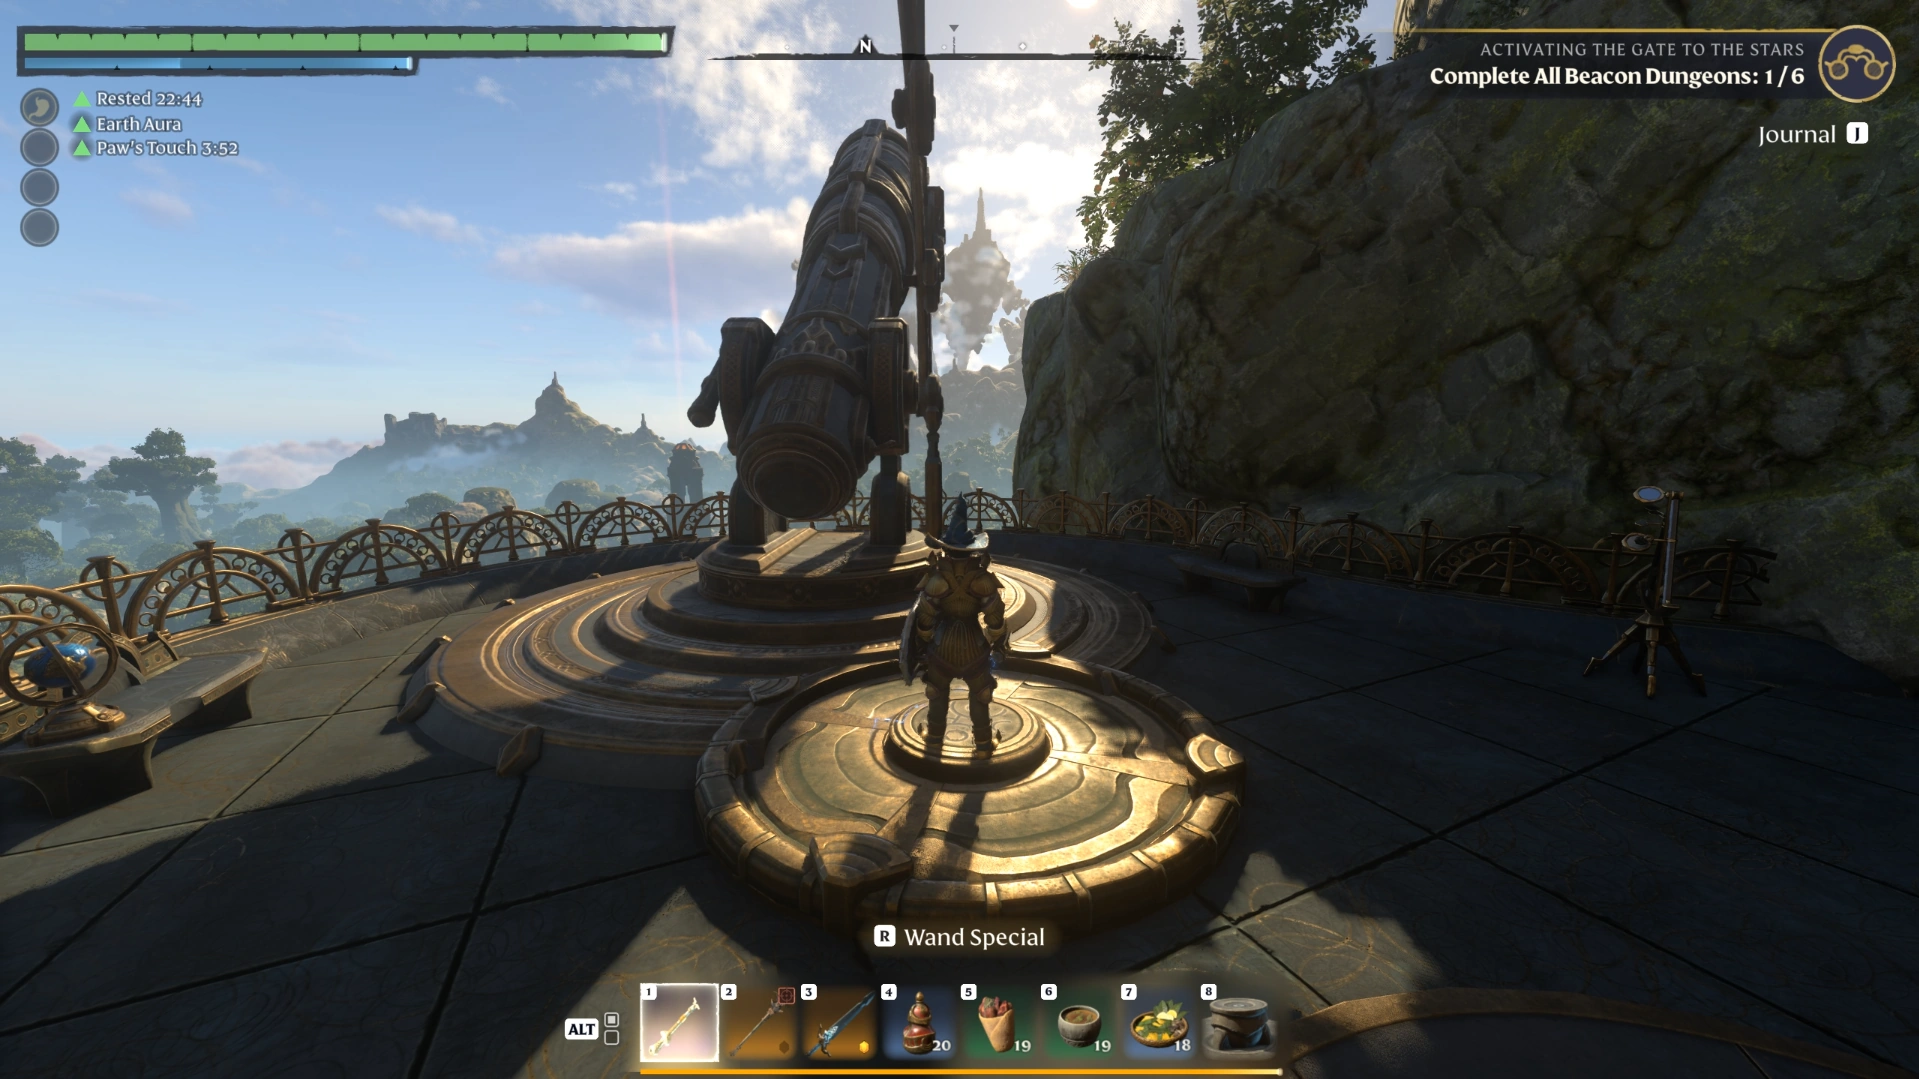
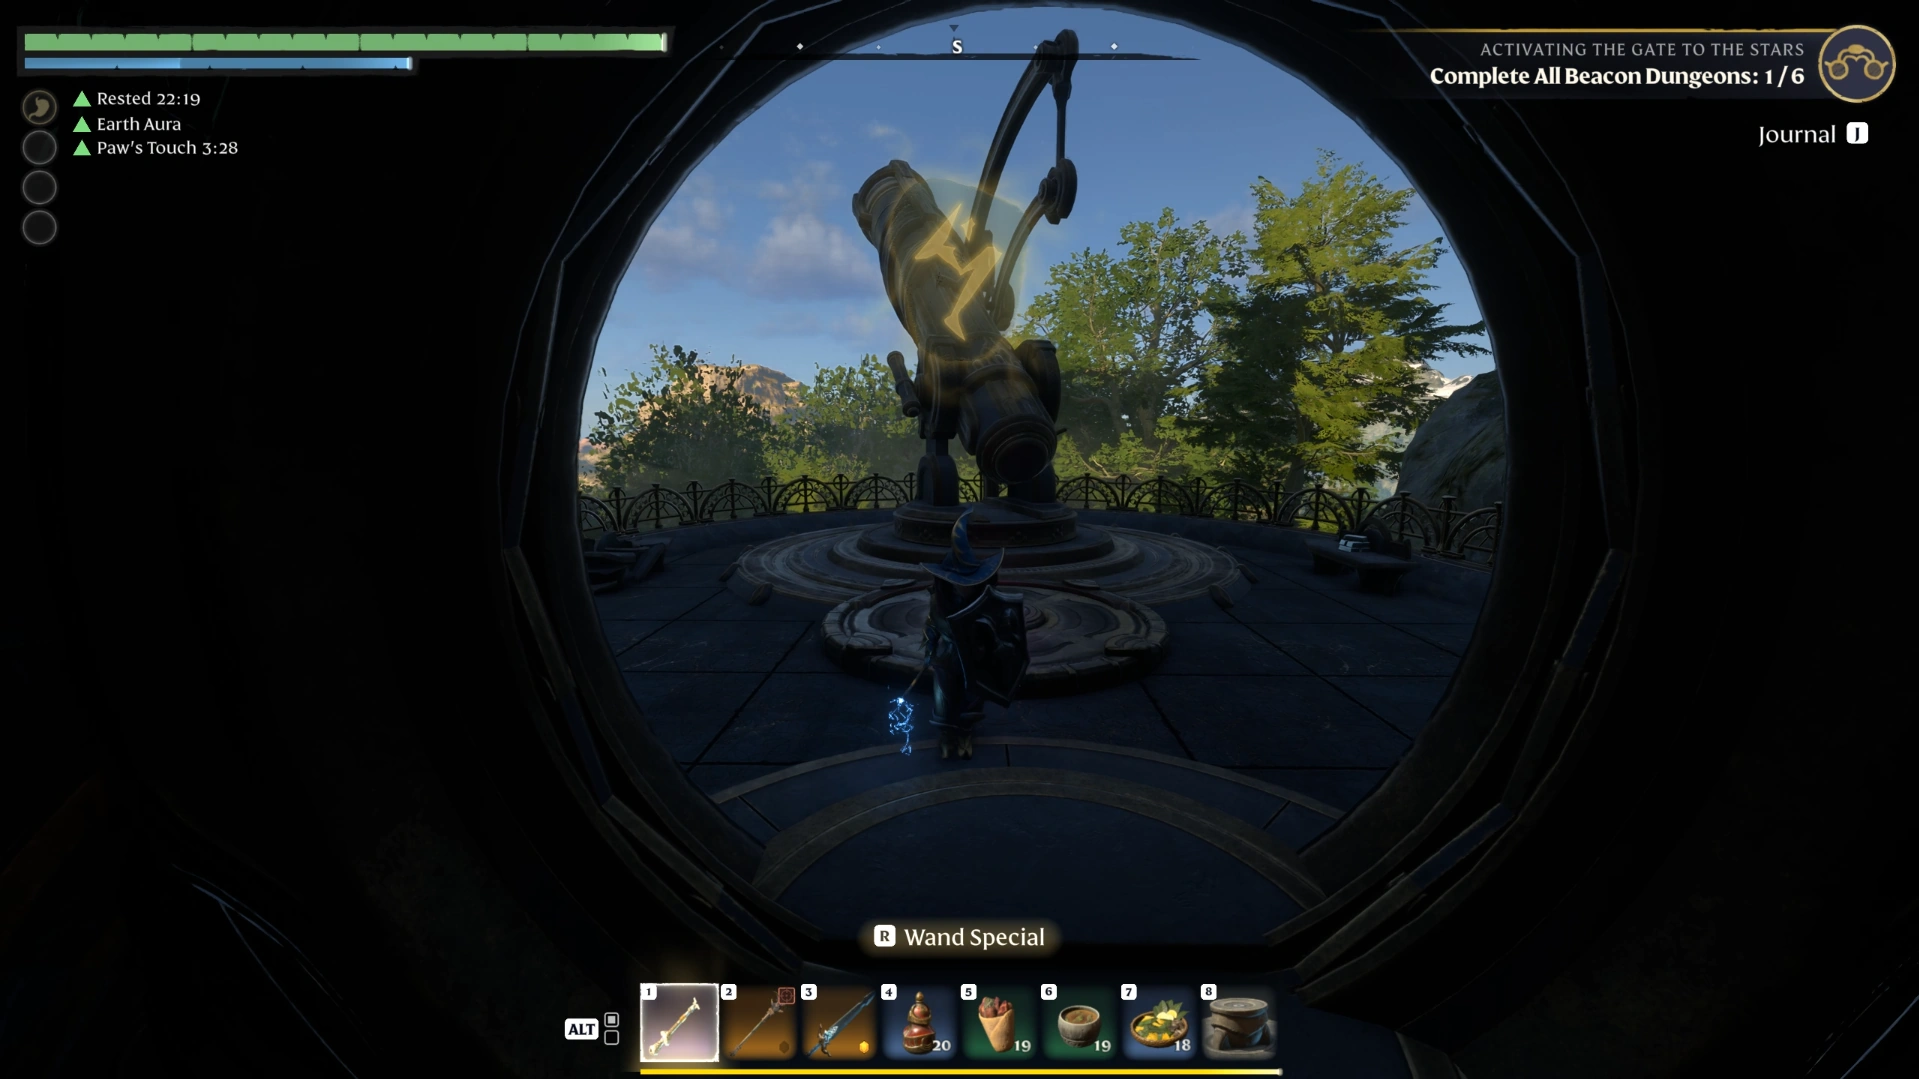
To solve the Revelwood telescope puzzle, aim the right telescope at the sky islands and the left at the large mountain in the distance. Stand on each pad to rotate its telescope and jump off to stop it, and once both line up, the barrier unlocks the beacon.
The final area also requires you to kill three ancients. Two come at you near the door, and the third is further in, so clear all three before you start the puzzle:
Open the door: Open the door and kill the ancient on the right, then the second one that joins.
Find the third ancient: Search the area for the last ancient and kill it.
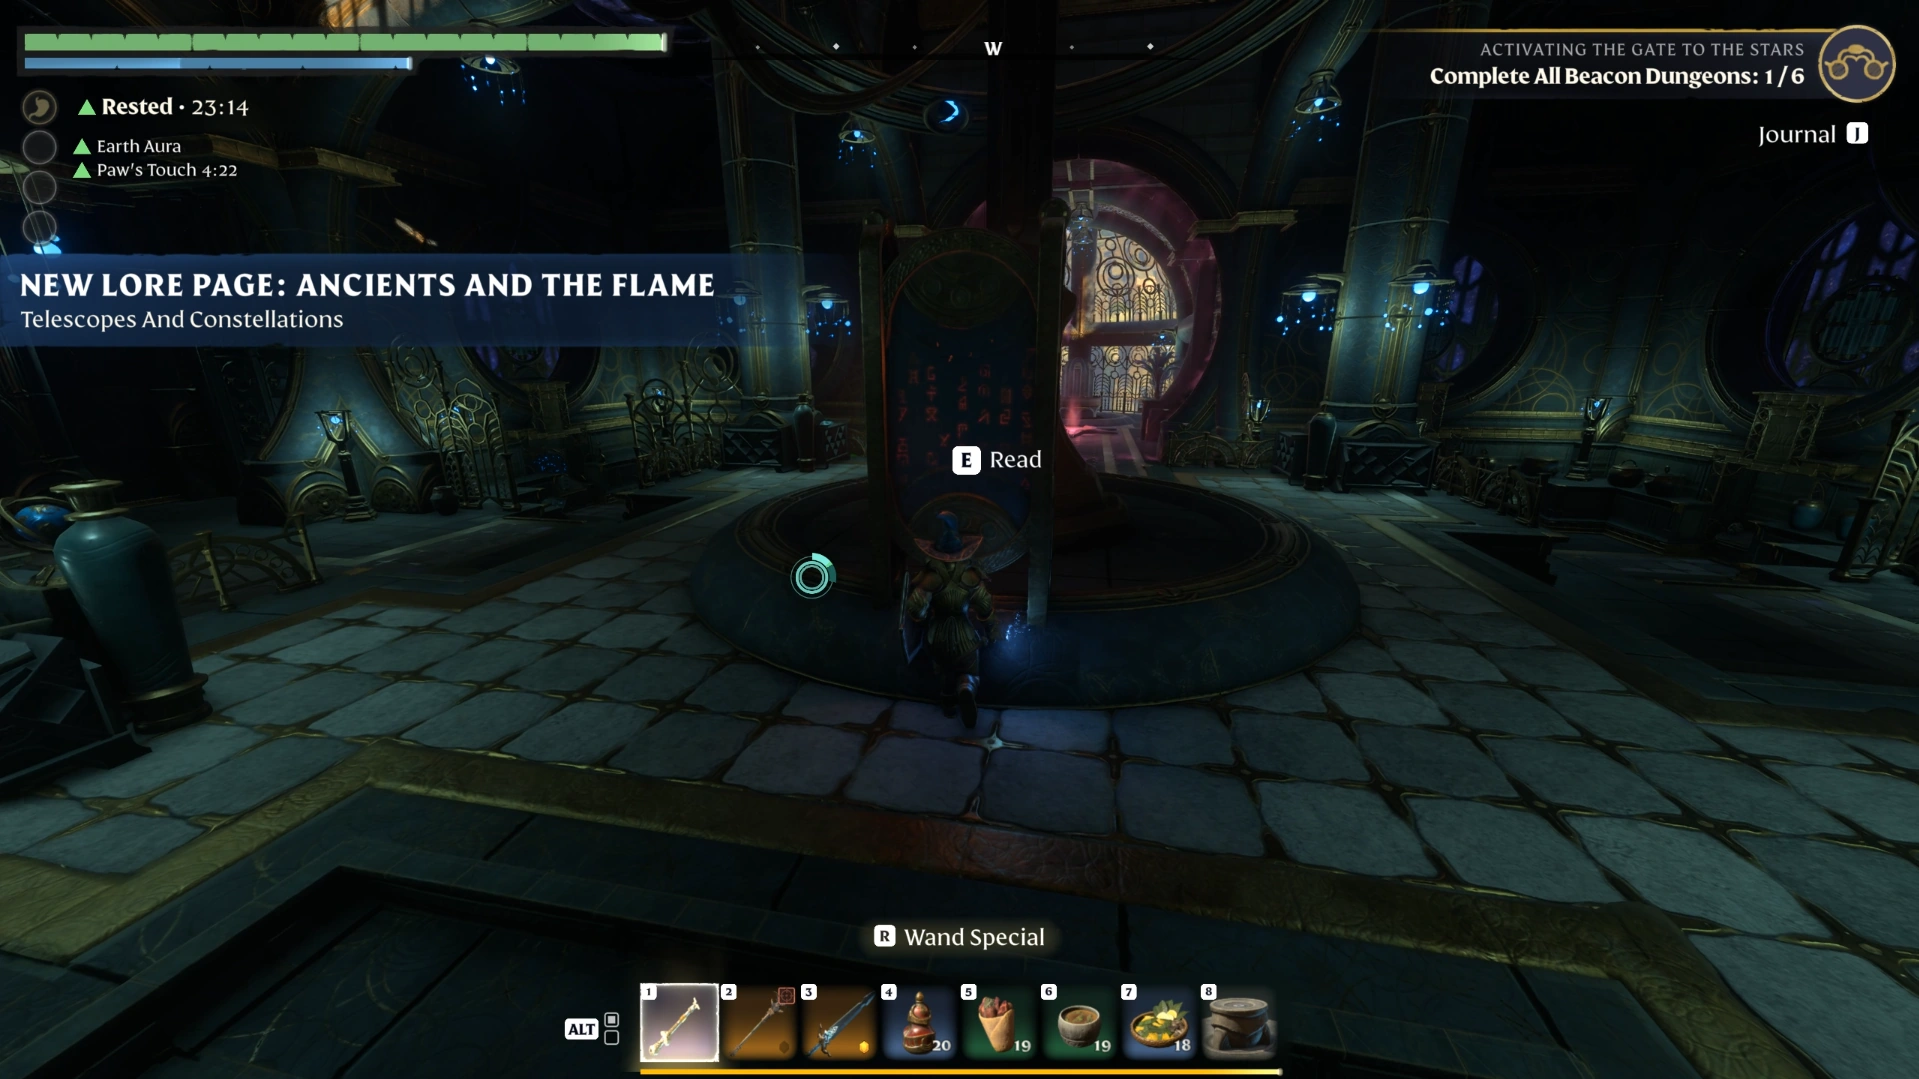
Read the lore: Grab the lore on the table, which explains the master's riddle and hints at the telescope solution.
Aim the right telescope: Stand on the pad under the right telescope, wait until it points at the sky islands, and jump off.
Aim the left telescope: Stand on the left pad, wait until it points at the big mountain, and jump off.
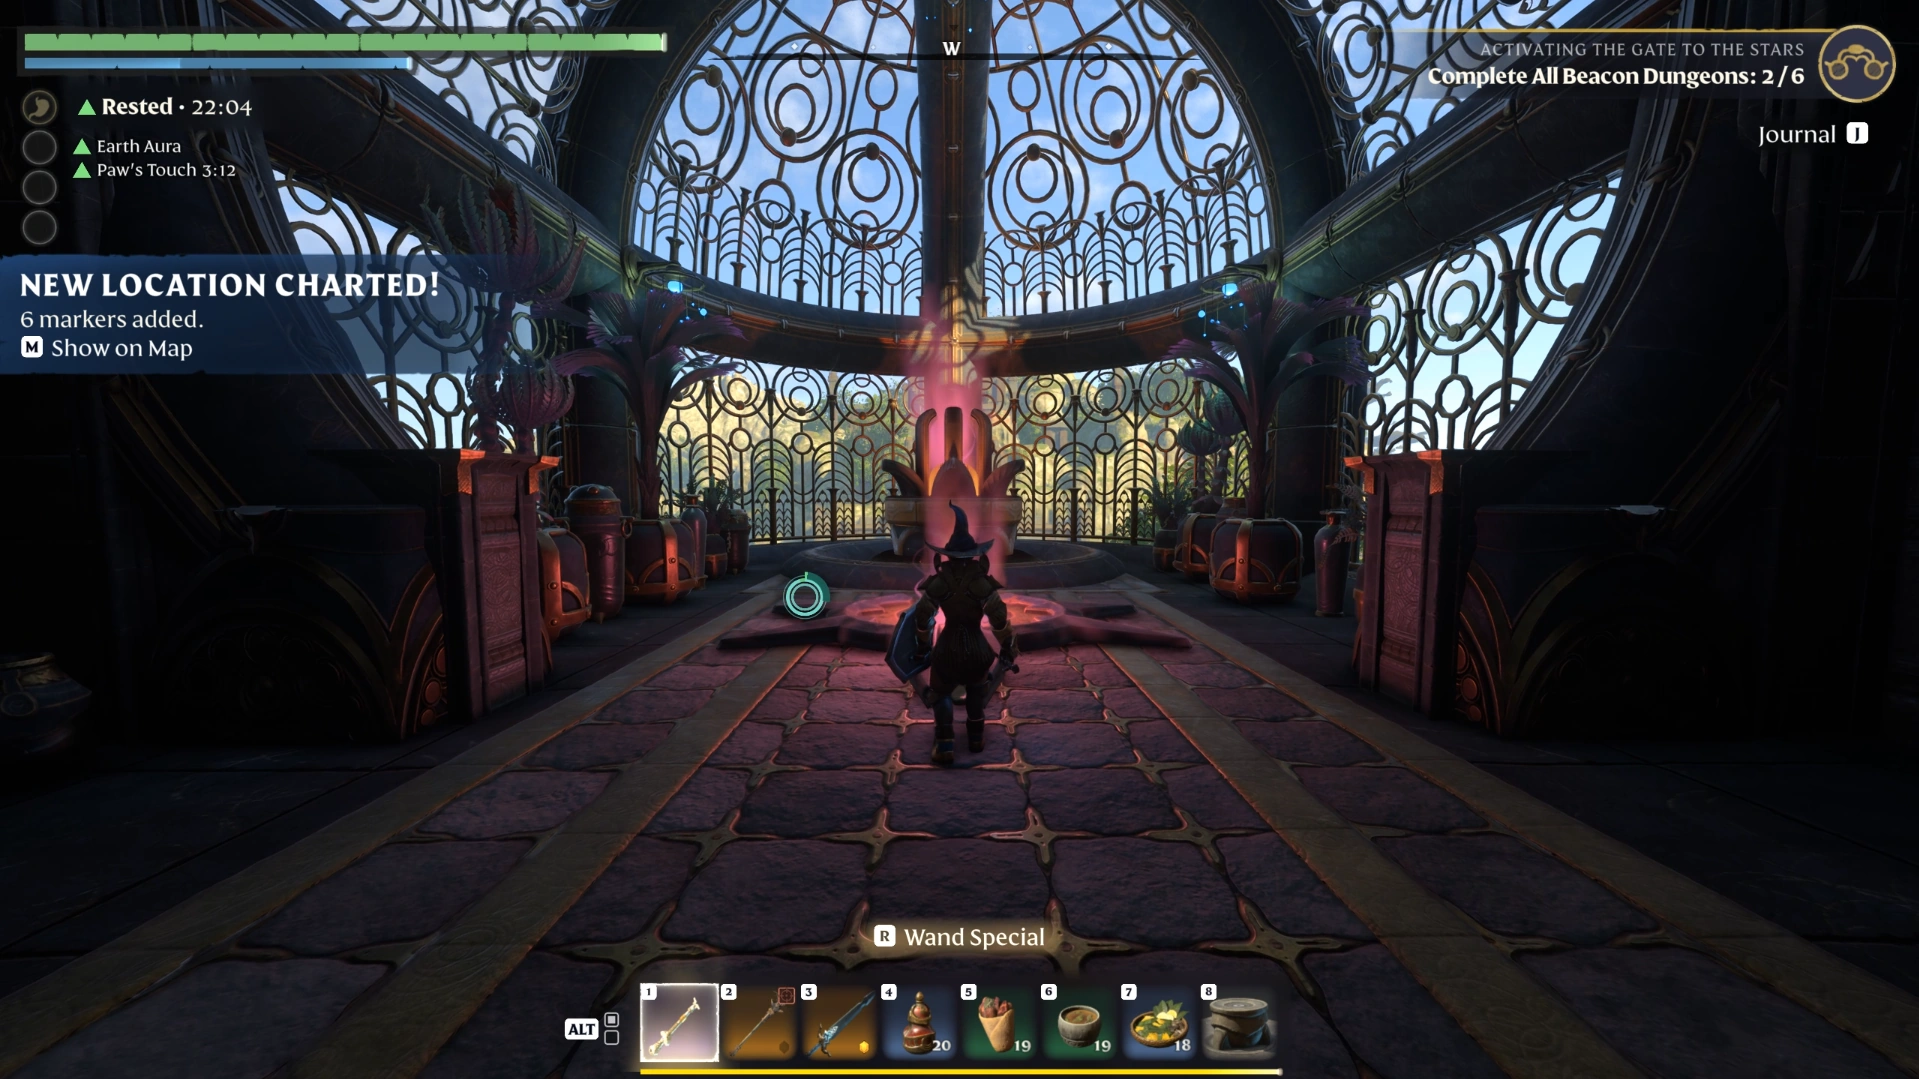
Activate the beacon: When the barrier unlocks, step up and activate the beacon.
Hypothetical example: If you jump off the left pad and the barrier stays shut, the telescope may have stopped short of the mountain. Step back on and jump off again once it lines up with the peak.
With the beacon active, head back to the entrance and set off for your next beacon dungeon.
Revelwood Dungeon Loot and Rewards
The standout reward in our run was the Revelwood Miniature Piece from the first section's chest, with all other drops coming from ancients, bookcase shelves, and chests. Lighting the beacon raises your Activating the Gate to the Stars counter, which read 2/6 for us because Revelwood was our second beacon.
Loot | Where we found it | Notes from our run |
|---|---|---|
Revelwood Miniature Piece | Chest behind the first barrier | Dungeon-specific collectible |
Archaic Core | Ancients in every section | Random drop; none from the six side ancients in our run |
Diamond | Small shelves on large bookcases | Random; appeared in two button rooms |
Sparks | Containers around the entrance | Needed for the alarm |
Celestium Ore, health potions | Upper-level chest, second section | One side usually has the chest |
Experience scrolls | Chest, second section | Low value |
Golden chest items | Second building, after the alarm | No legendary in our run |
Lore pages | Second section and final table | Final page explains the telescopes |
Check every bookcase shelf and kill each ancient on your way through to collect as much of this loot as possible.
Additional reading: Enshrouded Database
Revelwood Beacon Lit: Push on Toward Cinder's Ascent
With Revelwood complete, you can now clear barrier buttons, switch off spark-powered alarms, and line up telescopes whenever a beacon dungeon calls for them. Spend the Archaic Cores and diamonds you farmed here on endgame gear, then head to the next beacon dungeon marked on your map.
Track the beacons you have left in your quest log. Once all six are lit, return to Loraine Crim to power the platform at Cinder's Ascent.
FAQs
Who gives the Activating the Gate to the Stars quest in Enshrouded?
Loraine Crim, the Ancient Researcher, gives you the Activating the Gate to the Stars quest in Enshrouded. She tasks you with lighting six beacons, one tied to each biosphere, to power the teleport platform at Cinder's Ascent that carries you to the floating isles above.
Do you have to complete the Enshrouded beacon dungeons in order?
No, only the Springlands beacon dungeon has to come first in Activating the Gate to the Stars. After Springlands, you can complete the remaining five beacon dungeons, including Revelwood, in any order you like, and every entrance is marked on your map inside Cinder's Cradle.
Can you play the Revelwood dungeon in co-op?
Yes, you can clear the Revelwood dungeon in co-op, since Enshrouded supports up to 16 players according to the official Enshrouded Steam page. We completed every button, alarm, and telescope step in Revelwood solo, so you do not need a group to finish any of its puzzles.
What is the Archaic Core drop rate in Enshrouded?
Most ancient constructs in Enshrouded have a 20% chance to drop one Archaic Core, according to MetaForge's Enshrouded database. The Ancient S.P.D.R. Construct is the exception, guaranteeing one to two Archaic Cores per kill, which makes it the most dependable Archaic Core source the database lists.
What happens after you light all six beacons in Enshrouded?
After lighting all six beacons, you return to Loraine Crim to complete Activating the Gate to the Stars and earn 450 XP. The teleport platform at Cinder's Ascent then powers on, letting you ascend to the floating isles above, and Loraine points you toward your next objective.