


Activating the Gate to the Stars: Springlands Dungeon in Enshrouded
To clear the Springlands dungeon for Activating the Gate to the Stars in Enshrouded, kill every Ancient, reset alarms with a Spark, and light the beacon. The dungeon entrance sits in Cinder's Cradle, and lighting its beacon logs 1/6 and reveals the other five beacon dungeons on your map.
The team here at MetaForge ran this dungeon in-game after the 1.0 update. The steps below follow that run from the entrance to the beacon.
How to Complete the Springlands Dungeon in Enshrouded
Activating the Gate to the Stars is a six-part quest in Enshrouded, and Springlands is the first. Work through these steps in order.
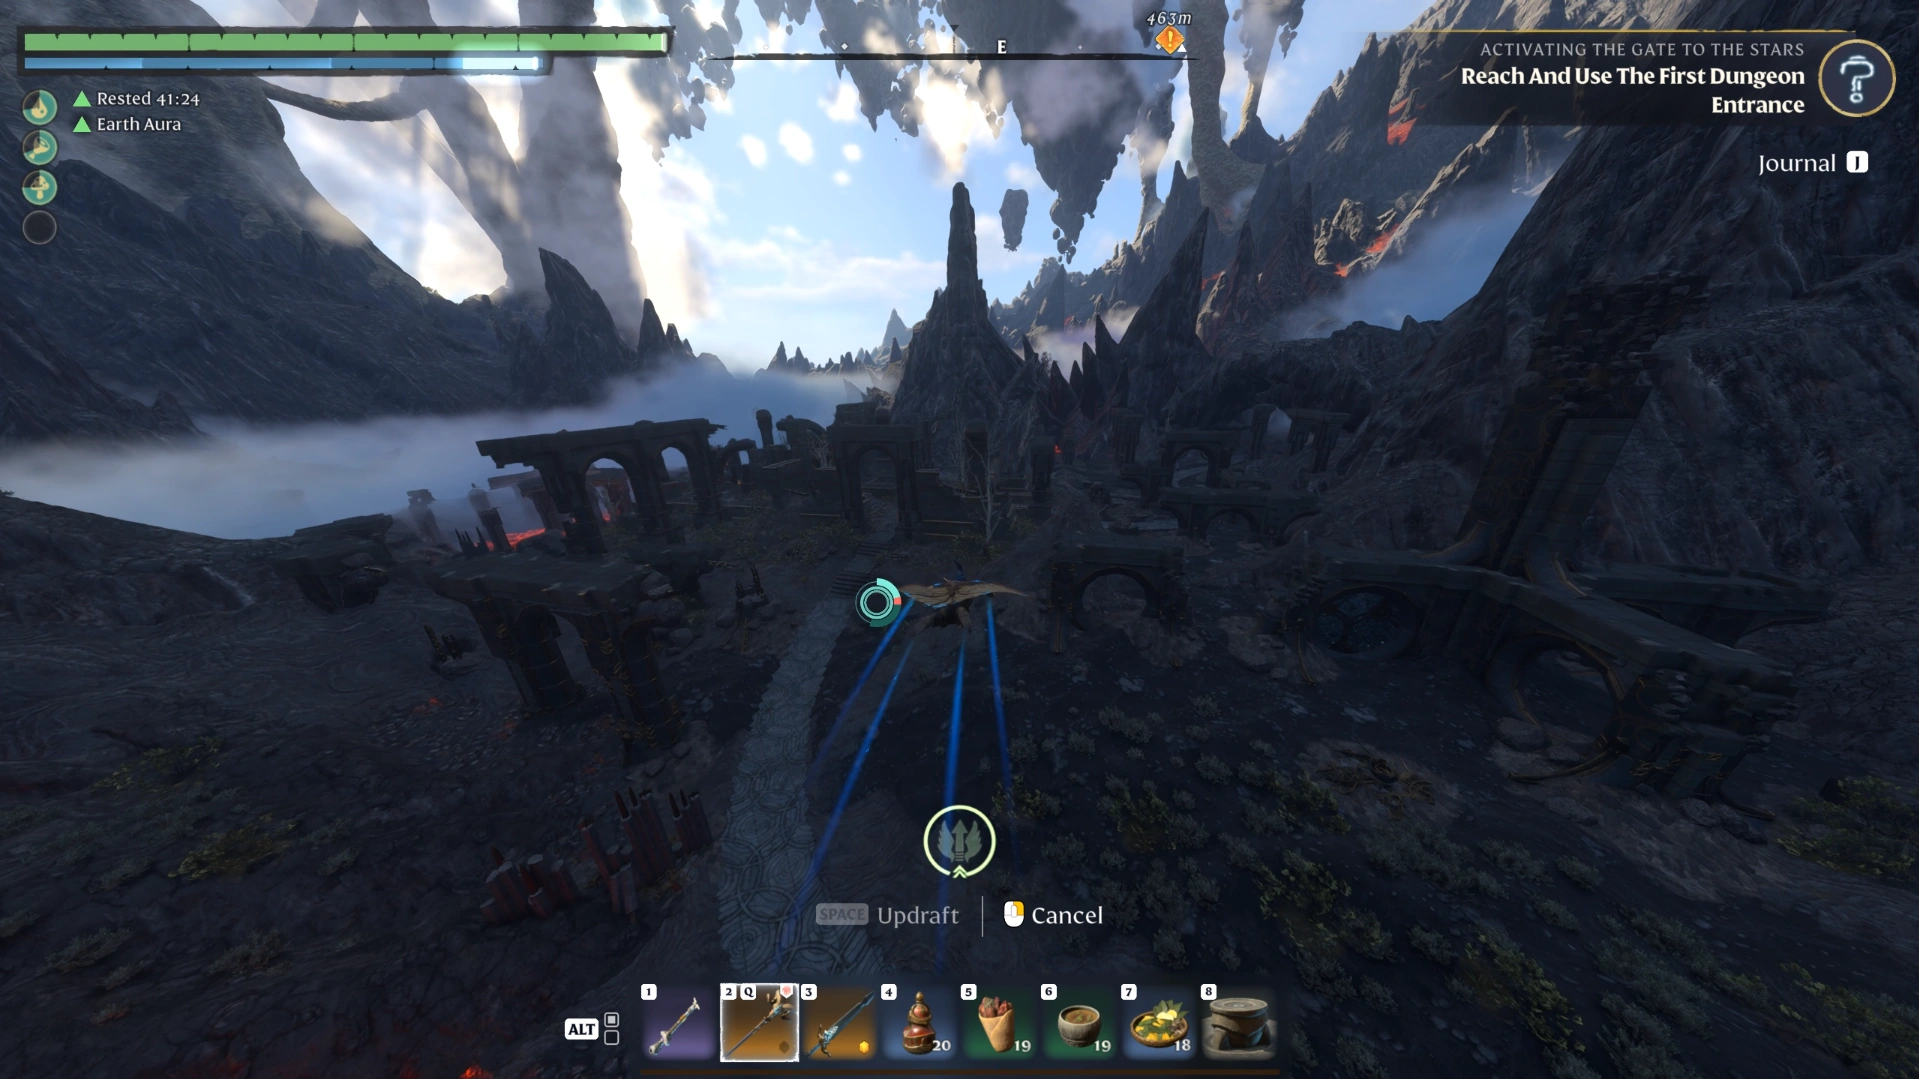
Reach the entrance: Follow the road from the Drak'Dal camp area to the jump pads, then glide up to the dungeon platform in Cinder's Cradle.
Clear the entrance and loot: Kill the Ancient guarding the platform and search the small loot piles nearby for a Spark.
Kill every large Ancient: Clear each floor of the main hall to lift the barrier.
Clear the scorpions below: Head downstairs, defeat the small Ancient scorpions, and take the lift down.
Handle the alarm room: Avoid the purple beams, and use a Spark at the alarm console the first time an alarm goes off.
Light the beacon: Jump across past the final room, activate the beacon, and open the chest below it with an Archaic Lockpick.
Gather the items below before you fast travel to Cinder's Cradle.

What You Need Before Entering the Springlands Dungeon
You unlock this quest by rescuing Loraine Crim during Land of the Sky Islands, then speaking to her at your base. Cinder's Cradle was added in the 1.0 update, which released on October 15, 2026.
Quest unlocked: Finish Land of the Sky Islands, summon Loraine Crim at your base, and talk to her to receive Activating the Gate to the Stars.
Flame Level: The official 1.0 changelog confirms the next Flame Level must be unlocked before you enter Cinder's Cradle.
Archaic Lockpicks: The beacon chest and the golden chest both need an Archaic Lockpick. You can craft them by hand or at the Ancient Researcher from Archaic Shards, and the dungeon drops enough shards if you arrive with none.
A Spark: You need one the first time you disable the alarm console.
A ranged weapon: A staff or bow lets you kill the alarm room guard from a distance and pick off constructs on the upper walkways.
A nearby Flame Altar: We placed an altar close to the Drak'Dal camp before this run, which shortens the trip to a run, a glide, and the jump pads.
Once these are in your inventory, fast travel to your altar and set off for the entrance.
How to Reach the Springlands Dungeon Entrance in Cinder's Cradle
The route below starts from a Flame Altar near the Drak'Dal camp. You can trace the road and jump pads on the Enshrouded Interactive Map before you set off, though marker positions are estimates and may not match your world exactly.
Head down the road: Run, jump, and glide down the road leading away from the Drak'Dal camp.
Take the right fork: When the road splits ahead, go right and keep following it uphill.
Use the jump pads: Hop onto the first jump pad and glide straight ahead to the next section of road.
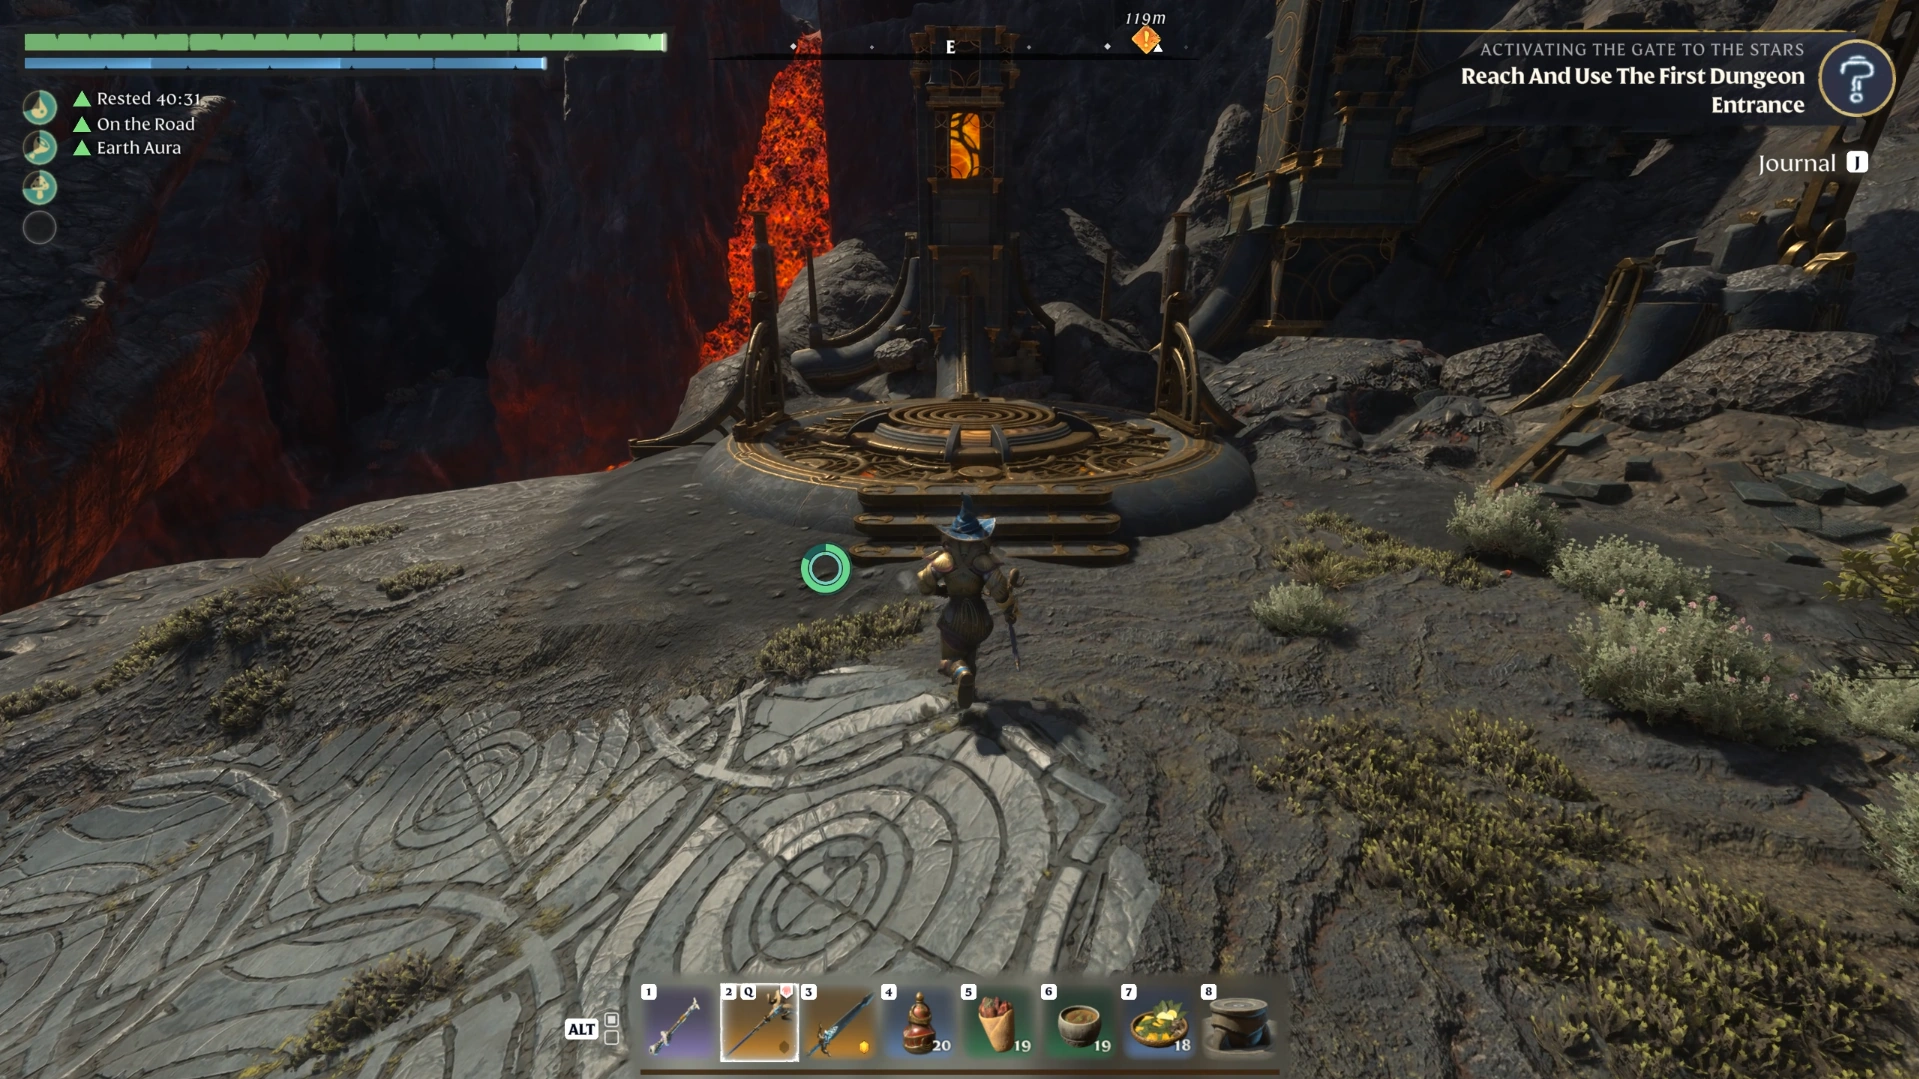
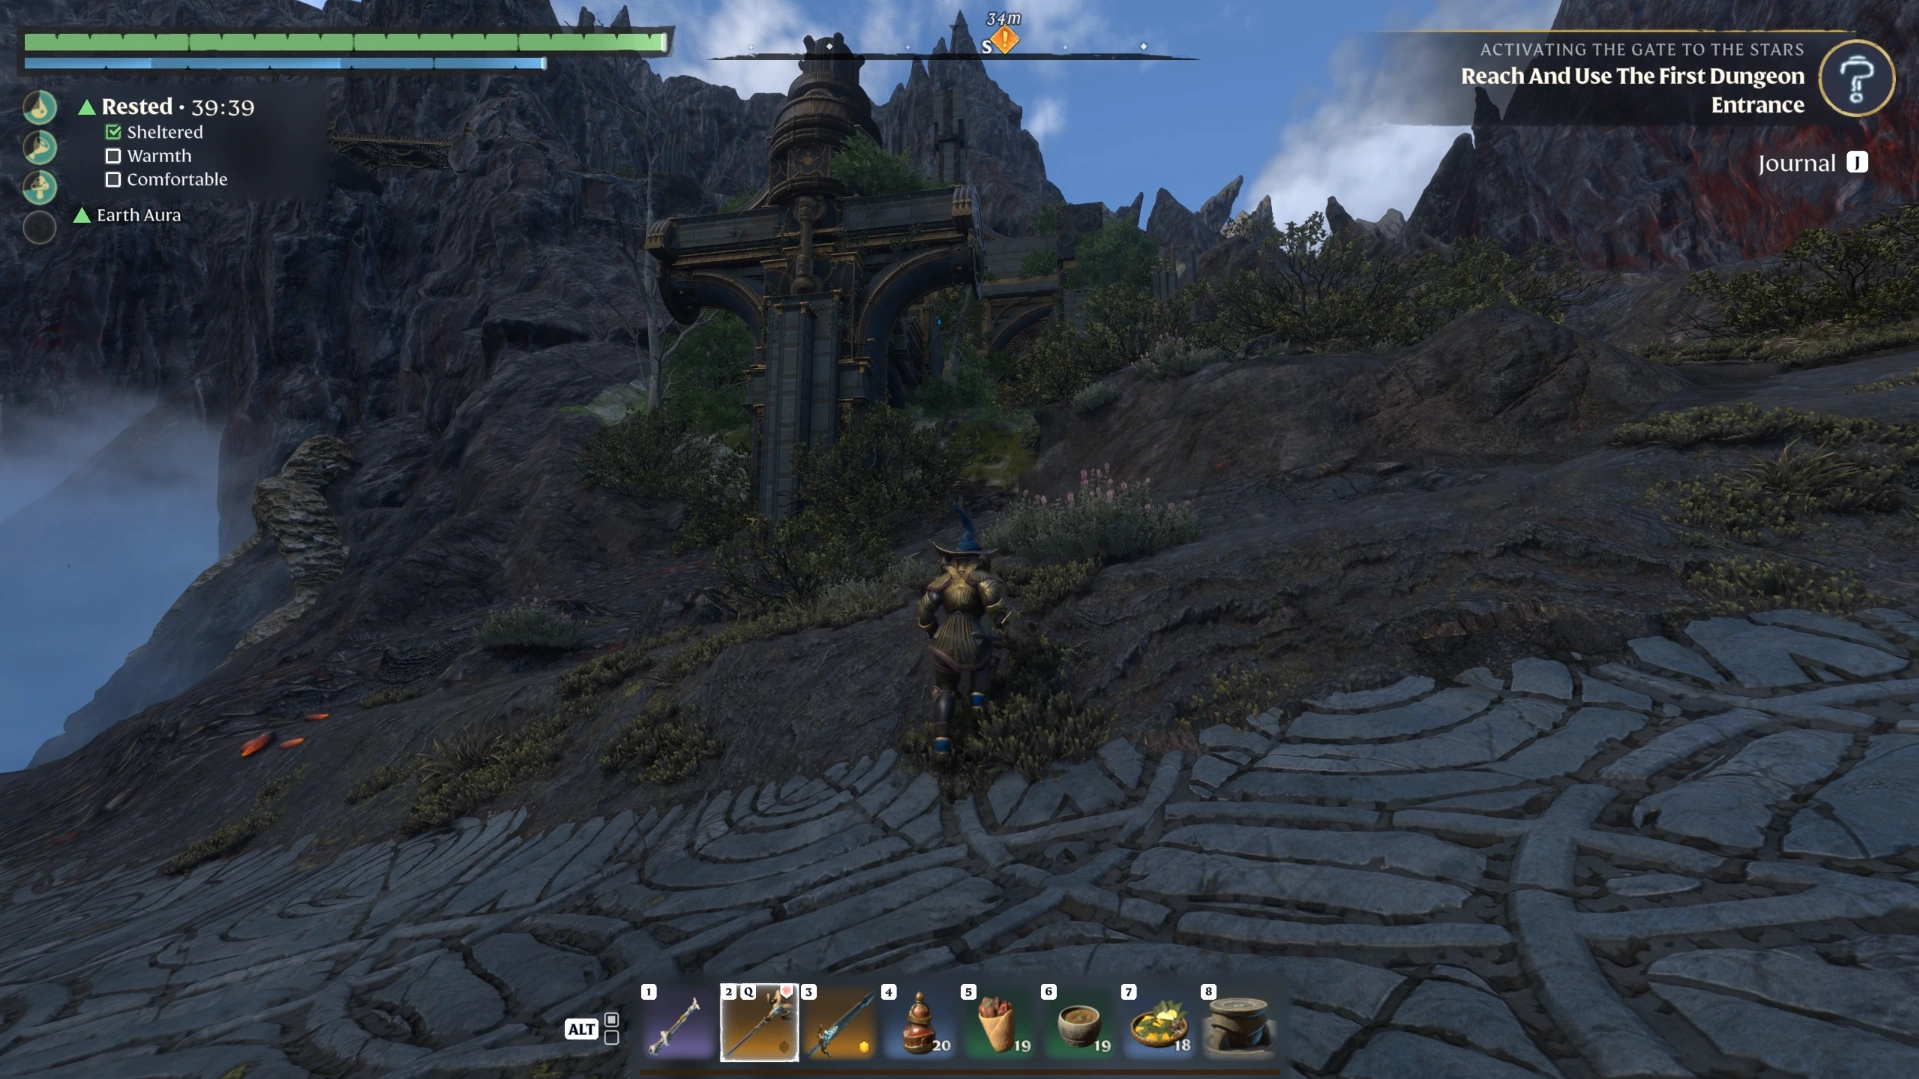
Follow the road to the end: Stay on the road until it ends at the dungeon entrance platform.
Every beacon dungeon entrance has a platform with a beacon on its tip. Once you light the beacon inside, this one glows too, so you can confirm a dungeon is done from the outside.
Kill the Ancient standing at the entrance before you go in. Then loot every small pile around the platform, as one of them holds a Spark.
The Second Way in from Springlands
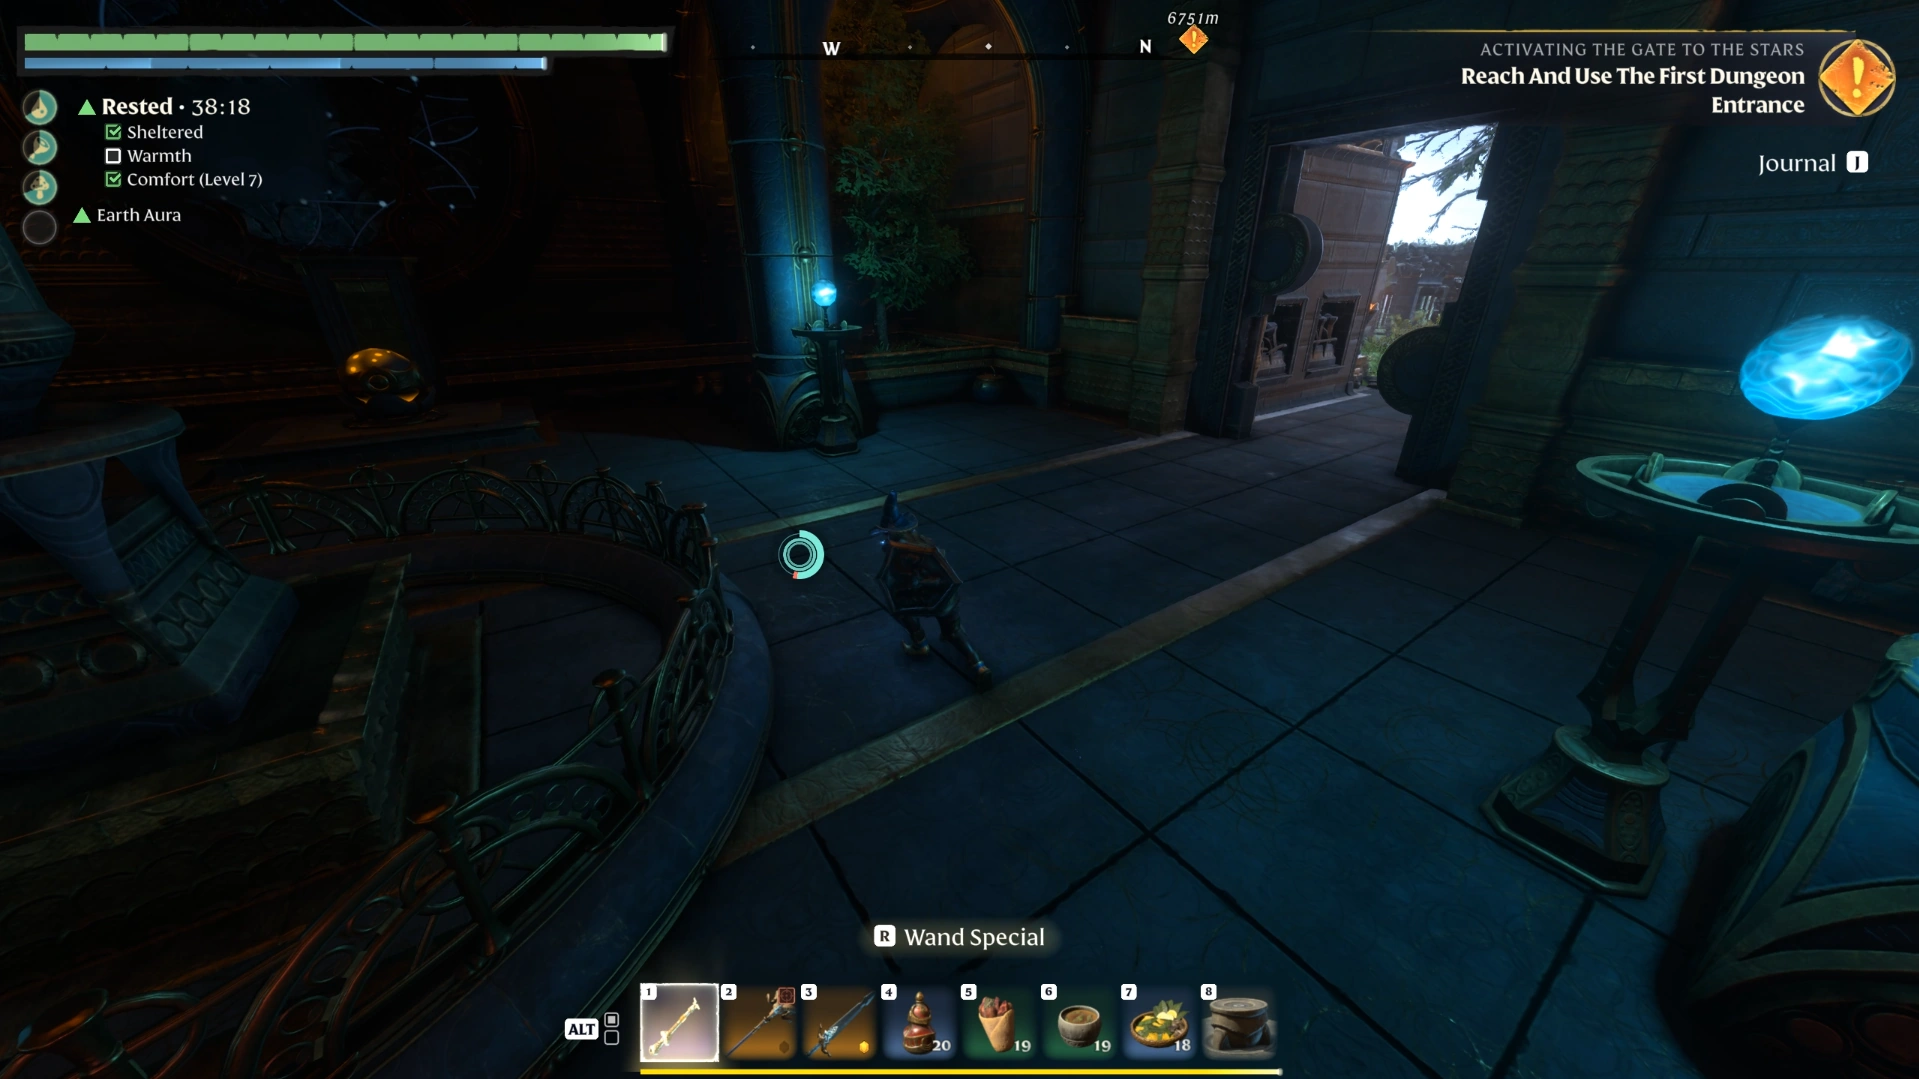
The dungeon itself sits far below the entrance, at the bottom of Springlands. Open your map once inside and you will see the entrance marker in Cinder's Cradle, while your position is down in Springlands.
A passage to the right of the arrival point leads straight outside. Use this second way in on return trips instead of climbing back up to Cinder's Cradle.
Example Scenario (hypothetical): You reach the alarm console without a Spark because another player on your server already looted the entrance piles. Leave through the Springlands side exit to restock, then walk back in the same way rather than repeating the full Cinder's Cradle route.
With the entrance cleared, head into the main hall and start on the large Ancients.
How to Lift the Barrier in the Springlands Dungeon
To lift the barrier in the Springlands dungeon, kill every large Ancient in the main hall and on its upper walkways. Use the two staircases on opposite sides of the hall to reach each floor, clear both sides, and the barrier opens once the last Ancient falls.
Clear the arrival area: Pull the large Ancients toward you, take them out, and loot the bodies.
Climb to the first upper floor: Take the stairs in front of the barrier or the set diagonally across from them. You need to use both staircases to reach every enemy on this level.
Clear the top floor: Kill the two Ancients near the stairs first, then work around the walkway clockwise or counterclockwise to the opposite stairs.
Check the lower floor: Head back down and clear the floor beneath the top level, which is easy to skip on the way past.
Head downstairs: Once the barrier lifts, kill the guards behind it, loot, and go down to clear the small Ancient scorpions.
The small chests near the staircases can roll legendary pants and a bow, though they do not always drop legendary gear. Each floor also has a lore plaque on both sides of the hall, and we found about six in total.
Example Scenario (hypothetical): You clear the top floor, but the barrier stays down. Sweep the lower floor beneath the top walkway before backtracking, since it is the easiest level to pass without clearing.
Once the scorpions downstairs are dead, walk straight ahead to the lift and ride it down to the alarm section.
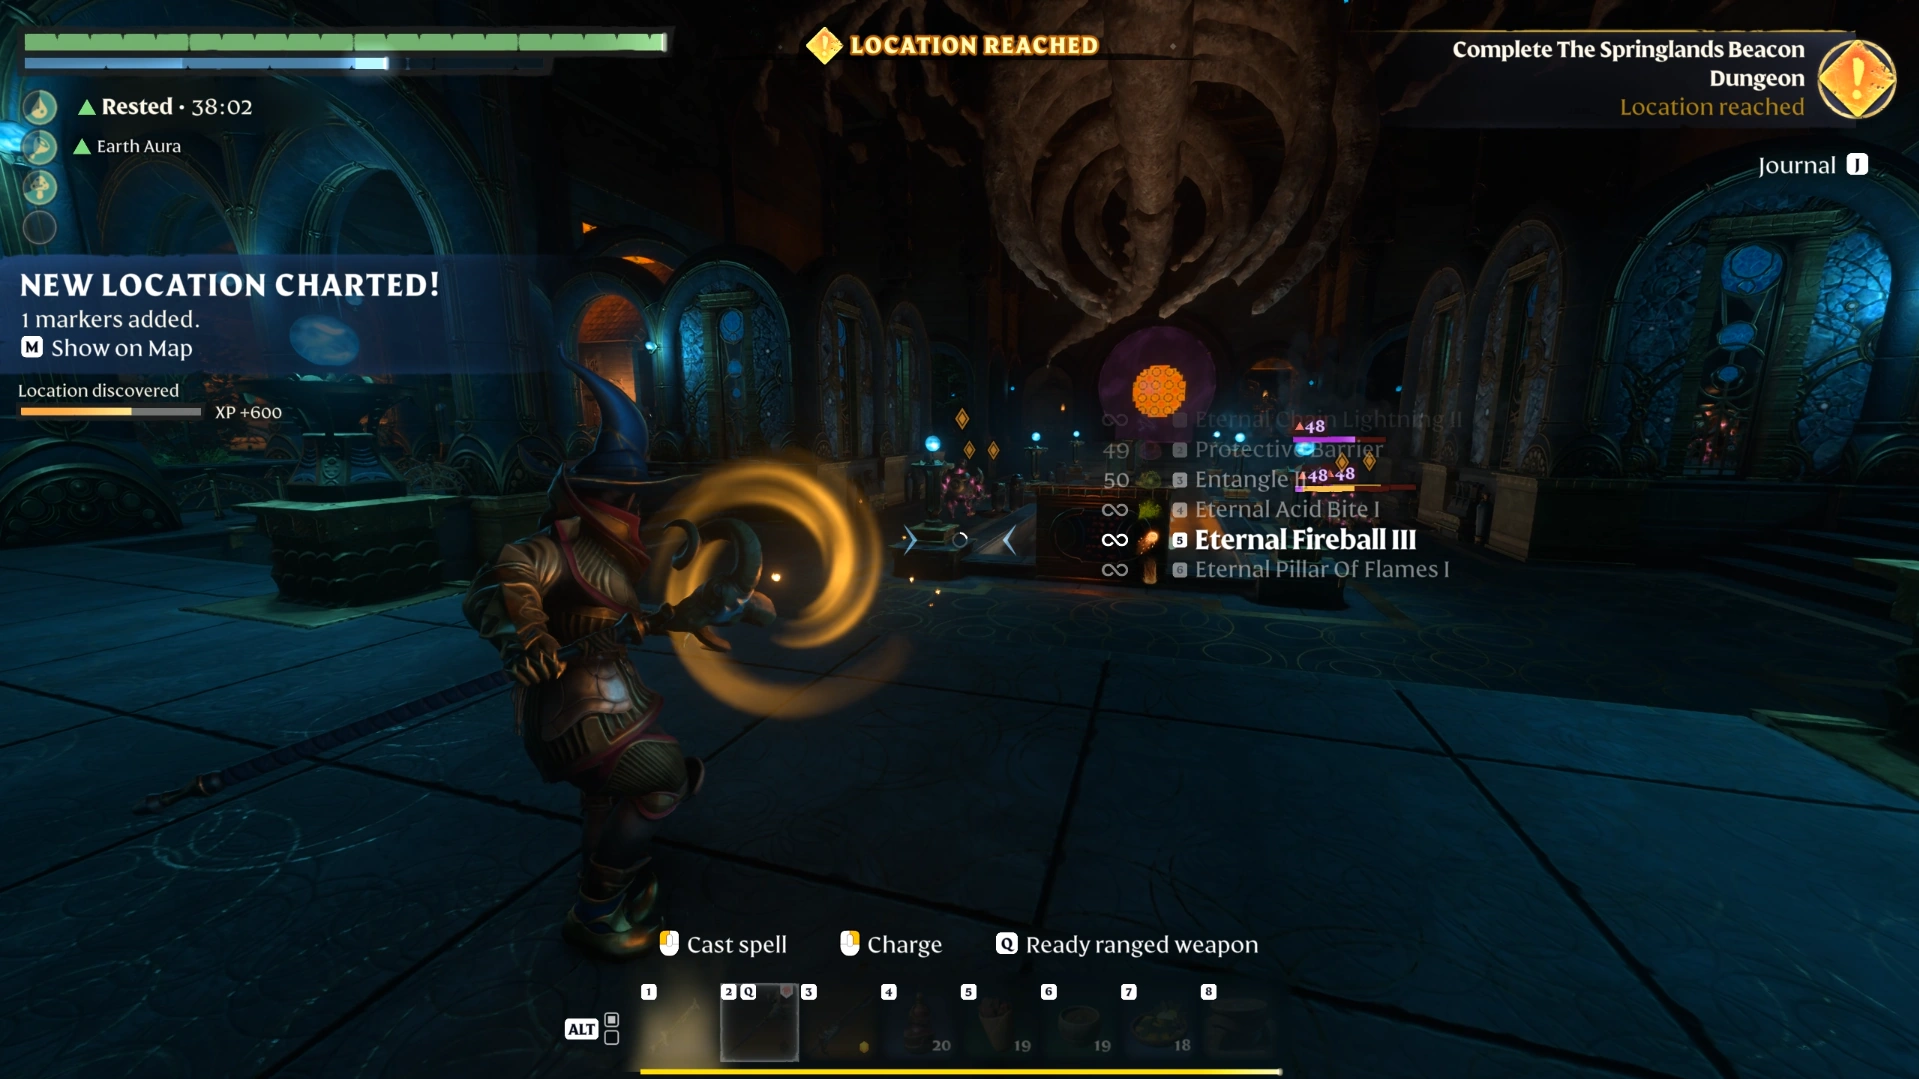
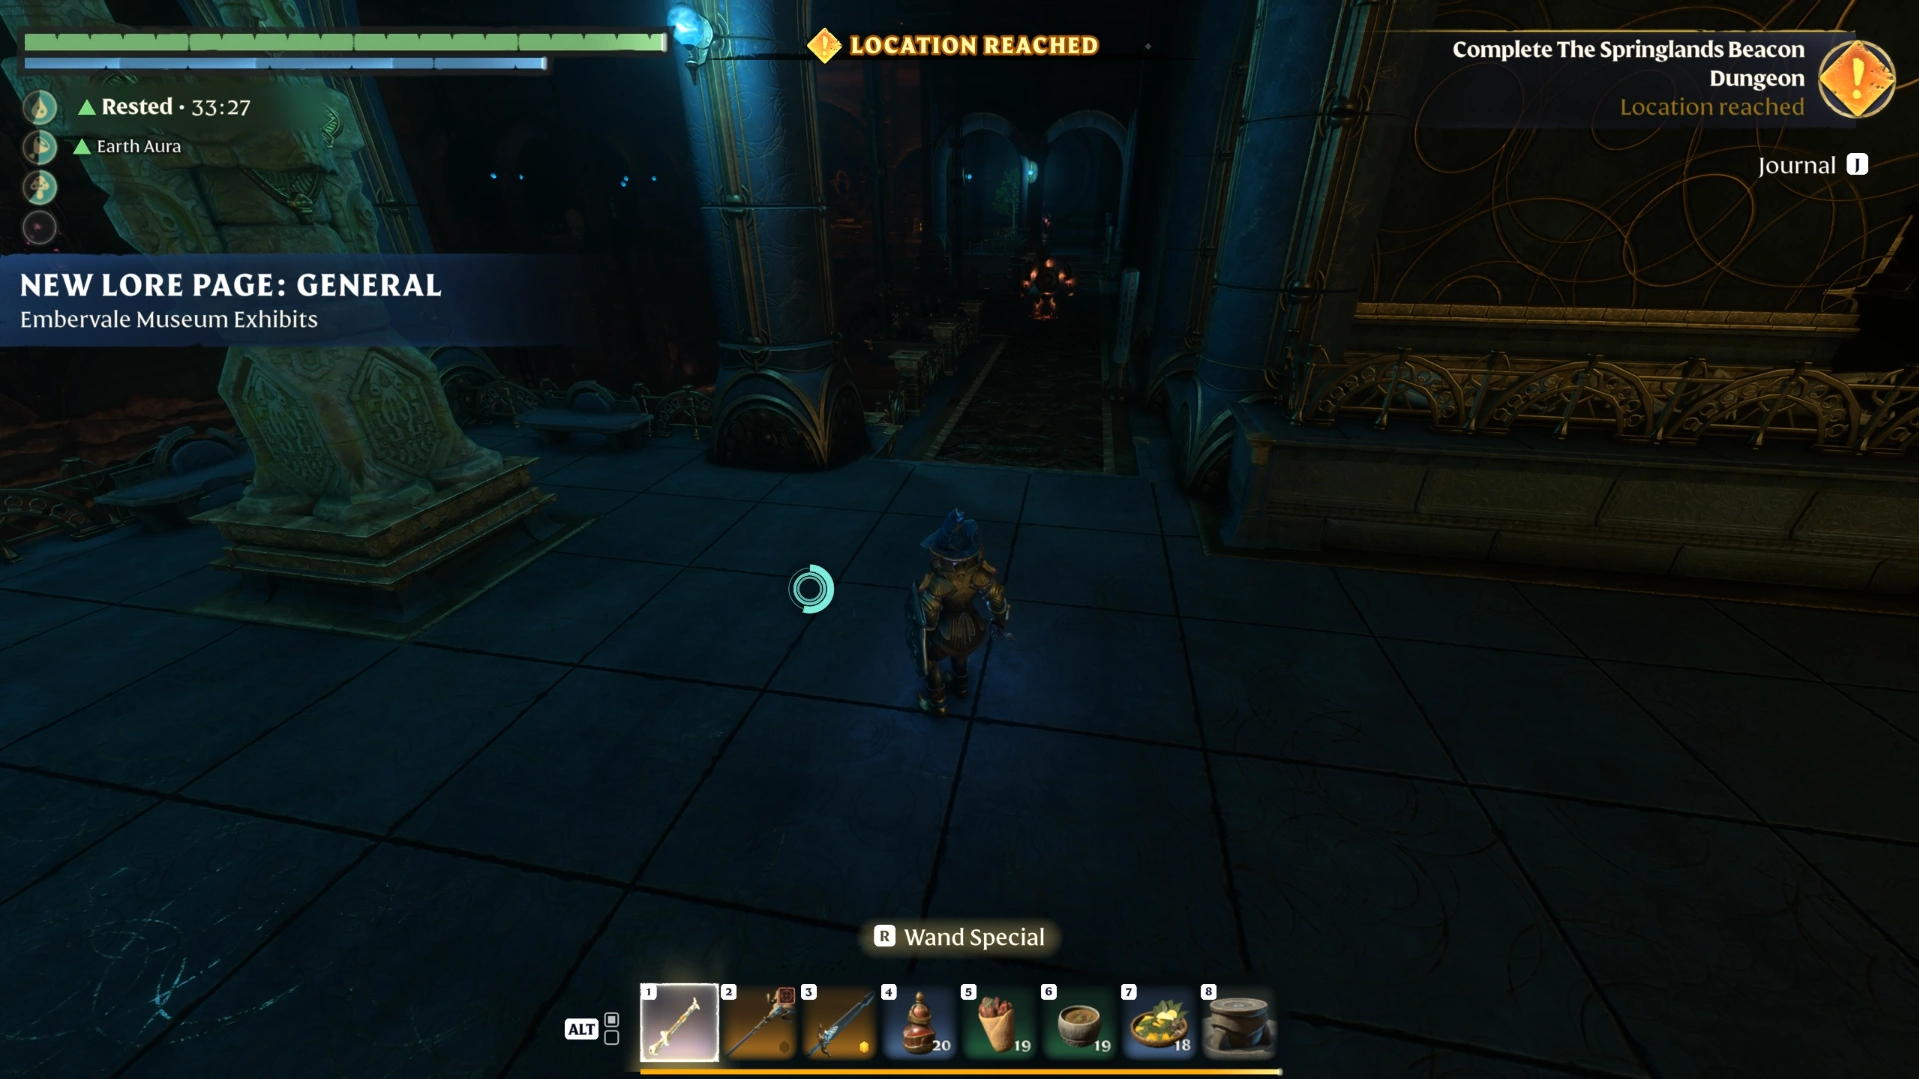
How Alarms and Sparks Work in the Springlands Dungeon
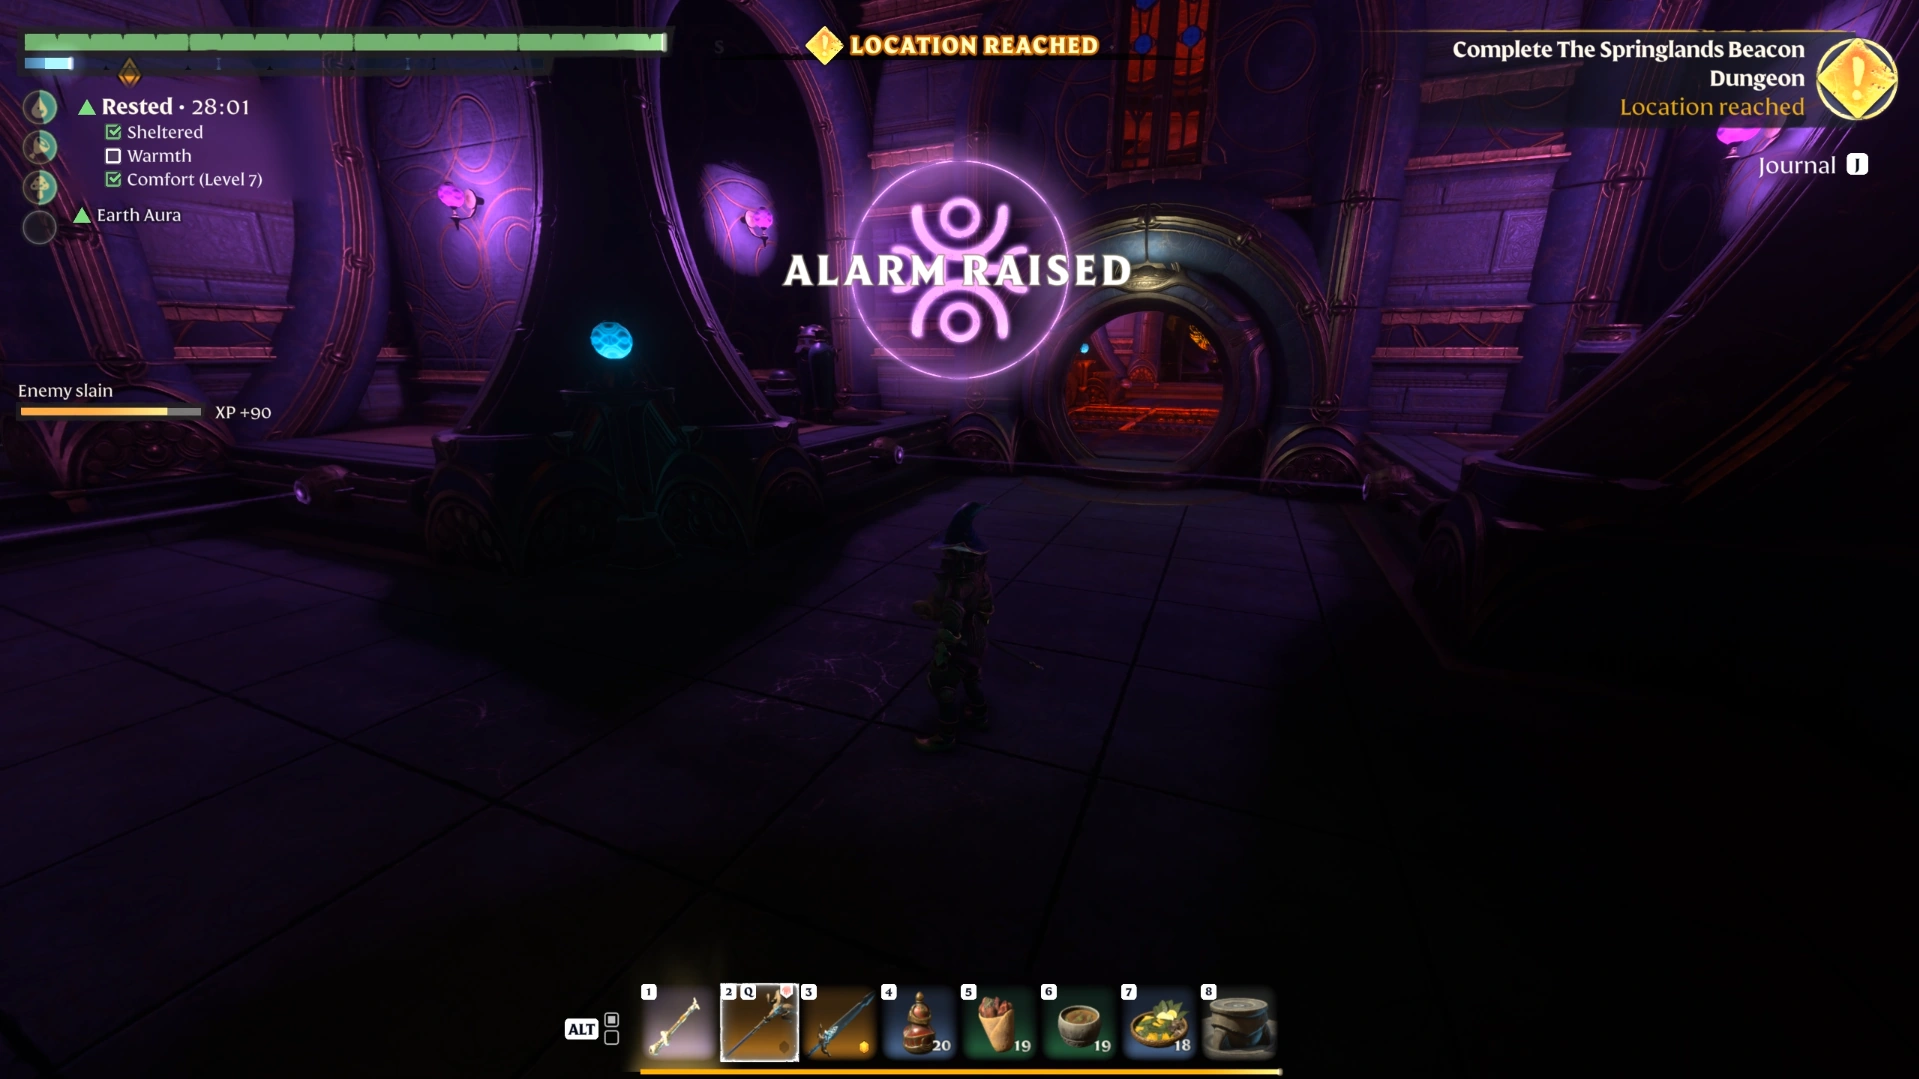
The alarm in the Springlands dungeon triggers when you run through a purple beam or kill the guard in the alarm room. Insert a Spark at the console on the right-hand platform to shut it off the first time, after which you can press the button for every later alarm.
An active alarm spawns small Ancient scorpions. The beams deal no damage, so a mistake costs you an extra wave of enemies and a walk back to the console.
Situation | What happens | What you need |
|---|---|---|
Running through a purple beam | Alarm raised, scorpions spawn | Console reset |
Killing the alarm room guard | Alarm raised on death | Console reset |
First console reset | Alarm shuts off, console stays active | 1 Spark |
Any later console reset | Alarm shuts off | No Spark, press the button |
Alarm raised near the final three enemies | Gates can drop and open, sending them into the lava | Nothing, but it does not happen every time |
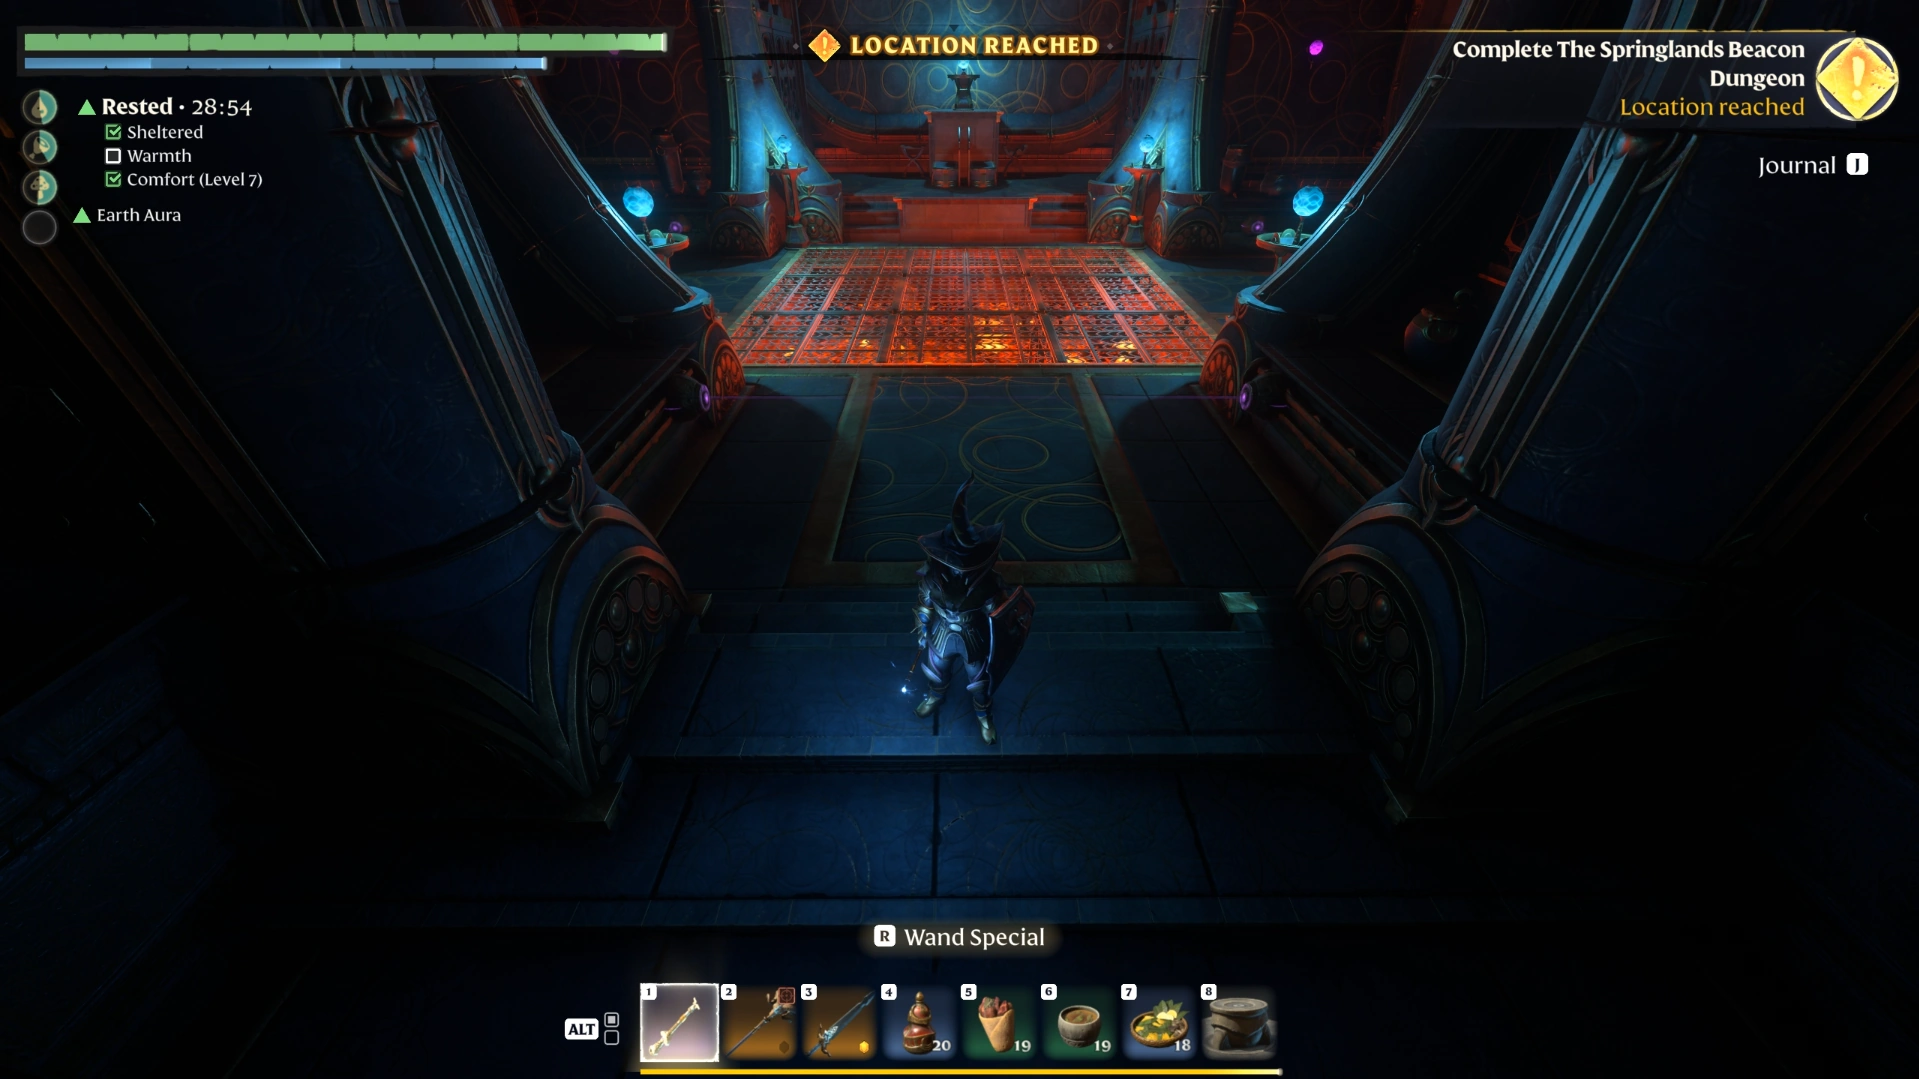
Step-by-step Through the Alarm Room
The order below follows our run from the bottom of the lift to the final room.
Explore the first room: Grab the lore scroll and loot the small containers inside.
Find the console: Note the platform to the right where the alarm console sits.
Kill the guard: Open the door ahead and kill the guard from range with a staff or up close in melee.
Reset the alarm: Run back to the console, insert your Spark, and clear the scorpions that spawned.
Clear the last enemies: Kill the final scorpion, loot the next enemy, and move on to the group of three by the lava.
Raising the alarm near those three can drop and reopen the gates, which kills them in the lava. This did not trigger reliably in our testing, and their drops gave us two Archaic Cores when we fought them directly.
Example Scenario (hypothetical): You are using a staff and want to avoid a second alarm wave. Kill the guard from the doorway, go straight to the console to spend your Spark, and only then cross the beam area, so a stray trigger costs a button press instead of another Spark.
After the group of three falls, jump across from the final room and head right to the beacon.
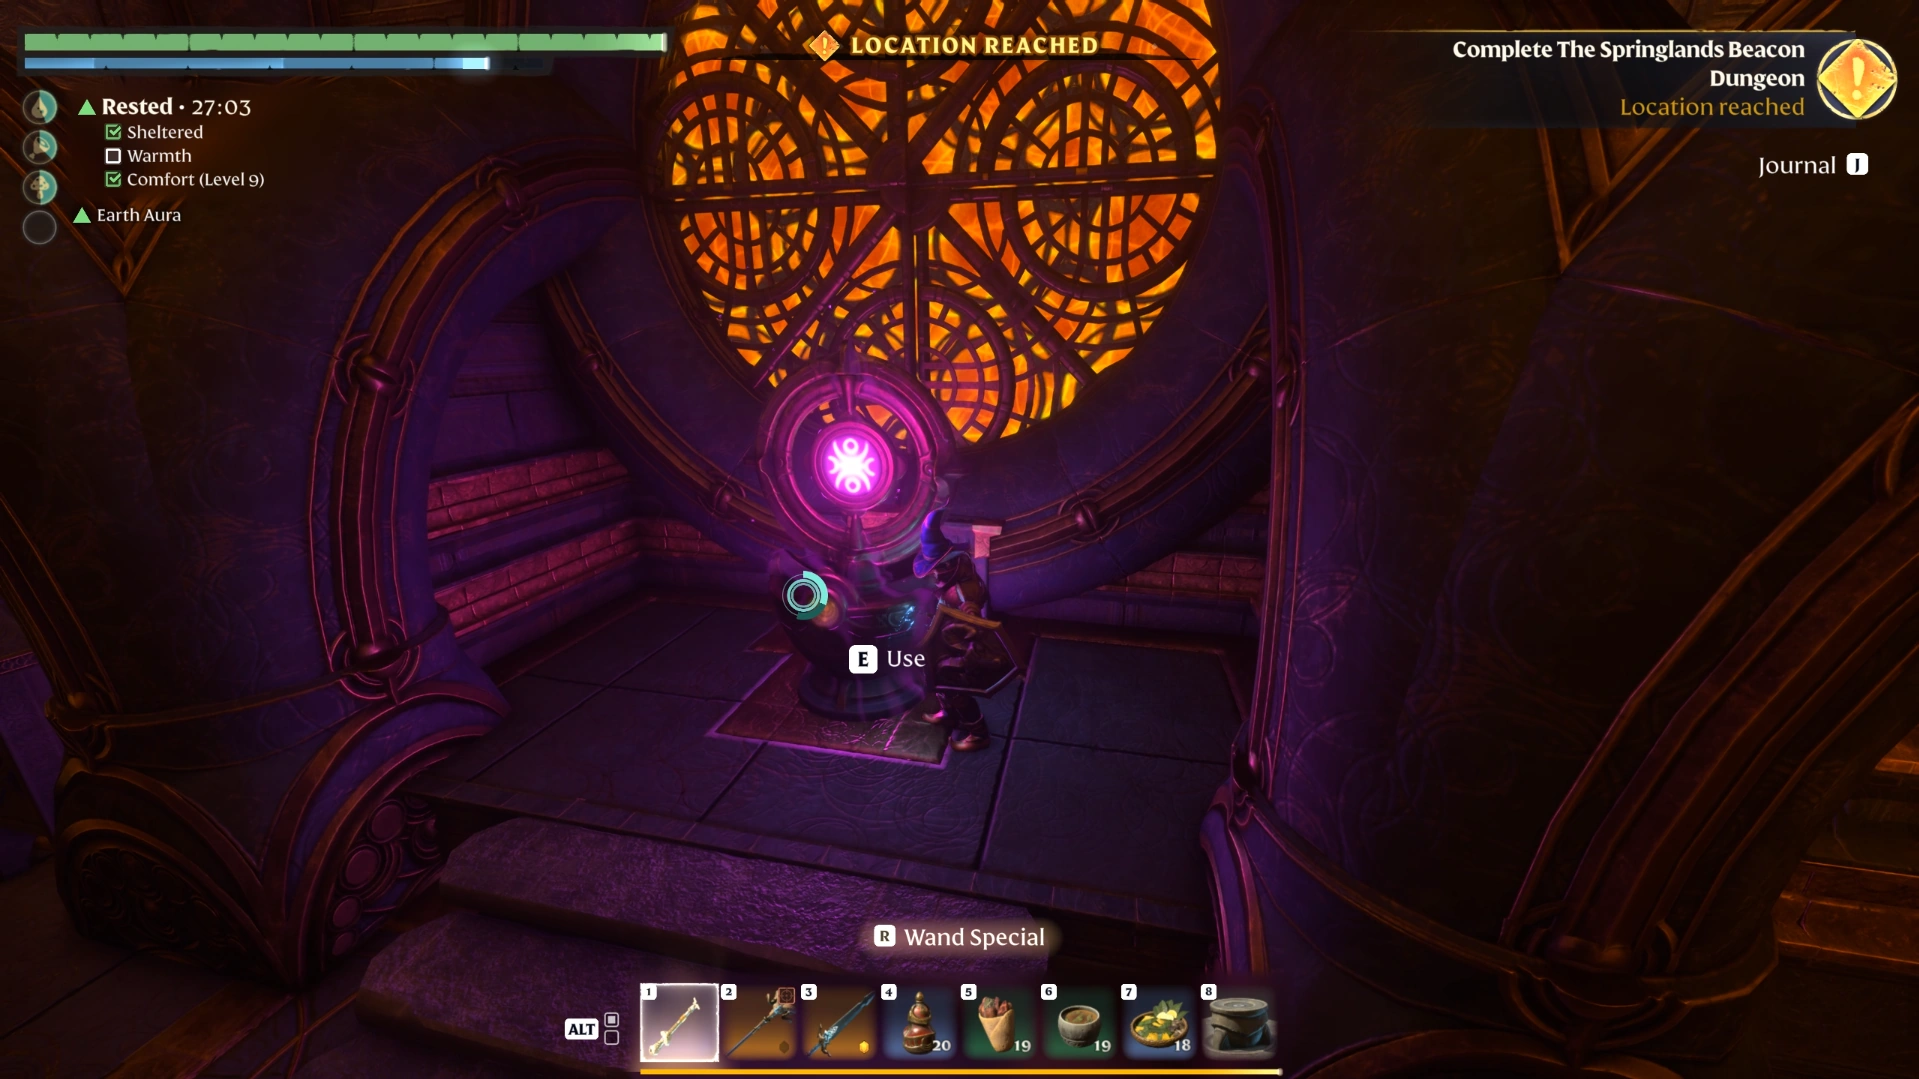
How to Light the Springlands Beacon and Loot the Chests
To light the beacon in the Springlands dungeon, cross the final room, jump over the gap, and go right to the beacon. Activating it updates the quest to 1/6 and lights the matching beacon at the entrance, and a locked chest sits directly below it.
The final room is empty in Springlands. In the other beacon dungeons, enemies spawn in this same room.
Springlands dungeon loot sources
The table below lists the loot sources we opened in our run, and you can look up each drop in the Enshrouded Database. Gear rolls vary, so treat the items as examples rather than guaranteed drops.
Loot source | Where to find it | What we found |
|---|---|---|
Small loot piles | Around the entrance platform | A Spark (in one pile) |
Small chests | Near the main hall staircases | Chance of legendary pants and a bow |
Final three enemies | Beside the lava near the end | 2 Archaic Cores |
Beacon chest (Archaic Lockpick) | Directly below the beacon | A staff |
Open the beacon chest and the golden chest with your Archaic Lockpicks, then leave through the entrance to check your map for the next dungeon.
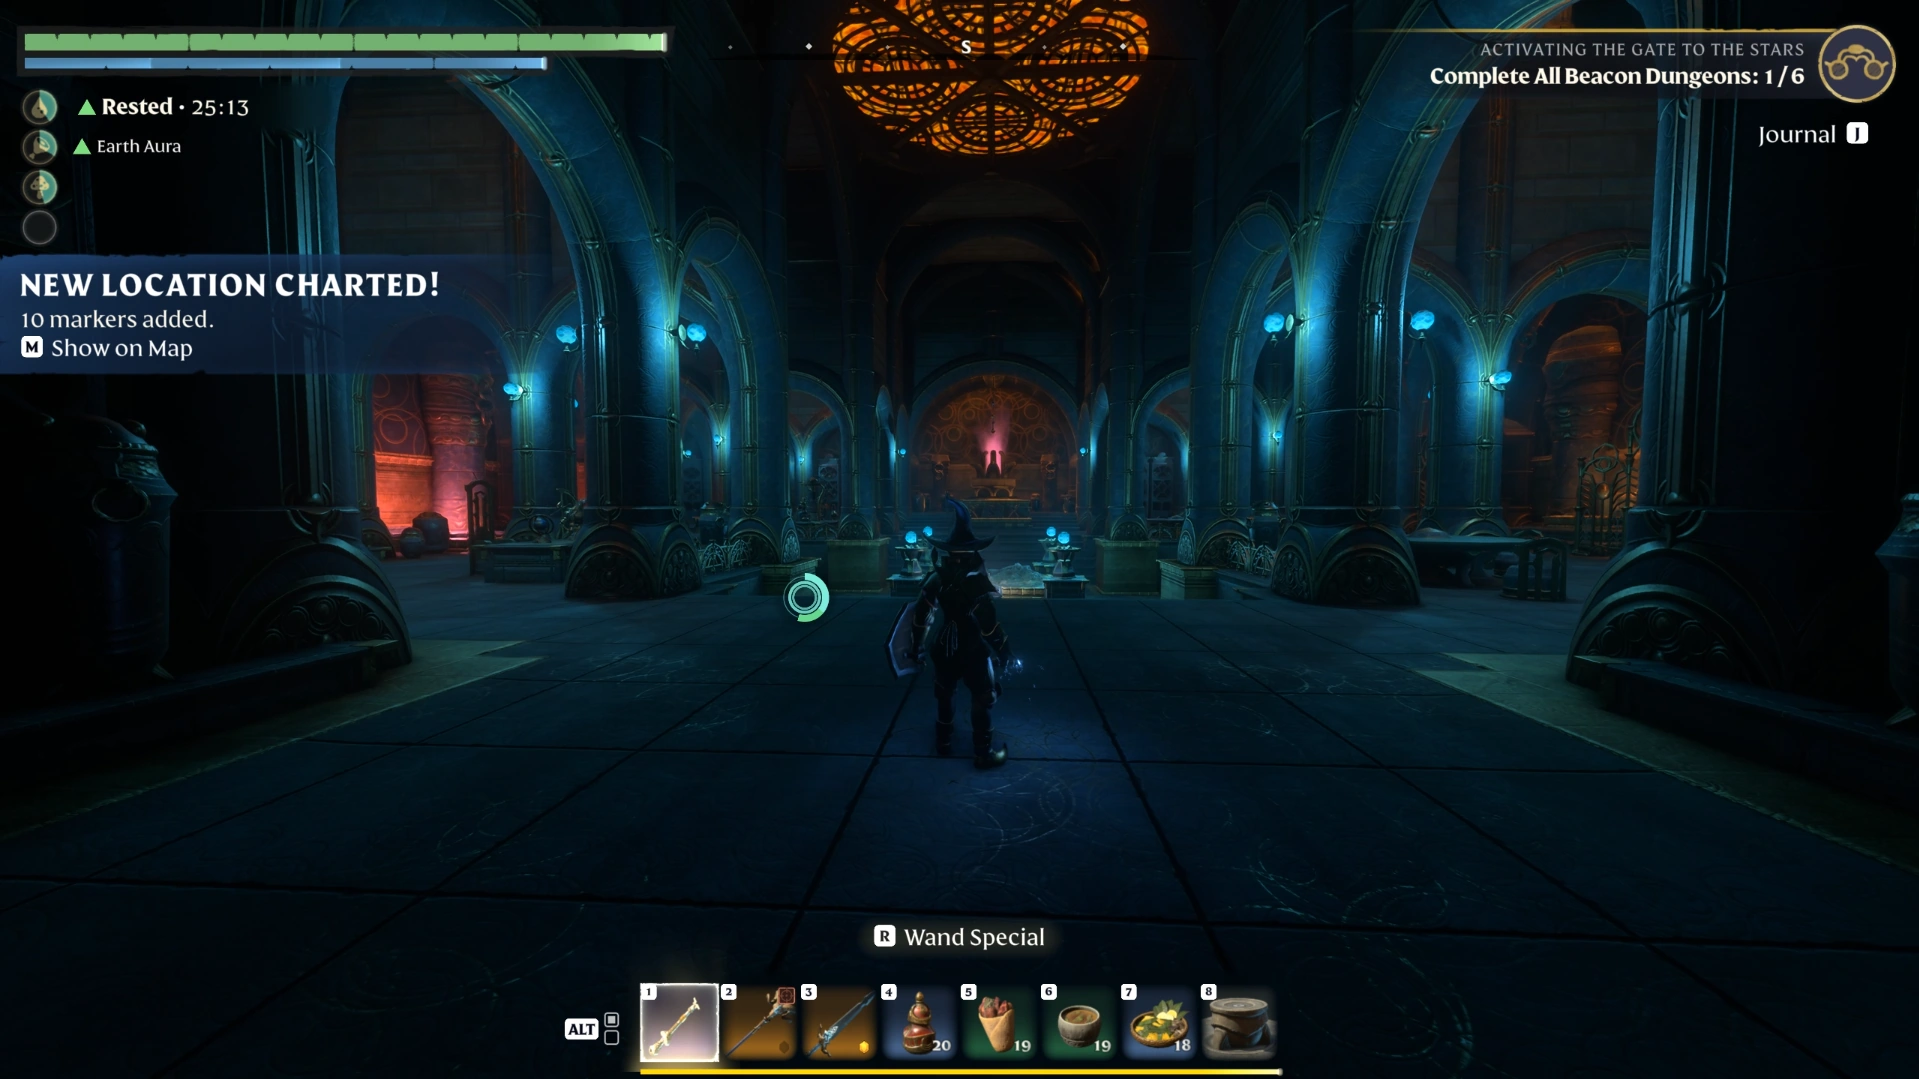
What Happens After the Springlands Beacon Is Lit
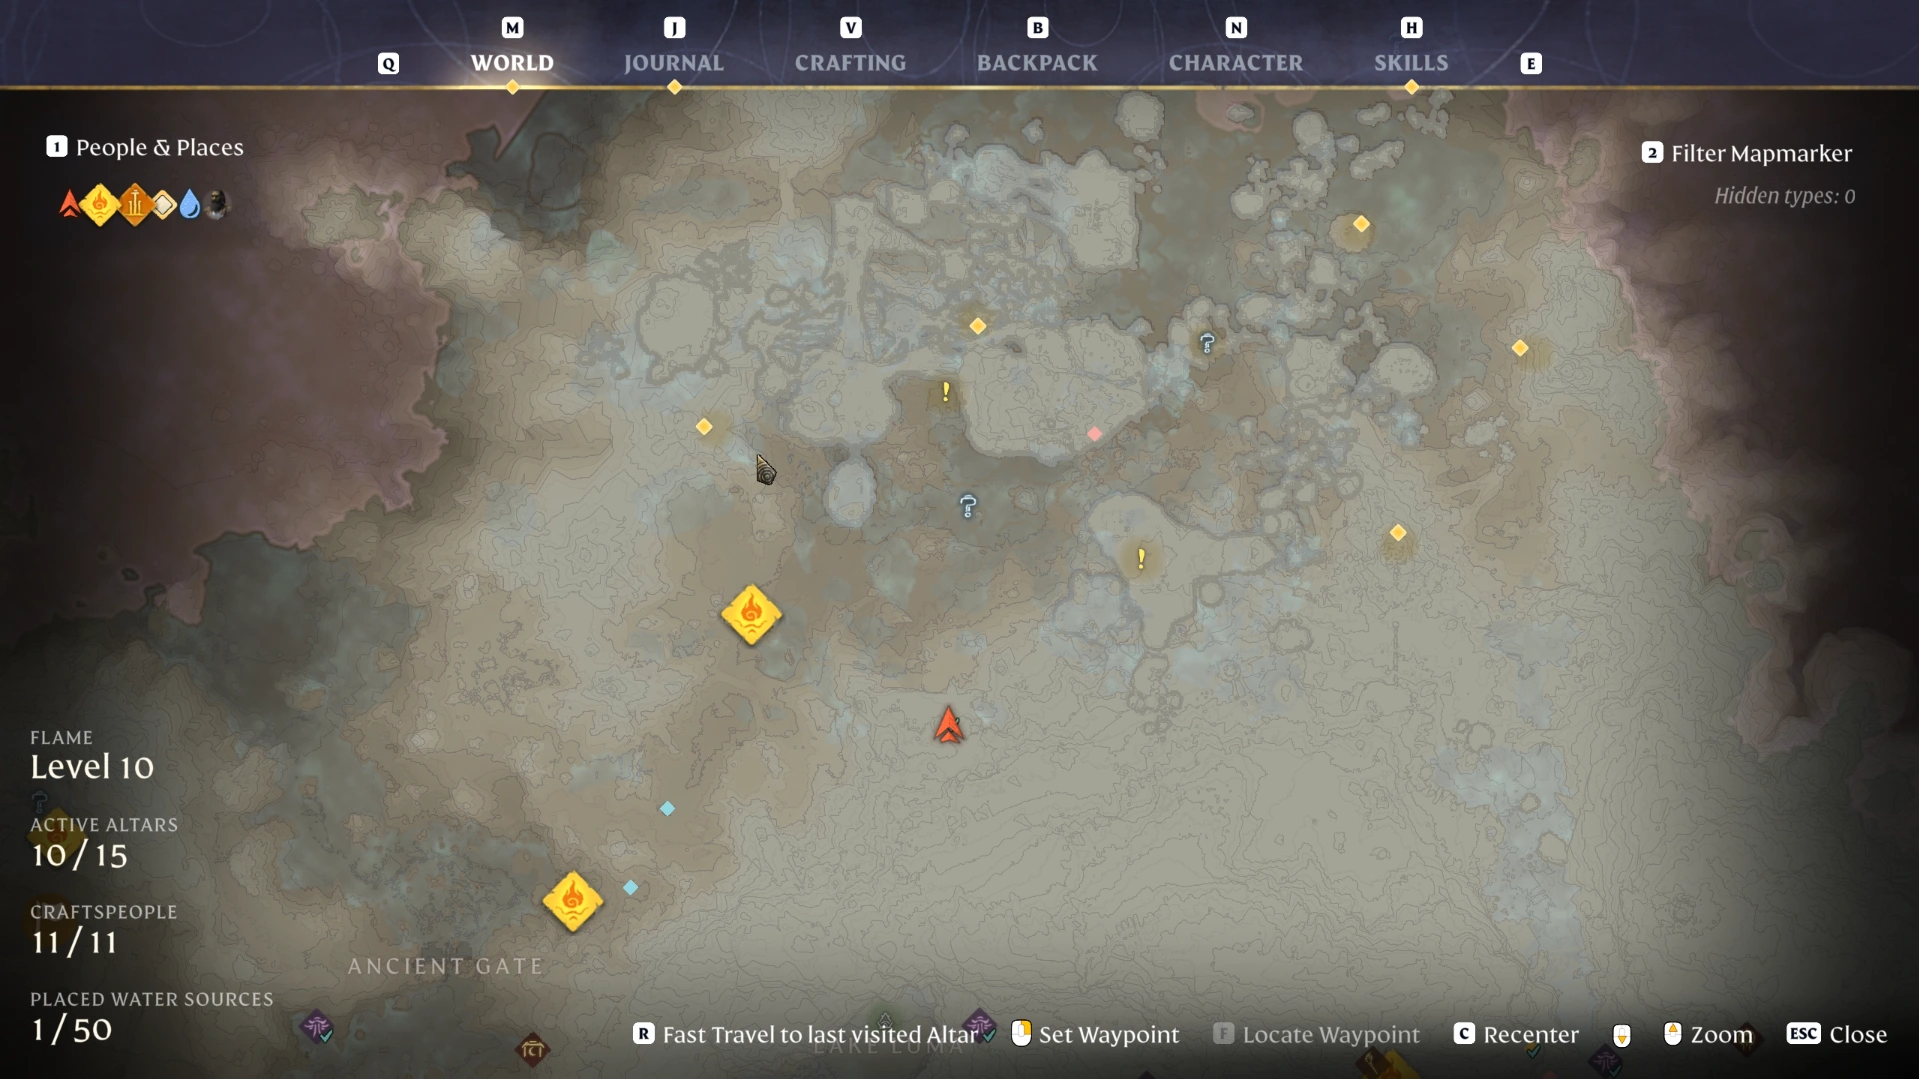
After you light the Springlands beacon, return to the entrance in Cinder's Cradle and open your map. The five remaining beacon dungeon entrances now appear as markers, and you must clear each one and light its beacon before Activating the Gate to the Stars reaches 6/6 and completes.
Springlands is the required starting point, since the other entrances stay hidden until its beacon is lit. These five dungeons are part of the content the 1.0 changelog on Steam describes as previously locked dungeons and areas.
Example Scenario (hypothetical): You finish Springlands late in a session and want a quick start next time. Place a Flame Altar near the closest newly revealed entrance before logging off, so your next run begins at the door.
Pick the nearest marker on your map and travel there to start part two.
Take the Springlands Routine to the Next Five Beacons
You can now reach the Springlands entrance from the Drak'Dal camp, lift the barrier, reset alarms without wasting Sparks, and light the first of six beacons. Head to the next marker on your map with spare Archaic Lockpicks and a Spark in your inventory.
Before your next run, check our Enshrouded 1.0 patch notes for everything else that arrived with Cinder's Cradle.
FAQs
What are Archaic Cores used for in Enshrouded?
Archaic Cores in Enshrouded are a Legendary material used to craft Archaic Infusion, the Emberguard Chestplate, and Eternal spells such as Eternal Heal Beam II. According to the MetaForge database, the Ancient S.P.D.R. Construct always drops one or two, while 12 other ancient constructs have a 20% drop chance.
Is the Spark in Enshrouded the same as Sparkworks?
No, the Spark in Enshrouded's beacon dungeons is an item you insert at an alarm console, while Sparkworks is a separate logic system. Keen Games' 1.0 changelog describes Sparkworks as a way to create your own gameplay, and it plays no part in Activating the Gate to the Stars.
Where else can you use Archaic Lockpicks in Enshrouded?
Archaic Lockpicks in Enshrouded open locks in Ancient structures and dungeons, which the MetaForge database describes as their exclusive use, so carry spares whenever you explore an Ancient site. The recipe unlocks after you rescue Loraine Crim and obtain Archaic Shards, and each lockpick costs one shard.
Does the Enshrouded 1.0 update reset your skill tree?
Yes, the Enshrouded 1.0 update resets the skill tree on existing saves, so you need to spend your skill points again before tackling Cinder's Cradle. Keen Games' 1.0 changelog confirms saves from version 0.8 or earlier are backed up first and then migrated automatically to the new format.
What is the max level in Enshrouded after the 1.0 update?
The max player level in Enshrouded is 50 following the 1.0 update, and gear can be upgraded to a maximum level of 55. Keen Games introduced both caps alongside Cinder's Cradle on October 15, 2026, so these are the ceilings for any build you take into the beacon dungeons.