


Activating the Gate to the Stars: Veilwater Basin Dungeon in Enshrouded
To activate the Veilwater Basin beacon for Gate to the Stars in Enshrouded, swim through the flooded entrance, disable the alarm, and press three buttons. Those buttons unlock the beacon door inside the Veilwater Basin dungeon, where you light one of the six beacons needed to power the teleporter at Cinder's Ascent.
The team here at MetaForge ran this route on the 1.0 release of Enshrouded. Pack the gear below, then follow the route from the Revelwood Dungeon to the beacon.
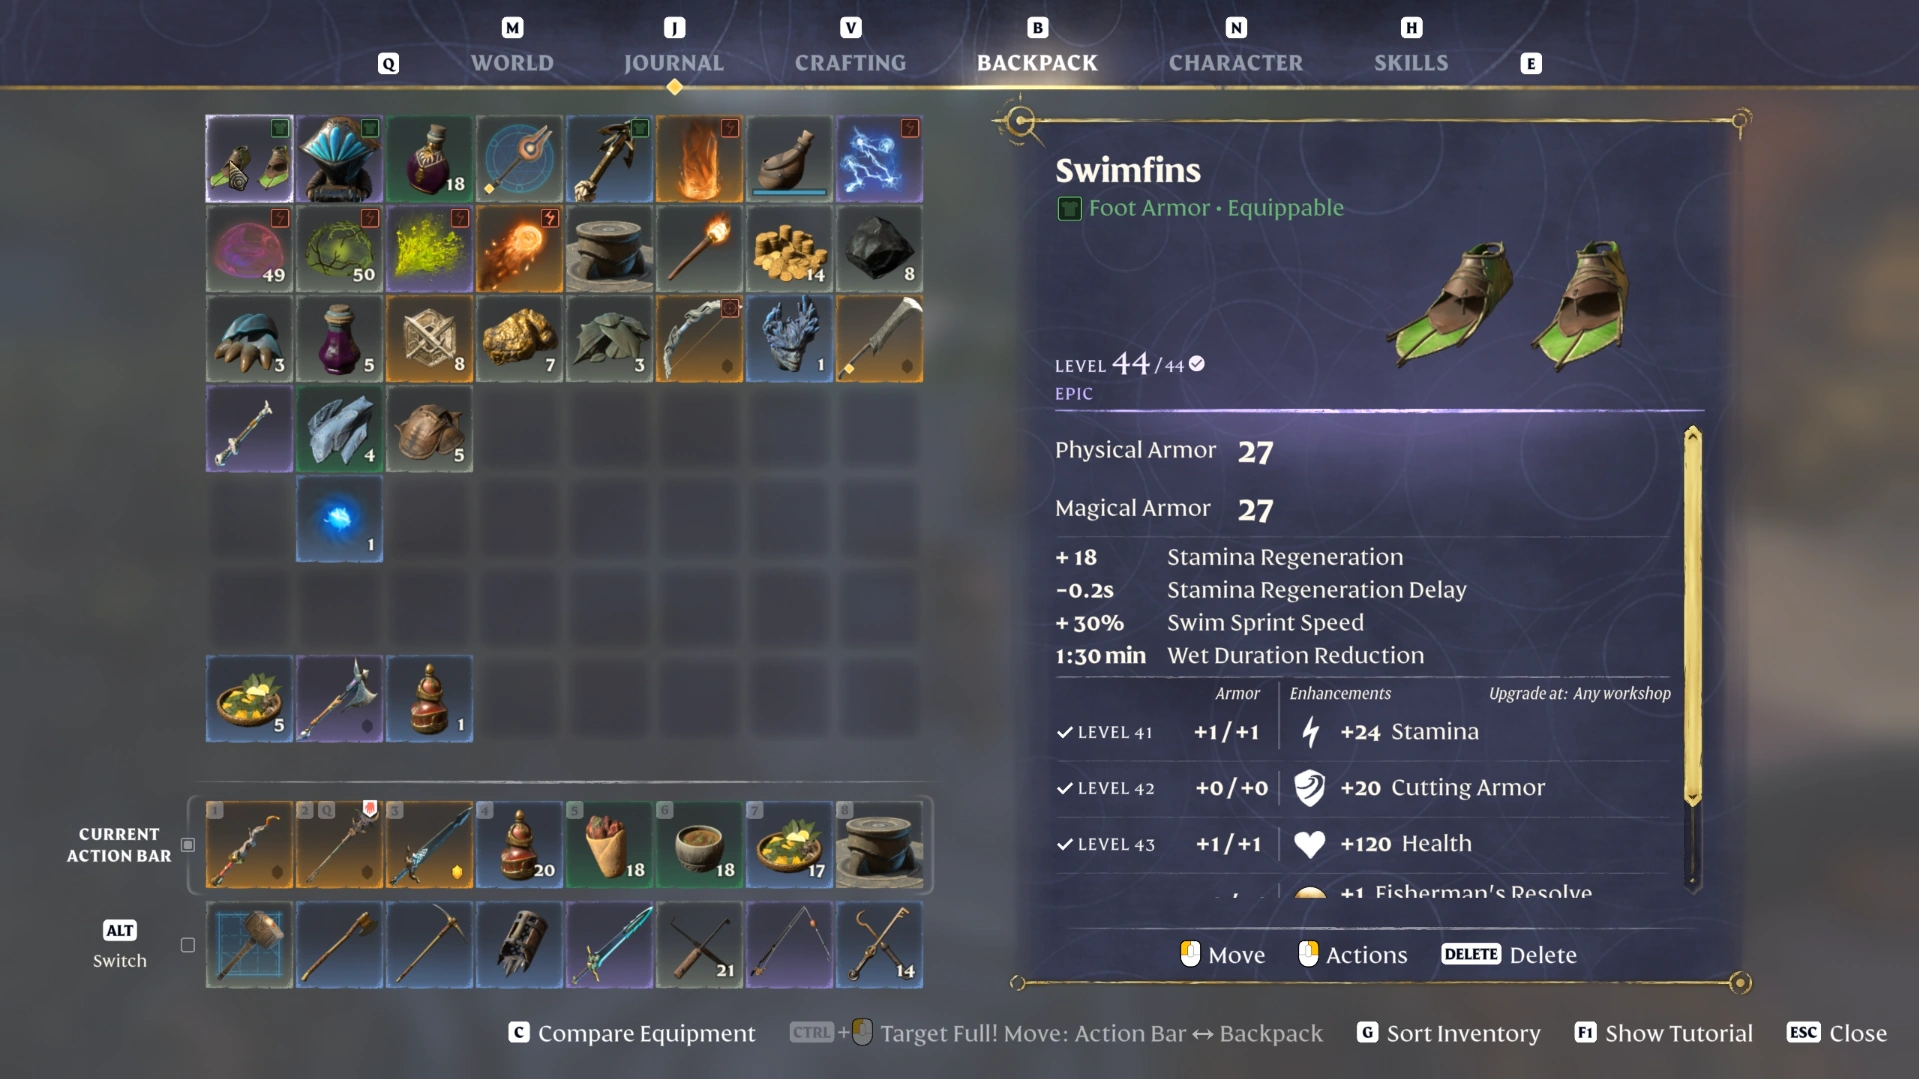
What to Bring Before You Enter
Two stretches of this dungeon are underwater, and only one diving item is required to clear them:
Item | Slot it replaces | Effect | Source | Needed for this dungeon? |
|---|---|---|---|---|
Diving Helmet | Head | +1 minute of maximum oxygen | Diving Gear quest, or crafted by the Fisher | Yes |
Swimfins | Feet | +30% swim sprint speed | Born Swimmer quest, or crafted by the Fisher | No, optional |
Pack these alongside your diving gear:
Spark: Bring more than one, as you insert one at the alarm button each time you reset it.
Healing potions and food: Several fights pull two to four Ancients at once, plus a swarm of small Ancient scorpions near the end.
Altar: Bring one to set down at the overlook above the entrance.
Lockpicks: None of the chests on our route needed one.
Example scenario (hypothetical): If you leave your Swimfins at base, the Diving Helmet alone still gives you enough air for every flooded section. Keep going rather than turning back.
Swap your normal head and feet armor back on every time you leave the water, before the next fight on dry land.
How to Reach the Veilwater Basin Dungeon from Revelwood
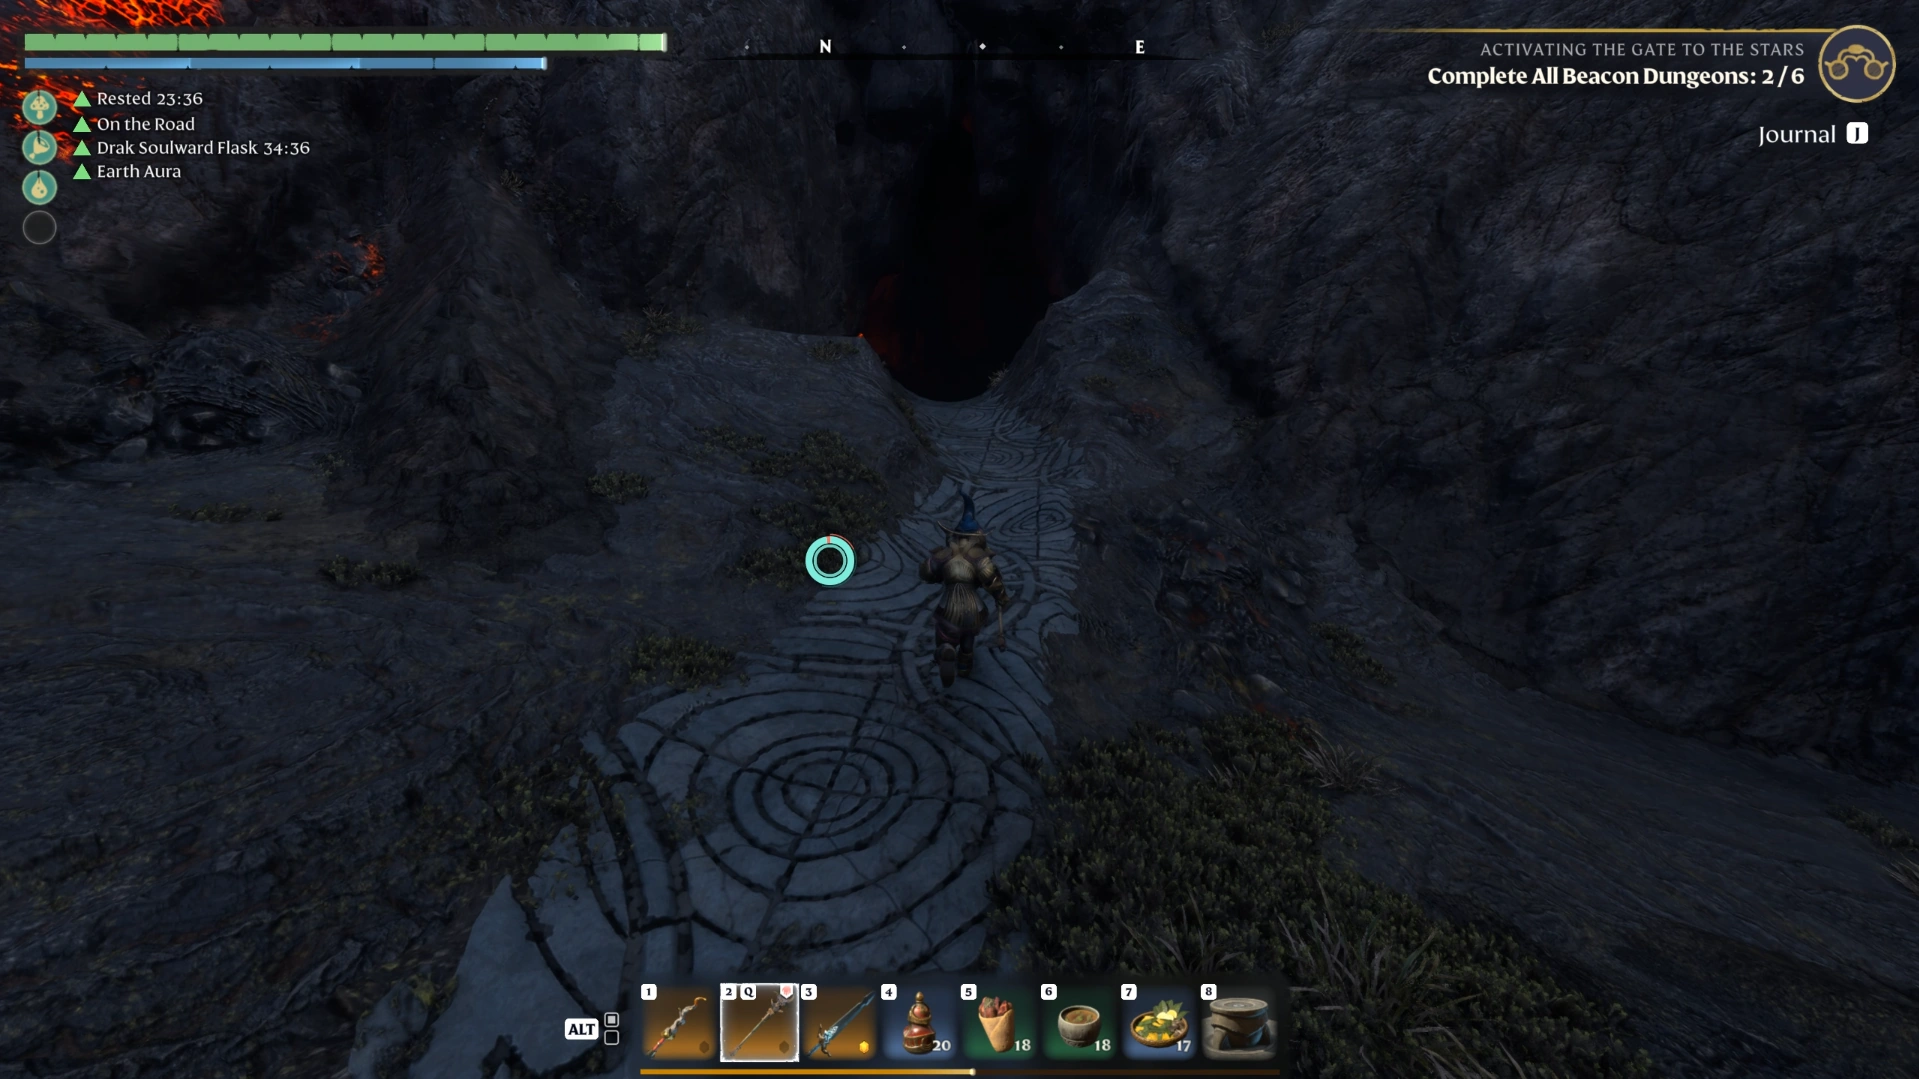
Like every beacon dungeon entrance, the Veilwater Basin dungeon sits in Cinder's Cradle. This route starts on the path just below the Revelwood Dungeon, and most enemies on the way are small bugs that you can run past.
Follow the cave path: Head along the path below the Revelwood Dungeon and into the cave passage. Keep going straight at the fork instead of turning right.
Turn left into the Shroud: Take the next left, which leads into the Shroud and through a second cave.
Head for the respawn point: As you leave the second cave, make your way to the respawn point visible ahead.
Use the jump pad: Climb up from the respawn point and hit the jump pad. It carries you straight over the Shroud Root area.
Decide on the Shroud Root: Destroying it is optional, and two elite enemies guard it. A second jump pad launches you onward from there.
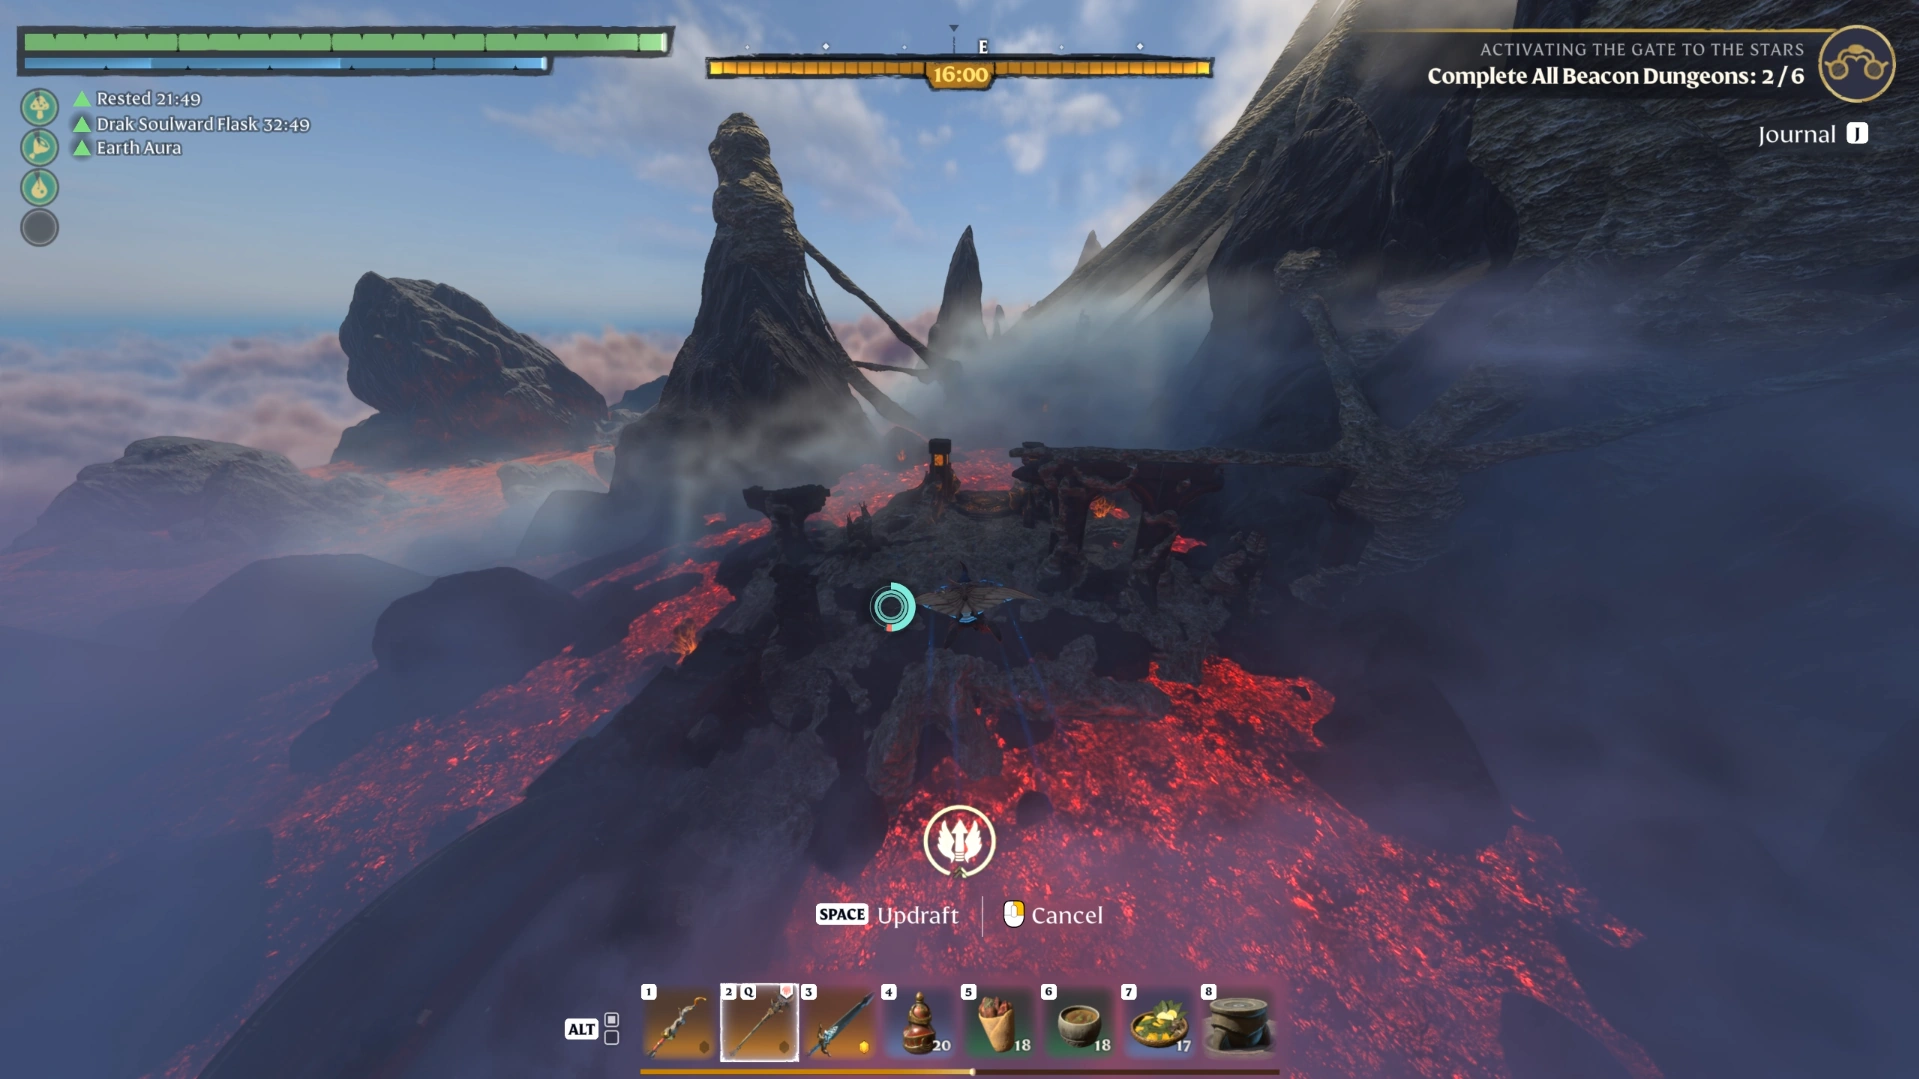
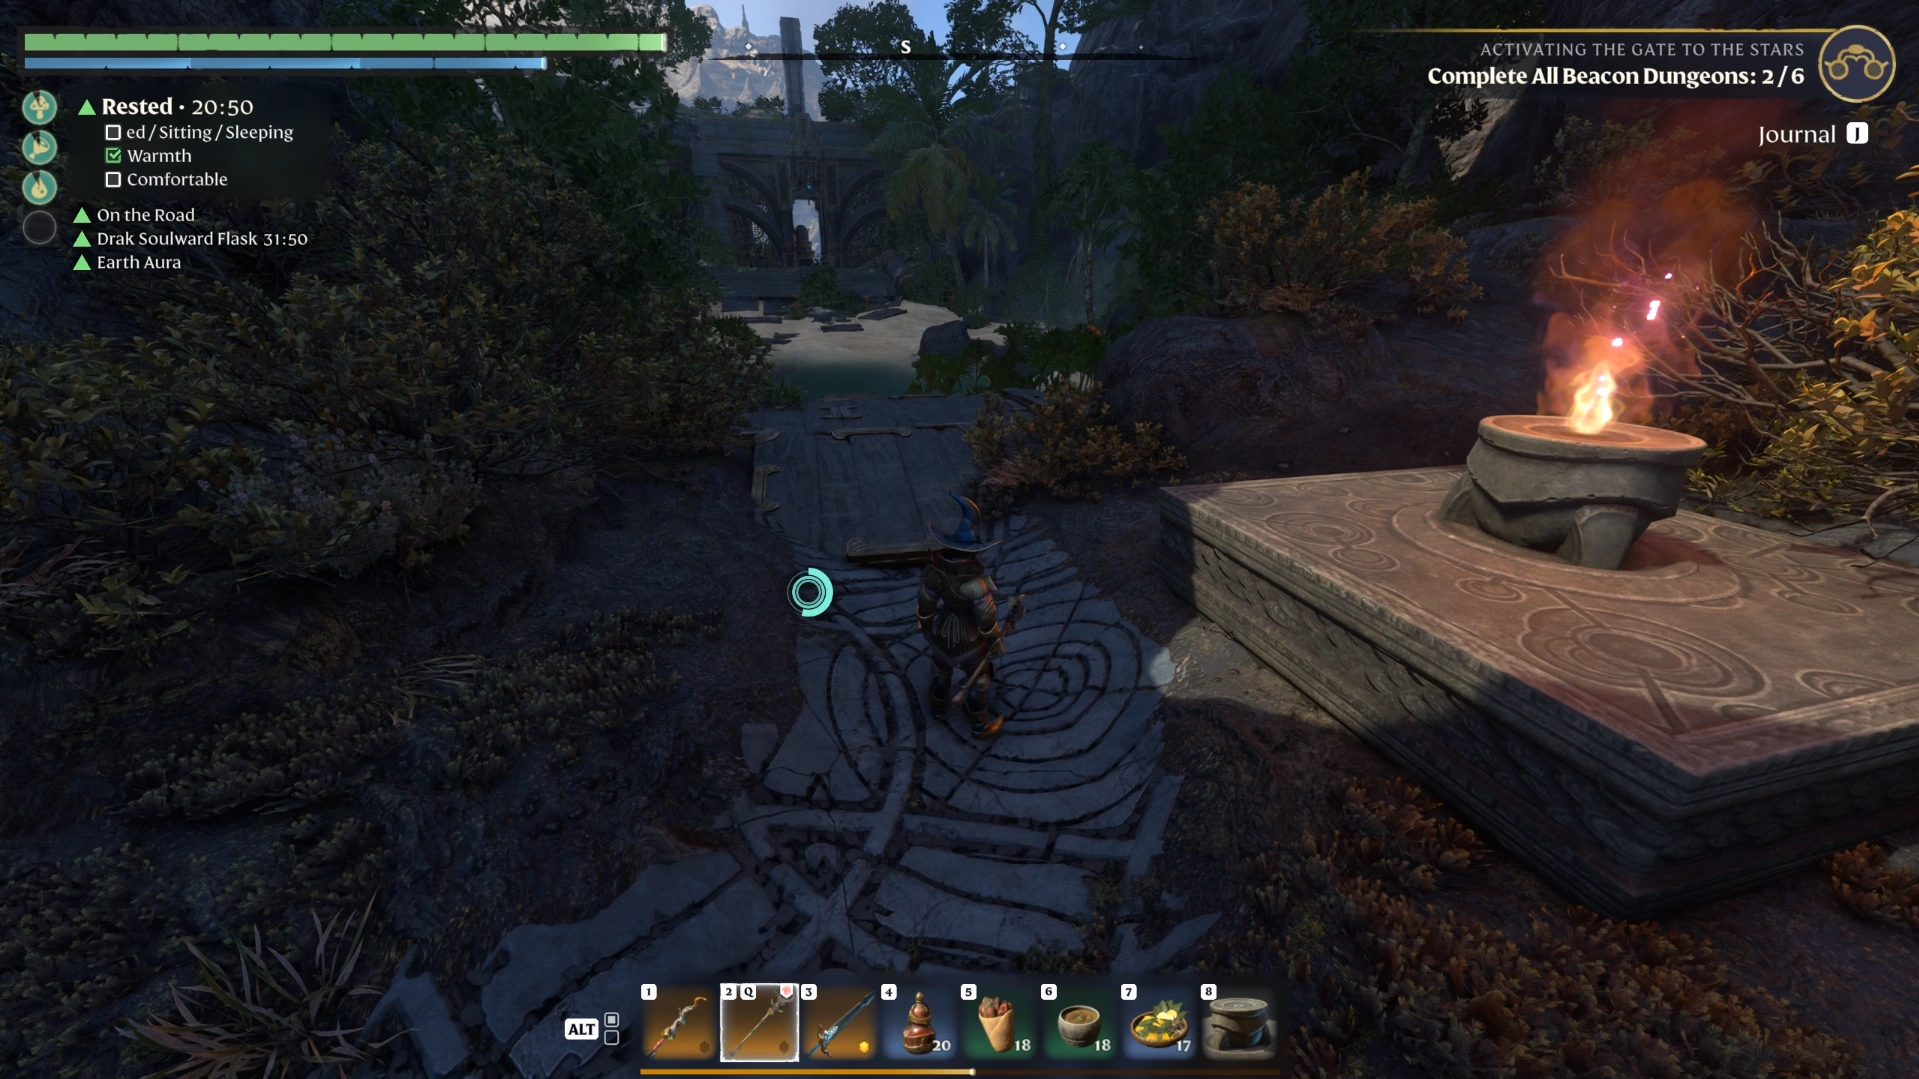
Climb to the overlook: Follow the path all the way up until the dungeon entrance comes into view.
Place your Altar: Set it down here so you can teleport to base and back mid-run.
Glide to the entrance: Collect the Ancient loot pieces scattered around the site, then head inside.
Example scenario (hypothetical): If you arrive at the jump pad low on potions, take it straight over the Shroud Root. Skipping the two elites costs you nothing needed for the dungeon or the beacon.
Additional reading: Enshrouded Interactive Map. Map locations are estimates and don't guarantee an identical layout or route in your world.
How the Alarm System Works
Attacking an Ancient raises the alarm, and barriers seal the area until you insert a Spark into the alarm button near the teleporter room. On our run it triggered twice: once just past the teleporter and again on the upper floor.
Example scenario (hypothetical): If the alarm goes off mid-fight and the barriers drop, finish the fight before heading for the button. The barriers stay up either way, so clearing first saves you a second trip.
Veilwater Basin Dungeon Walkthrough
Follow these stages in order to collect every chest we found on the way to the beacon.
Flooded entrance and the first chest
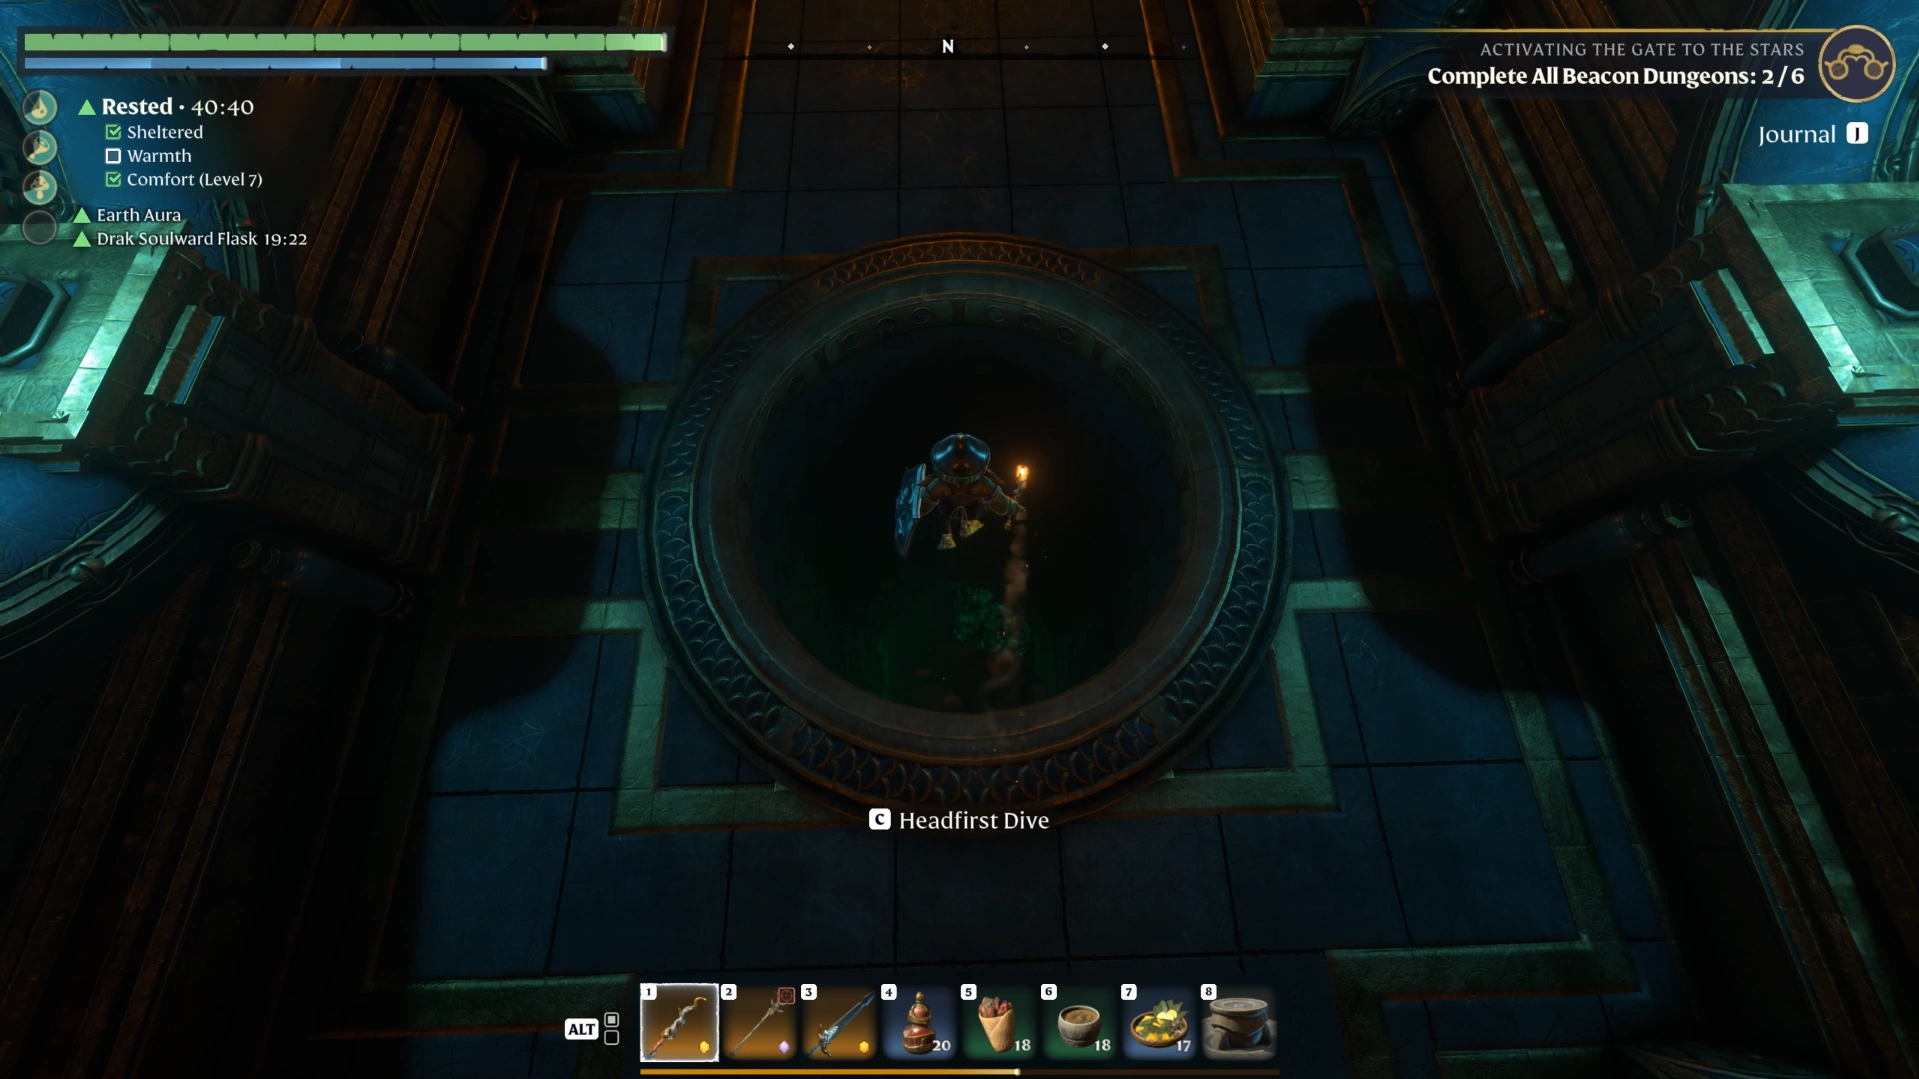
You arrive at the far left of the dungeon site, where the entrance drops straight into water.
Equip your diving gear: Put on the Diving Helmet and Swimfins before jumping in.
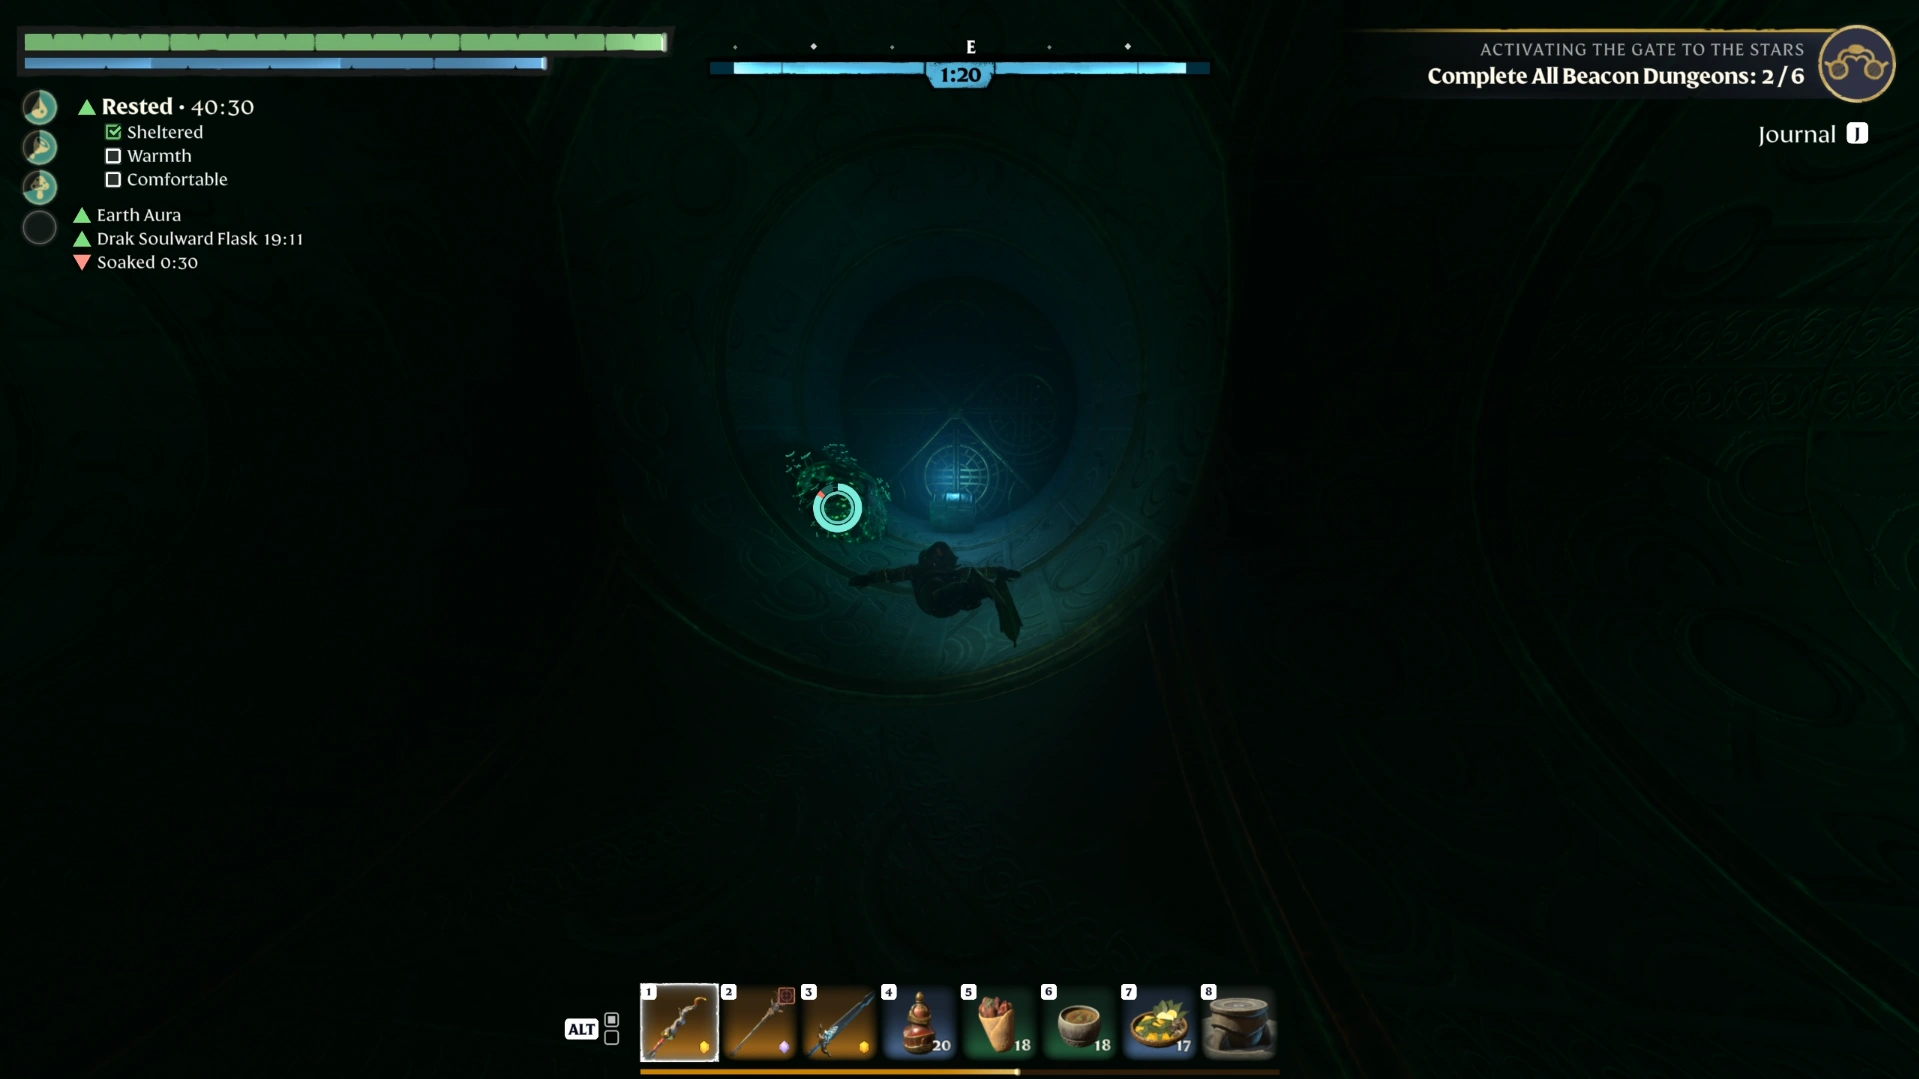
Dive straight down: Swim to the bottom and keep going straight ahead.
Grab the first chest: Turn right to reach it, then swim back the way you came.
Surface on the right: Go right and swim all the way up, then climb out.
Go through the door: Re-equip your regular armor first.
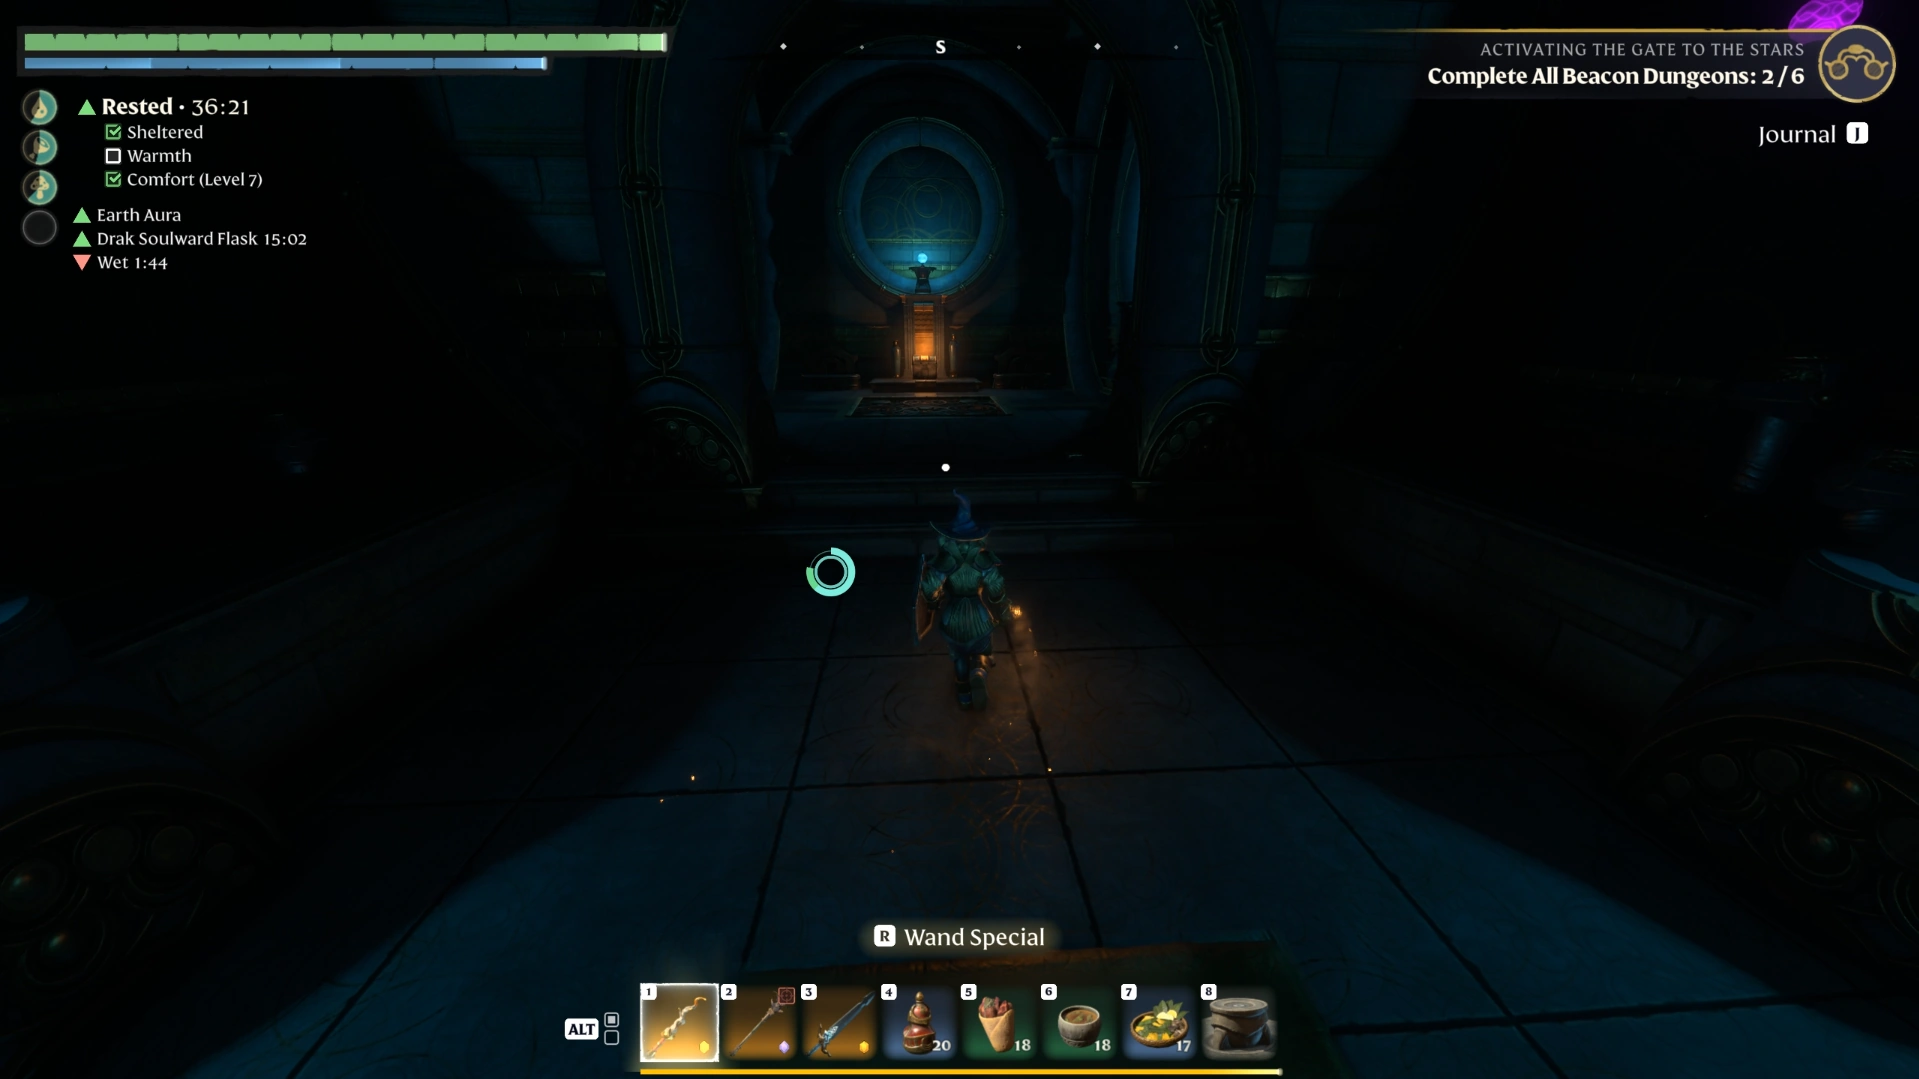
Take the teleporter: Ride it up to the next stage.
Clearing the first alarm
An Ancient guards the passage just past the teleporter, with a second one behind it.
Defeat both Ancients: Attacking the first one triggers the alarm. Loot them once both are down.
Shut off the alarm: Head back, go left, and insert a Spark into the alarm button.
Leave the locked door: The door ahead is the beacon door, and it only opens from the other side once all three buttons are pressed.
Upper floor and the golden chest
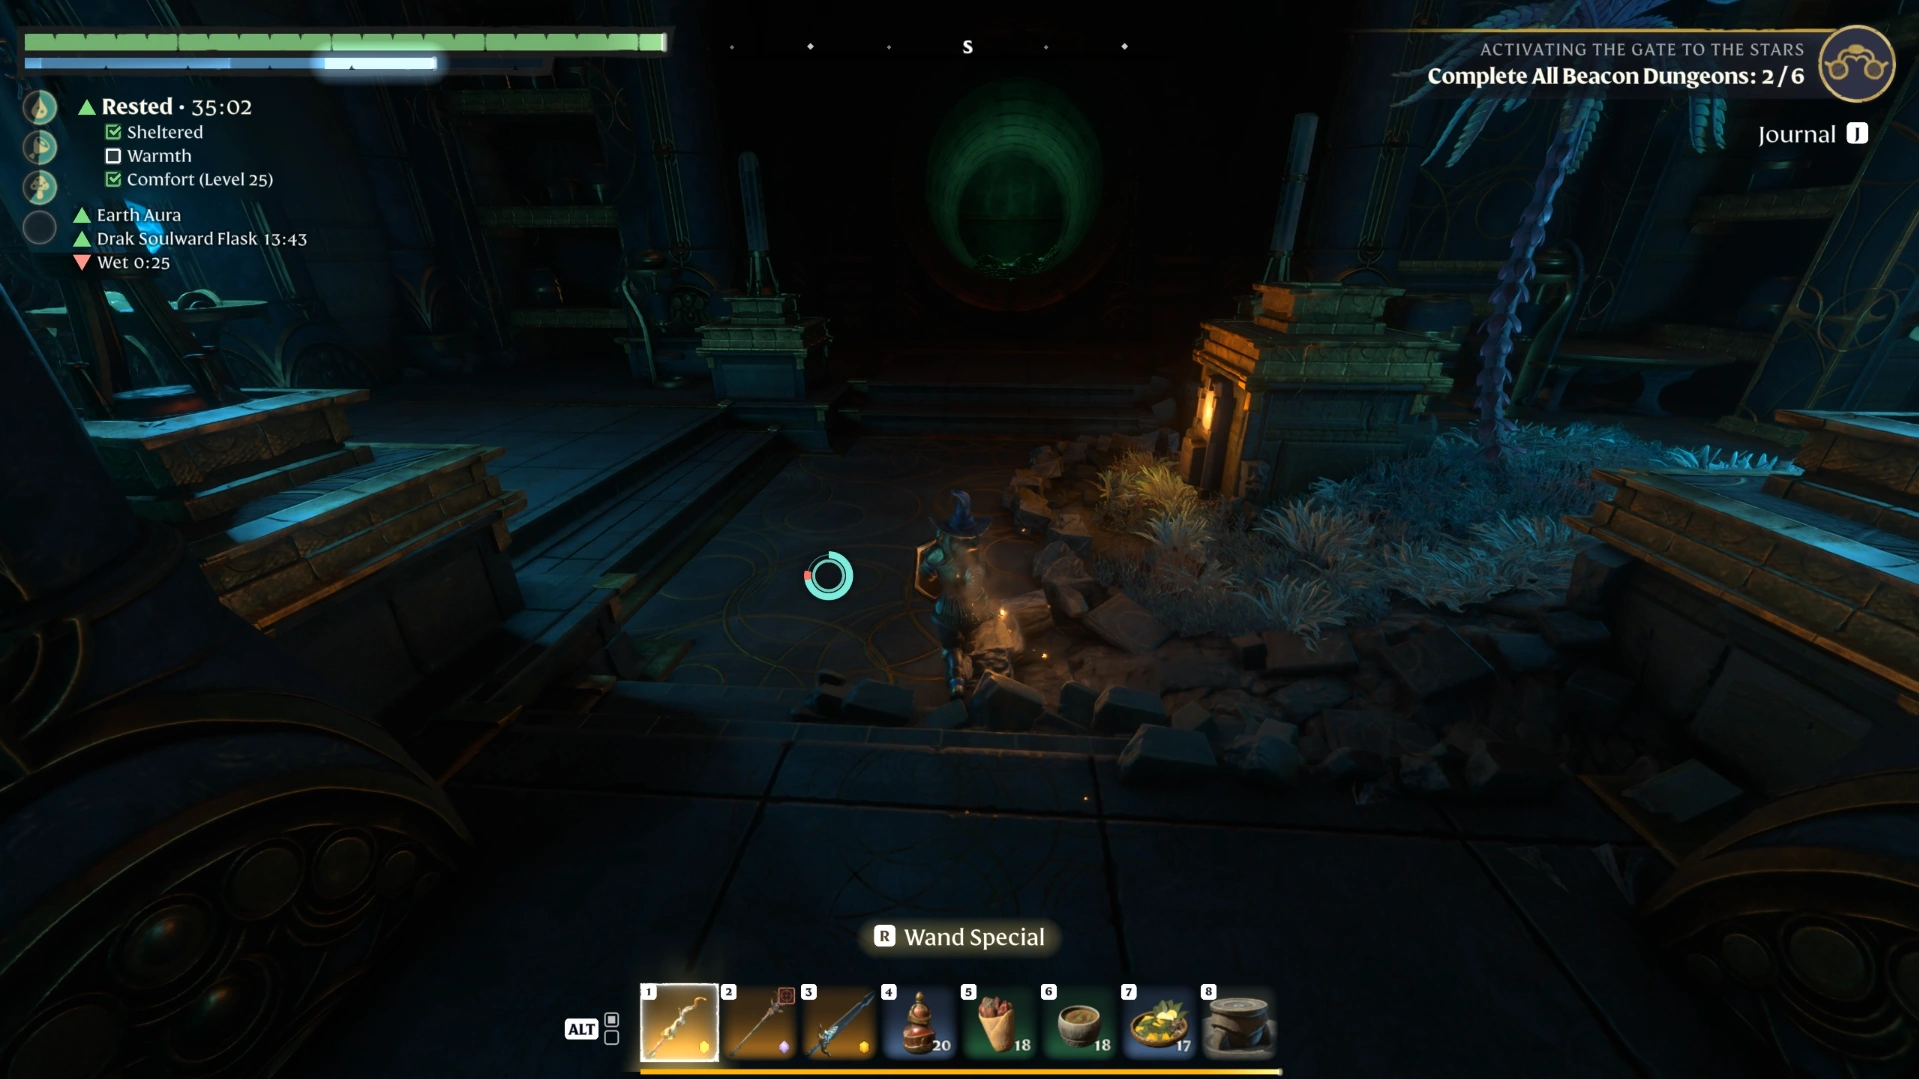
The stairs near the alarm room lead to the upper floor.
Clear the floor: Kill every Ancient up here and on the ground floor below.
Reset the alarm: Walk back down to the alarm button, turn it off, then return upstairs.
Loot the golden chest: Go left first to open it.
Cross to the far side: Turn around, head straight across, and kill the Ancient there.
Grab the lore scroll: Pick it up nearby, then defeat the next Ancient.
Button one and the flooded tube
The first button sits just past the last Ancient on the upper floor, next to a water-filled tube.
Press the first button: Head straight on and press it.
Jump into the tube: Equip your diving gear and swim down.
Go right at the bottom: Both branches lead to the same place, but the right one passes the chest room.
Take the next right: An air pocket above the chest room lets you refill oxygen before swimming to the chest.
Loot the chest: Then refill your air, move along the top, and dive back down.
Turn right at the end: Follow the tube upward, climb out, and re-equip your regular armor.
Example scenario (hypothetical): If you reach the chest room with less than half your air left, surface in the air pocket first. It was the only refill point we found between the chest and the tube exit.
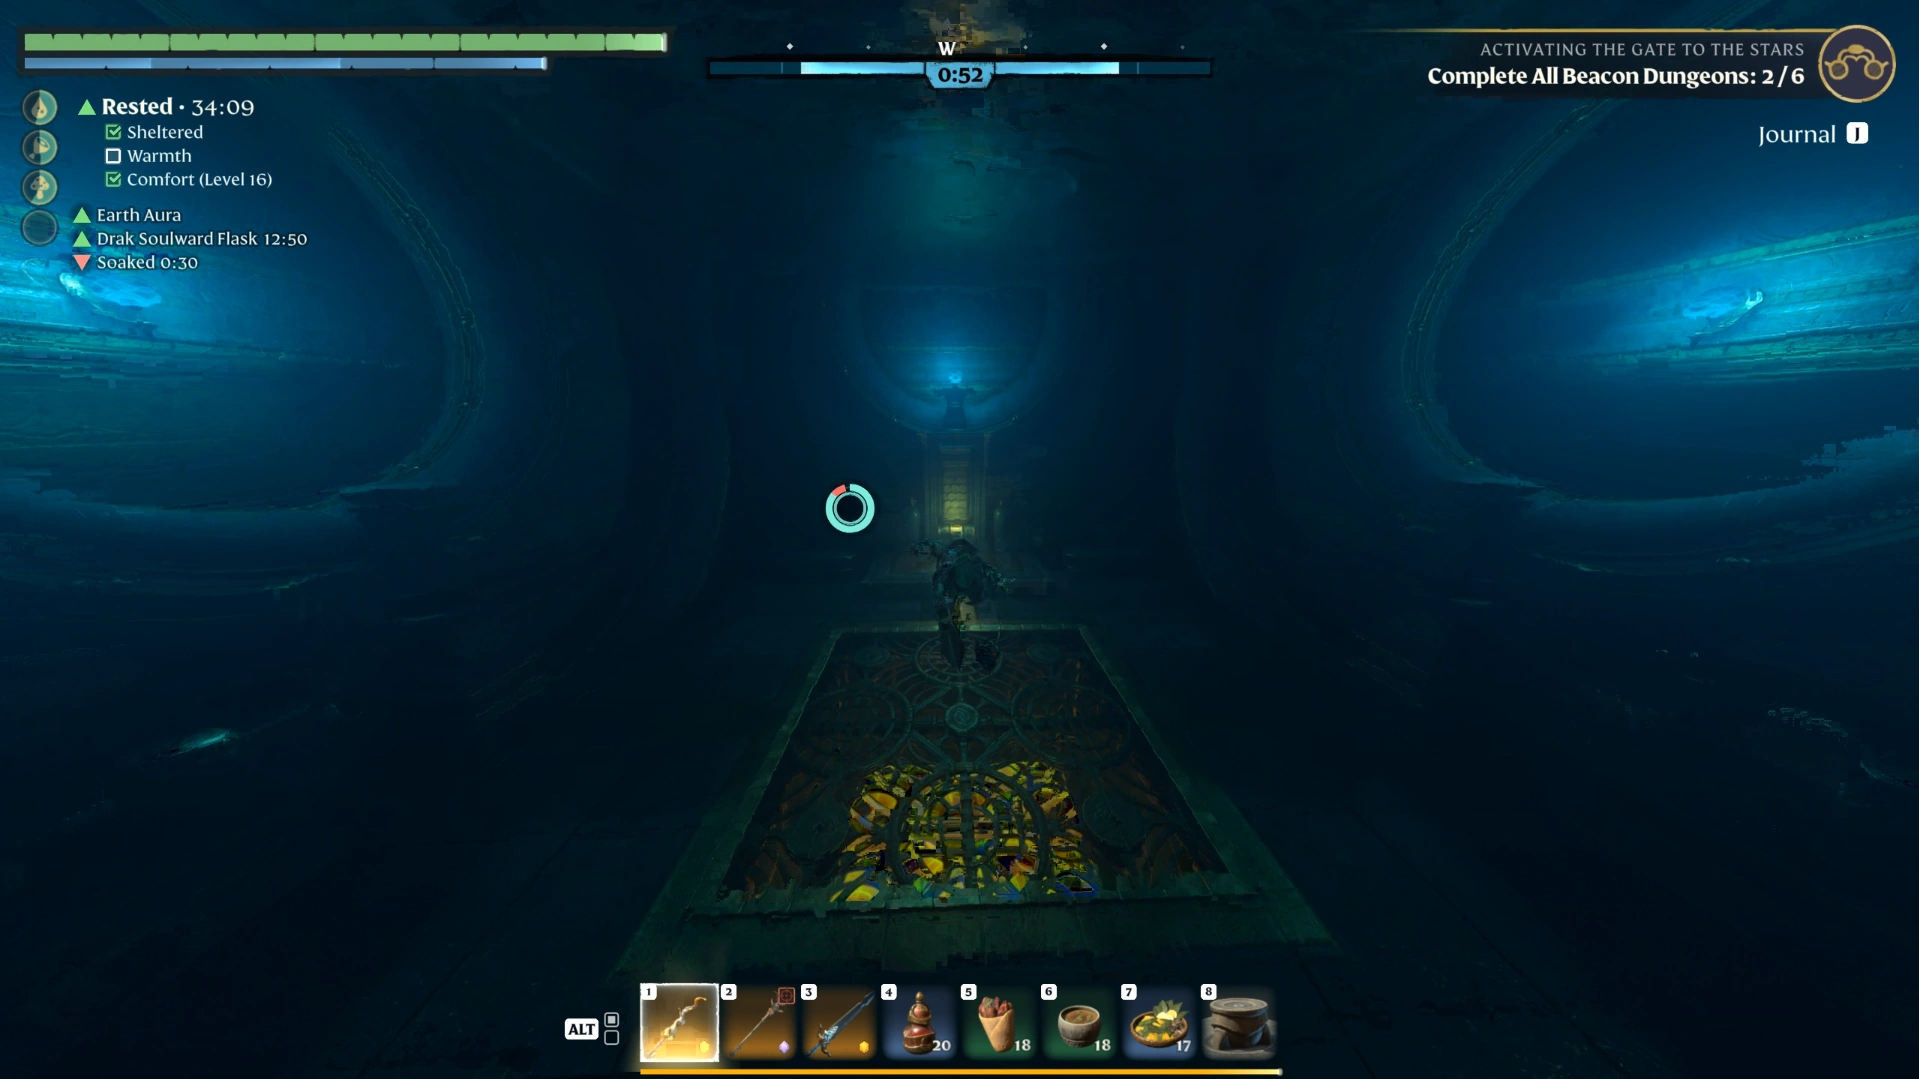
Button two and the three Ancients
The tube exit opens into a room with three Ancients and open water near the edges.
Clear the room: Fight away from the edges, as it is easy to fall into the water mid-fight.
Press the second button: Head to the back of the room once all three Ancients are down.
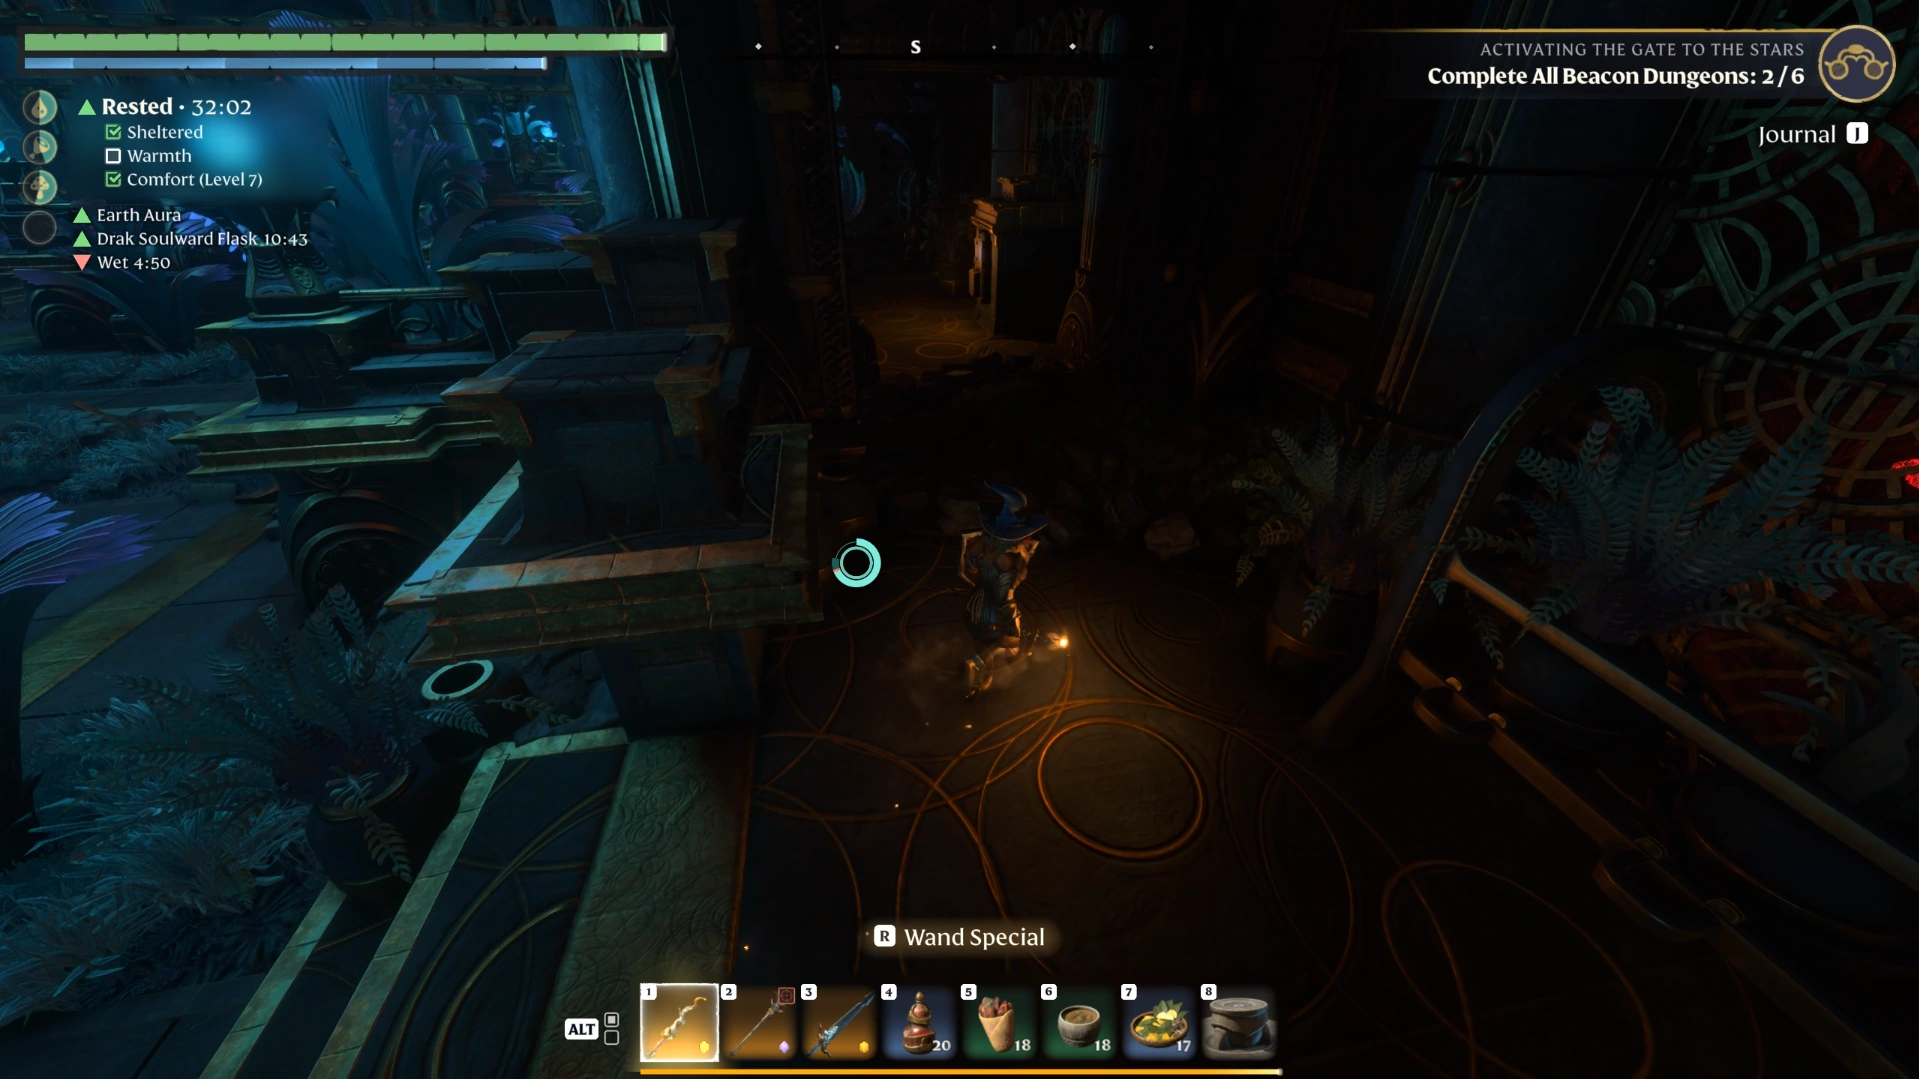
Button three past the spike room
The third button is reached through a short corridor and a trapped room.
Follow the corridor: Continue straight, turn left, then go straight down.
Turn left, then right: Go through the door after the second turn.
Avoid the spikes: Stand on the middle platform to stay clear of the floor spikes, then go through the next door.
Clear the scorpions: Defeat the large group of small Ancient scorpions in the next area.
Collect Violet Grove: Pick up the Violet Grove color before moving on.
Press the third button: Head to the center of the room. This opens the beacon door.
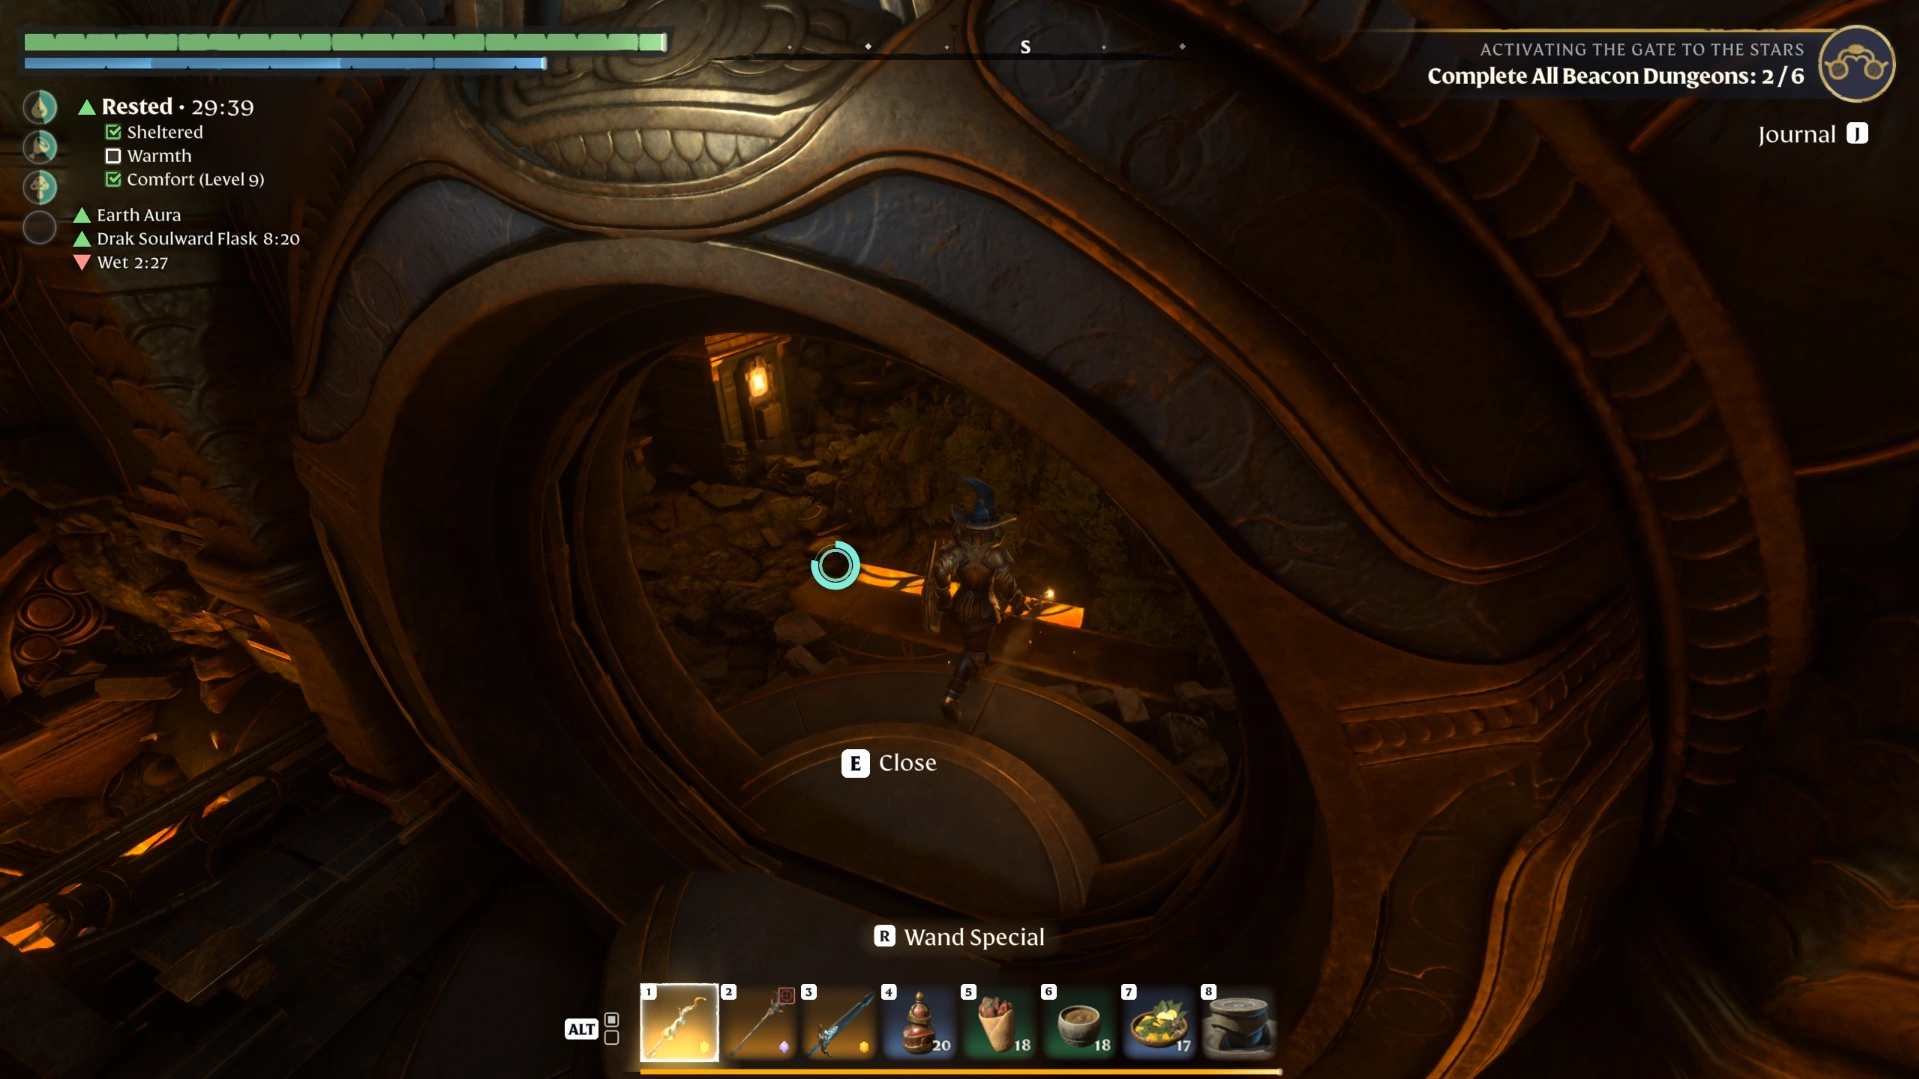
Reaching the beacon
The path out of the button room loops back to where the dungeon started.
Exit and go left: Leave the button room and turn left.
Defeat the last group: Four Ancients and more small scorpions wait here.
Return to the alarm room: Head straight down to the now-open door without setting off the alarm.
Activate the beacon: Go through the door to light it.
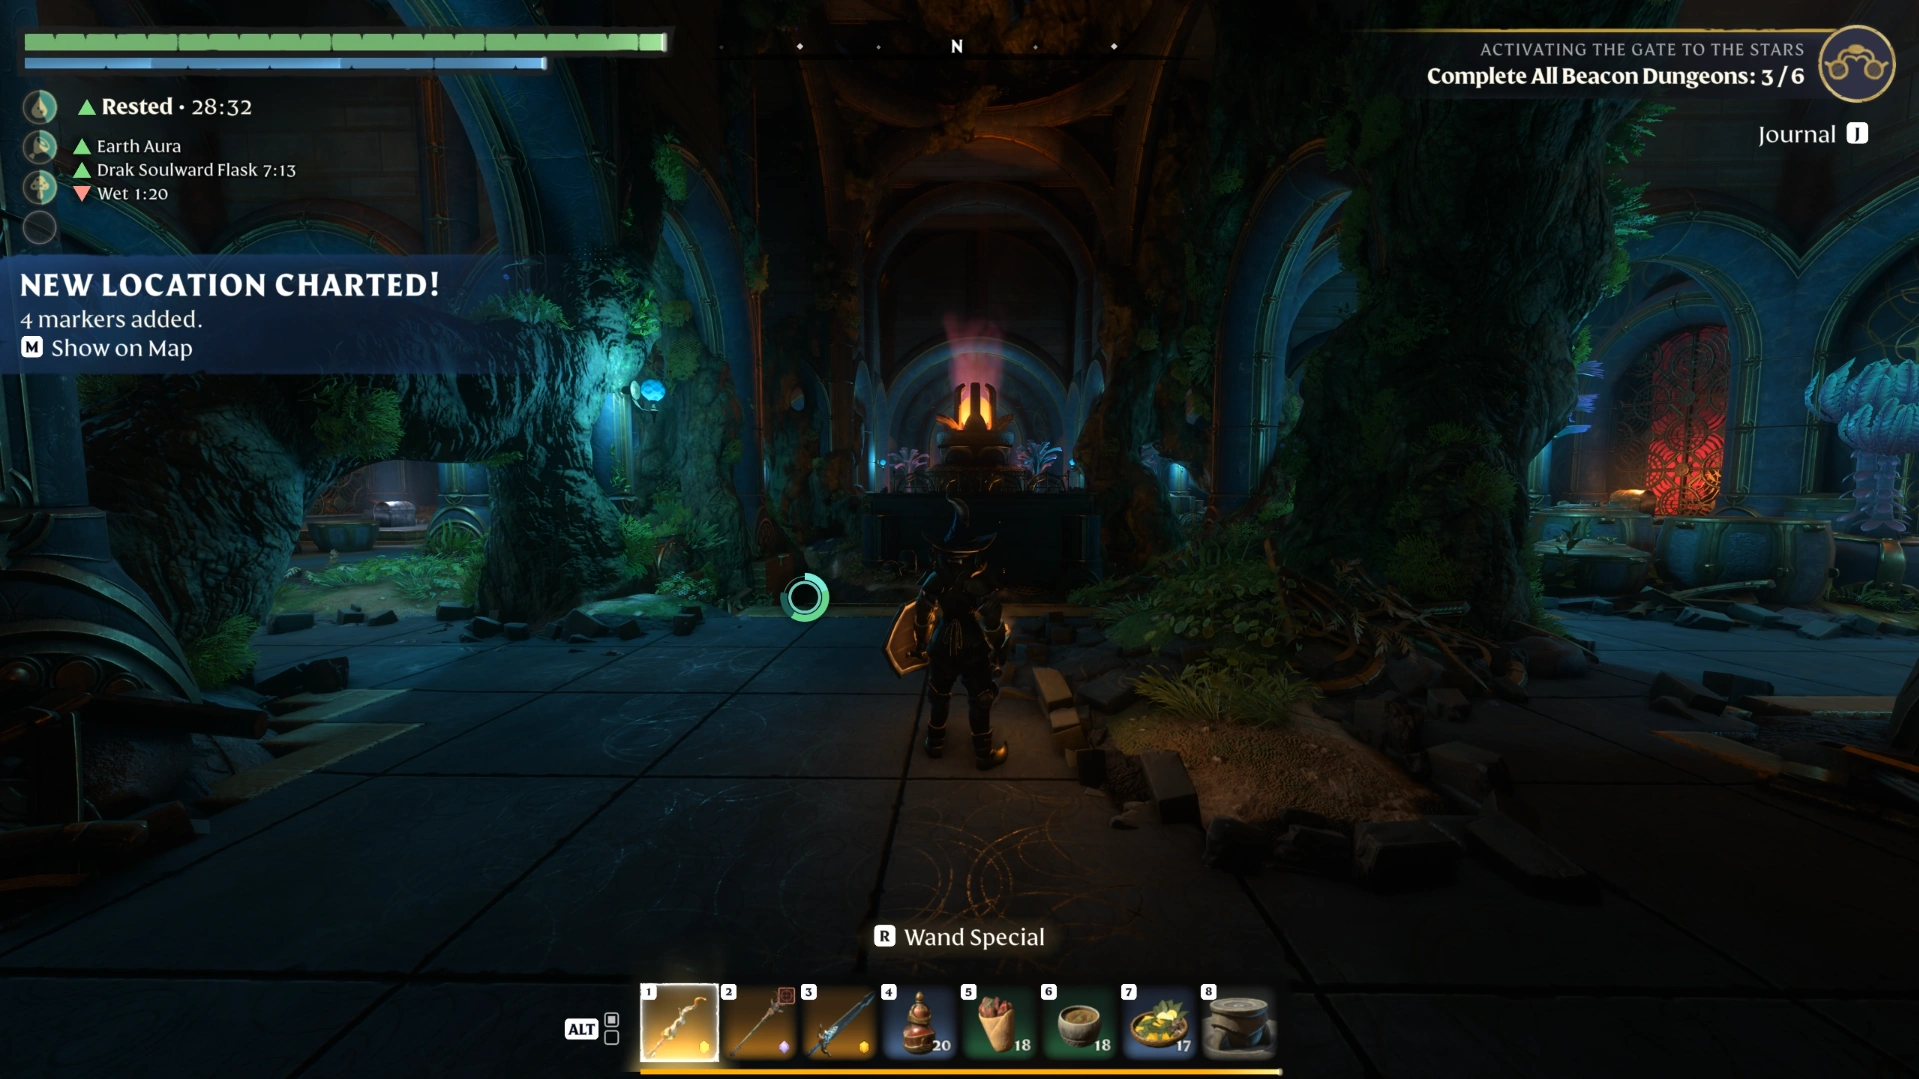
Veilwater Basin Dungeon Rewards and Chest Locations
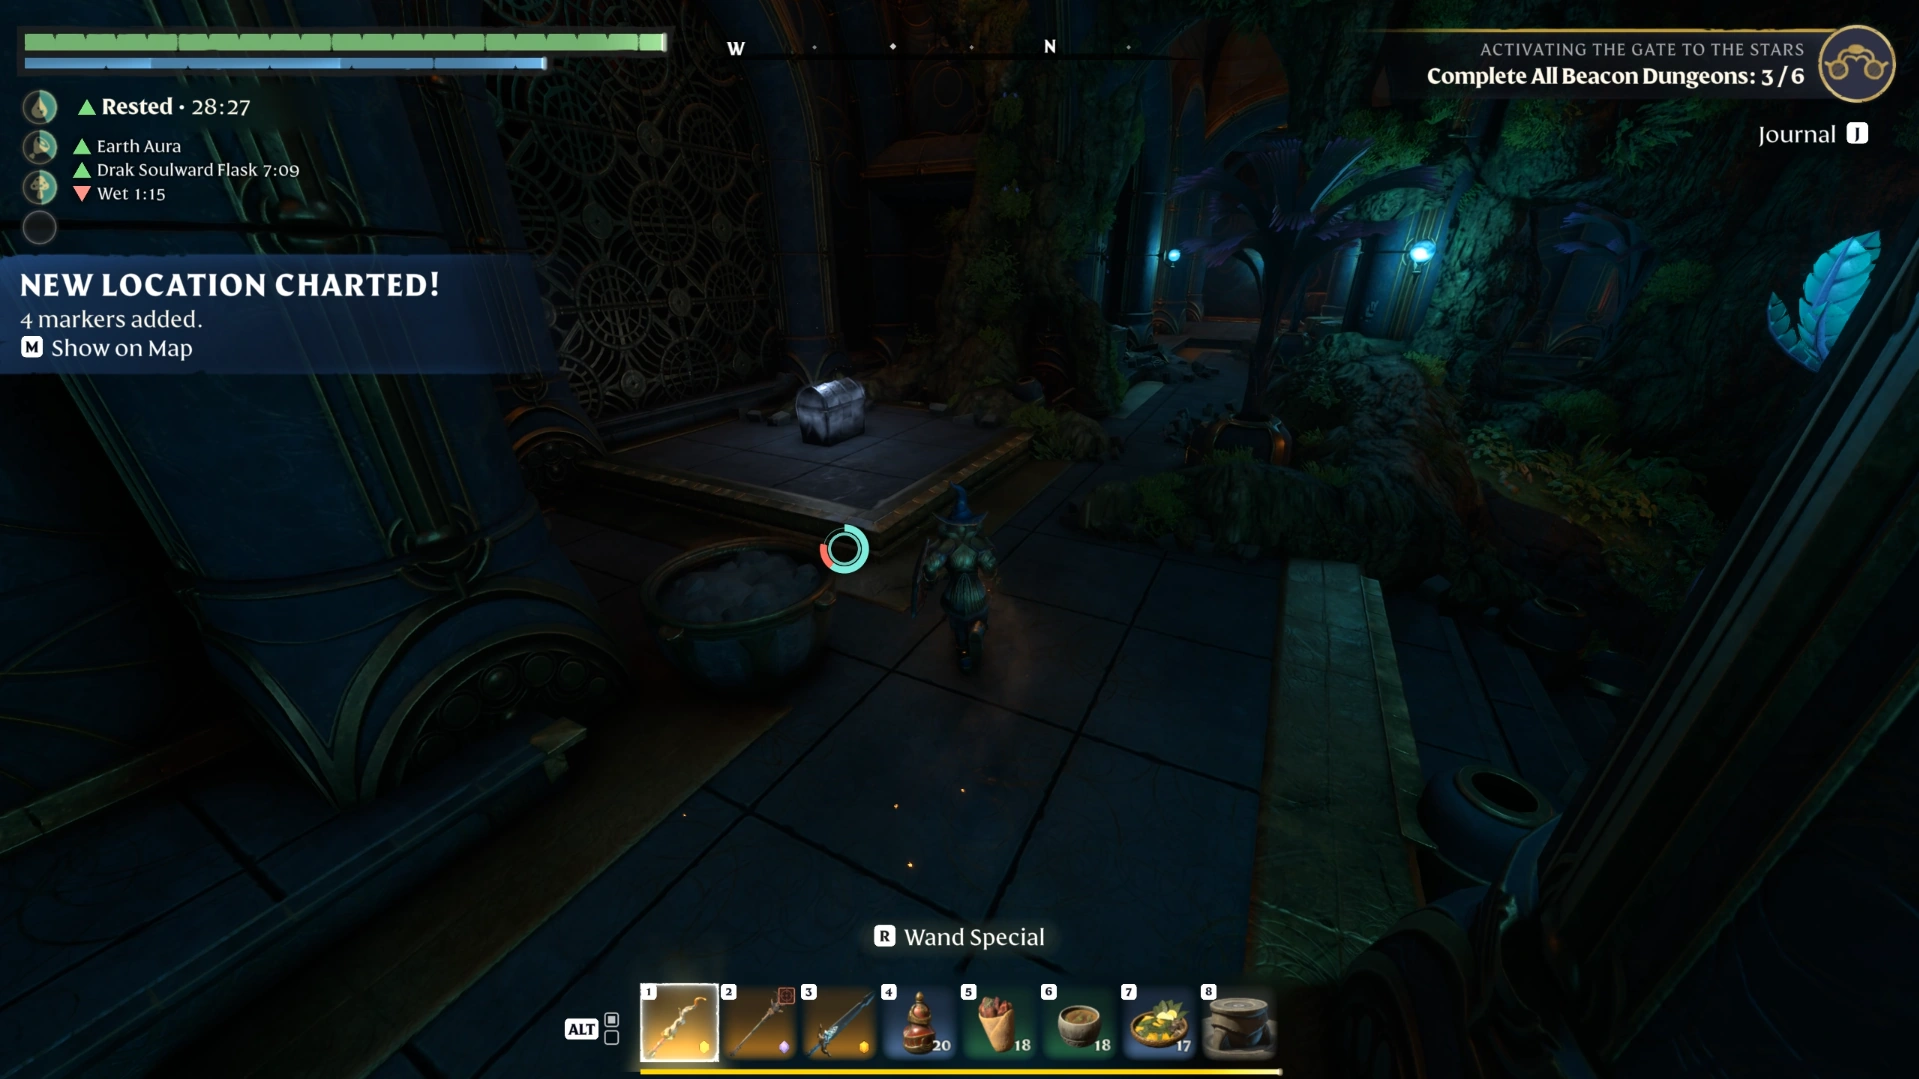
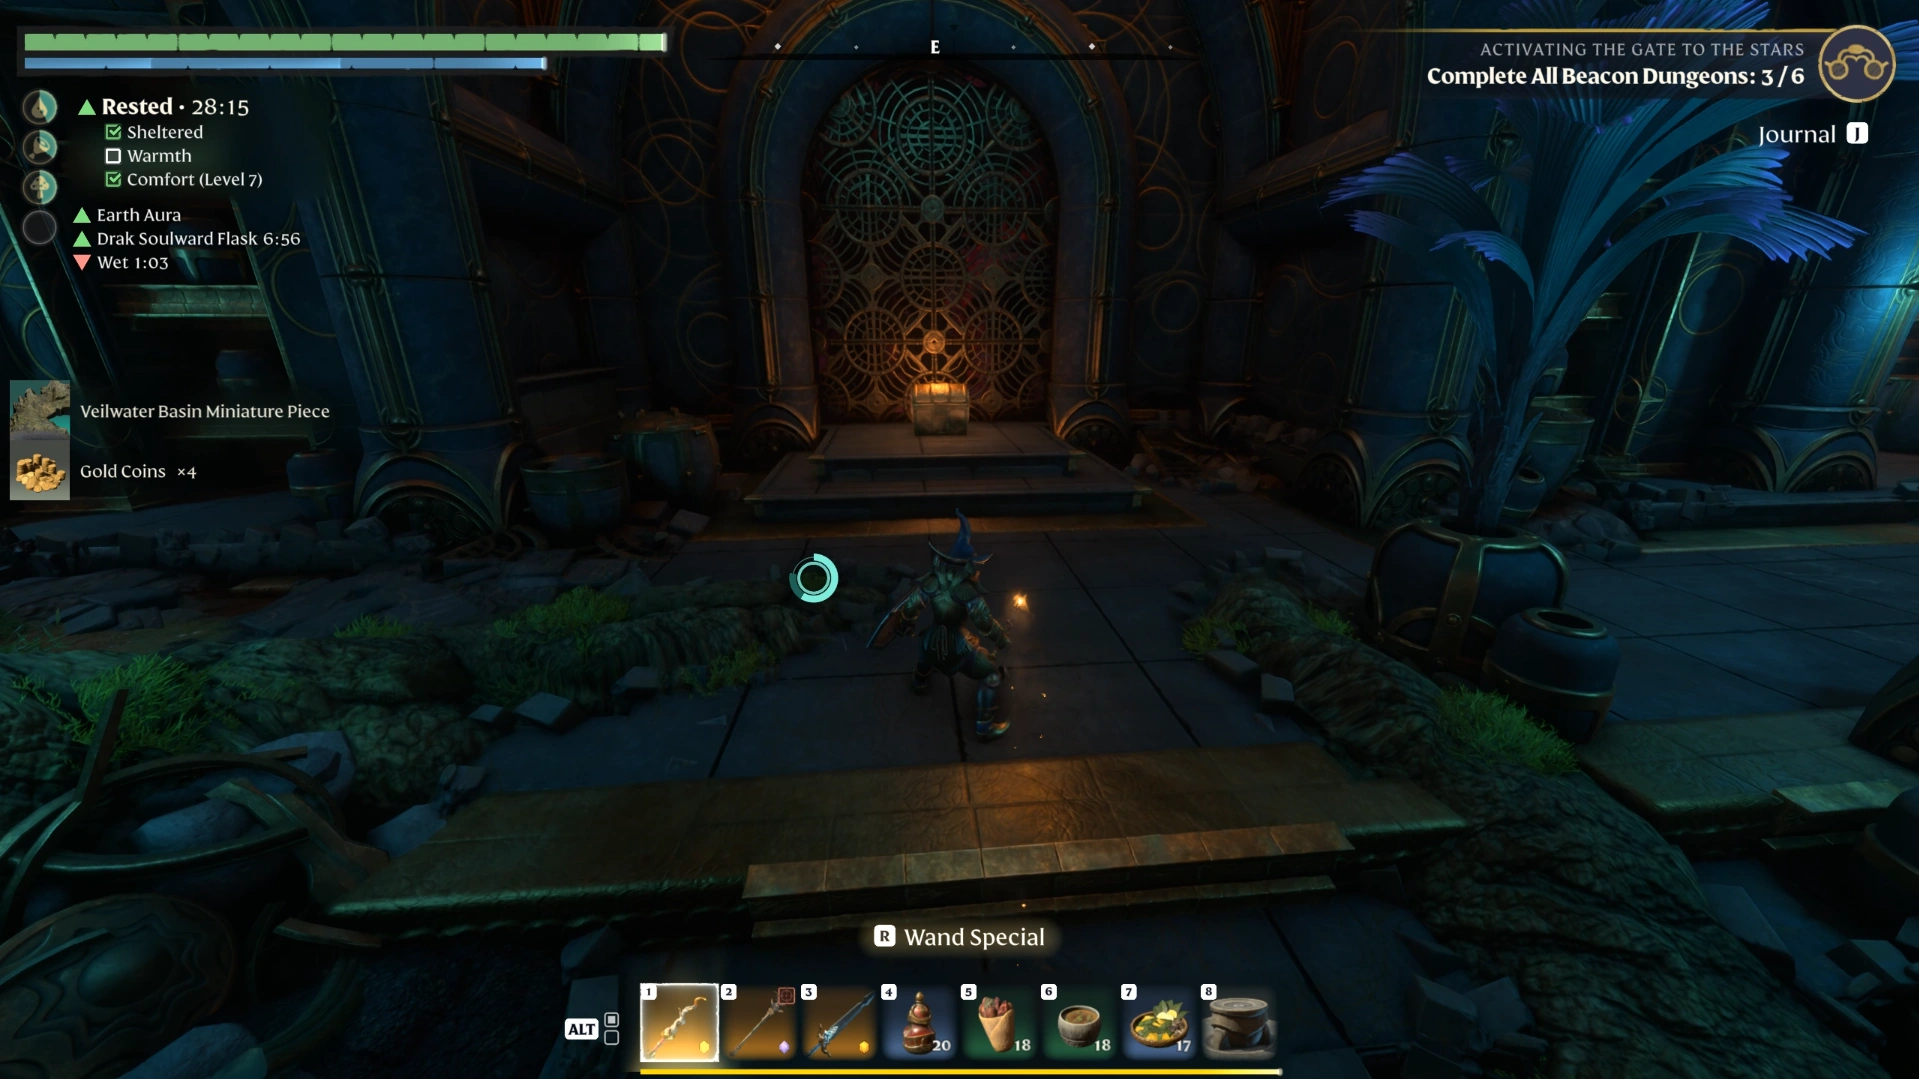
The Veilwater Basin dungeon holds five chests on the main route, plus Ancient drops, a lore scroll, and Violet Grove. The key reward is the Veilwater Basin Miniature Piece, found in the chest on the left of the beacon room, with a golden chest directly across from it.
Reward | Location | How to reach it | What we received |
|---|---|---|---|
First chest | Flooded entrance | Dive straight down, then turn right | Contents not recorded on our run |
Golden chest | Upper floor, left side | Reset the second alarm, then go left | Legendary wand |
Underwater chest | Chest room in the first tube | Right branch at the bottom, then right again | Two legendary weapons |
Lore scroll | Upper floor, far side | Past the Ancient across from the golden chest | Lore scroll |
Violet Grove | Area after the spike room | Clear the scorpions first | Violet Grove color |
Miniature chest | Beacon room, left | Through the beacon door | Veilwater Basin Miniature Piece |
Golden chest | Beacon room, opposite side | Directly across from the miniature chest | Legendary weapon |
The Miniature Piece is one part of a larger Embervale model, with the other pieces found in the beacon dungeons and Cinder's Cradle. Collect them all and assemble them inside a frame to complete it.
Whether the legendary weapons are fixed or rolled per chest is TBC, so the last column shows one run's results only. Open both beacon room chests before you leave, since they are the last ones on the route.
Gate to the Stars Progress after Veilwater Basin
Lighting the Veilwater Basin beacon counts as one of the six beacons the Ancient Researcher needs to power the teleport platform at Cinder's Ascent. The quest sends you to the Springlands beacon first, then lets you clear the rest in any order; Veilwater Basin was our third, at 3/6.
Once all six beacons are lit, return to the Ancient Researcher to continue the quest. If the game has updated since 1.0, check the latest patch notes on the official Enshrouded site before your run.
One Beacon Down, Your Next Dive is Waiting
Teleport out from your Altar, restock potions and Sparks, and head for the next unlit beacon dungeon in Cinder's Cradle. Keep the Diving Helmet in your inventory for any flooded sections ahead.
Additional reading: Enshrouded Database
FAQs
What is the difference between the Veilwater Basin dungeon and the Veilwater Basin Spire in Enshrouded?
The Veilwater Basin dungeon and the Veilwater Basin Spire are separate locations in Enshrouded. The Spire is an Ancient Spire with climbing sections and switch puzzles that ends at a Flame, while the Veilwater Basin dungeon is a flooded Ancient facility tied to Activating the Gate to the Stars.
Can you enter the Veilwater Basin beacon dungeon in Enshrouded without using the entrance gate?
Yes, the Veilwater Basin dungeon in Enshrouded can be entered without the entrance gate if you find another way in from the surrounding area, as with the other beacon dungeons. For a first attempt, the standard entrance on the far left of the dungeon site is the most reliable route.
Can you complete the Veilwater Basin dungeon in Enshrouded with friends in co-op?
Yes, Enshrouded supports online co-op with up to 16 players, so a group can clear the Veilwater Basin dungeon together. Each player needs their own Diving Helmet equipped to gain its extra 60 seconds of oxygen in the flooded tubes, so check that every group member has one first.
How do you get the Diving Helmet in Enshrouded before the Veilwater Basin dungeon?
You can get the Diving Helmet in Enshrouded as a reward from the Diving Gear quest at the Drake Temple in Starfish Shores, or have the Fisher craft it. Clearing that temple requires Swimfins and several Diver's Endurance Flasks, so finish the Born Swimmer quest and pack the flasks first.
When was Veilwater Basin added to Enshrouded?
Veilwater Basin was added to Enshrouded with the Wake of the Water update in November 2025, during Early Access. Enshrouded 1.0 launched on October 15, 2026, and the route, alarms, and chest locations in this Veilwater Basin dungeon guide were tested on that 1.0 release.