

How to Complete Cinders of the End in Enshrouded
To complete Cinders of the End in Enshrouded, teleport from Cinder's Ascent, cross the Sky Islands, defeat Vorgoth, and rescue the Mother Flame. Cinders of the End is the final Cinder's Cradle quest, and it starts where you recruited the Ancient Researcher before ending at the top of the Citadel.
The team here at MetaForge played and recorded this full route in-game on version 1.0, with Hotfix 1.0.0.3 as the current live build at the time of writing. The steps below follow the simplest path we found and skip optional fights wherever the game allows.
Cinder's Cradle arrived with the Enshrouded 1.0 release, and the quest has four objectives, completed in this order:
Use the Cinder's Ascent teleporter: Teleport up to the Sky Islands.
Reach the Ancient Capital: Cross the islands, open two barriers, and climb through a long Shroud section to the Citadel.
Defeat Vorgoth: Take the teleporter at the top of the Citadel and beat both phases of the boss fight.
Rescue the Mother Flame: Interact with the Mother Flame behind Vorgoth to trigger the final cutscene.
Gather the gear below, then head to Cinder's Ascent to begin.
What You Need Before Starting Cinders of the End
The route is long and mixes platforming with Shroud sections. Pack the following before you teleport up:
Glider and grappling hook: Most of the route is gliding between islands and grappling up ledges, often back to back.
Pickaxe: You break through several walls, including the final wall before the Citadel elevator.
Bow or staff: One door only opens when you shoot a button from a platform, so a melee-only loadout needs a ranged backup.
Sparks: Optional vault doors with golden chests cost 10 sparks each, and you can bring them in or loot them from bodies along the way.
Shroud time: Large parts of the route are inside the Shroud, so a talent that recharges your Shroud timer on kills gives you more room to work.
The 1.0 changelog raised the player level cap to 50 and the gear cap to 55, so upgrade your gear toward those caps before you go. The game shows no recommended level for this quest, so check your Enshrouded loadout against the route above before teleporting.
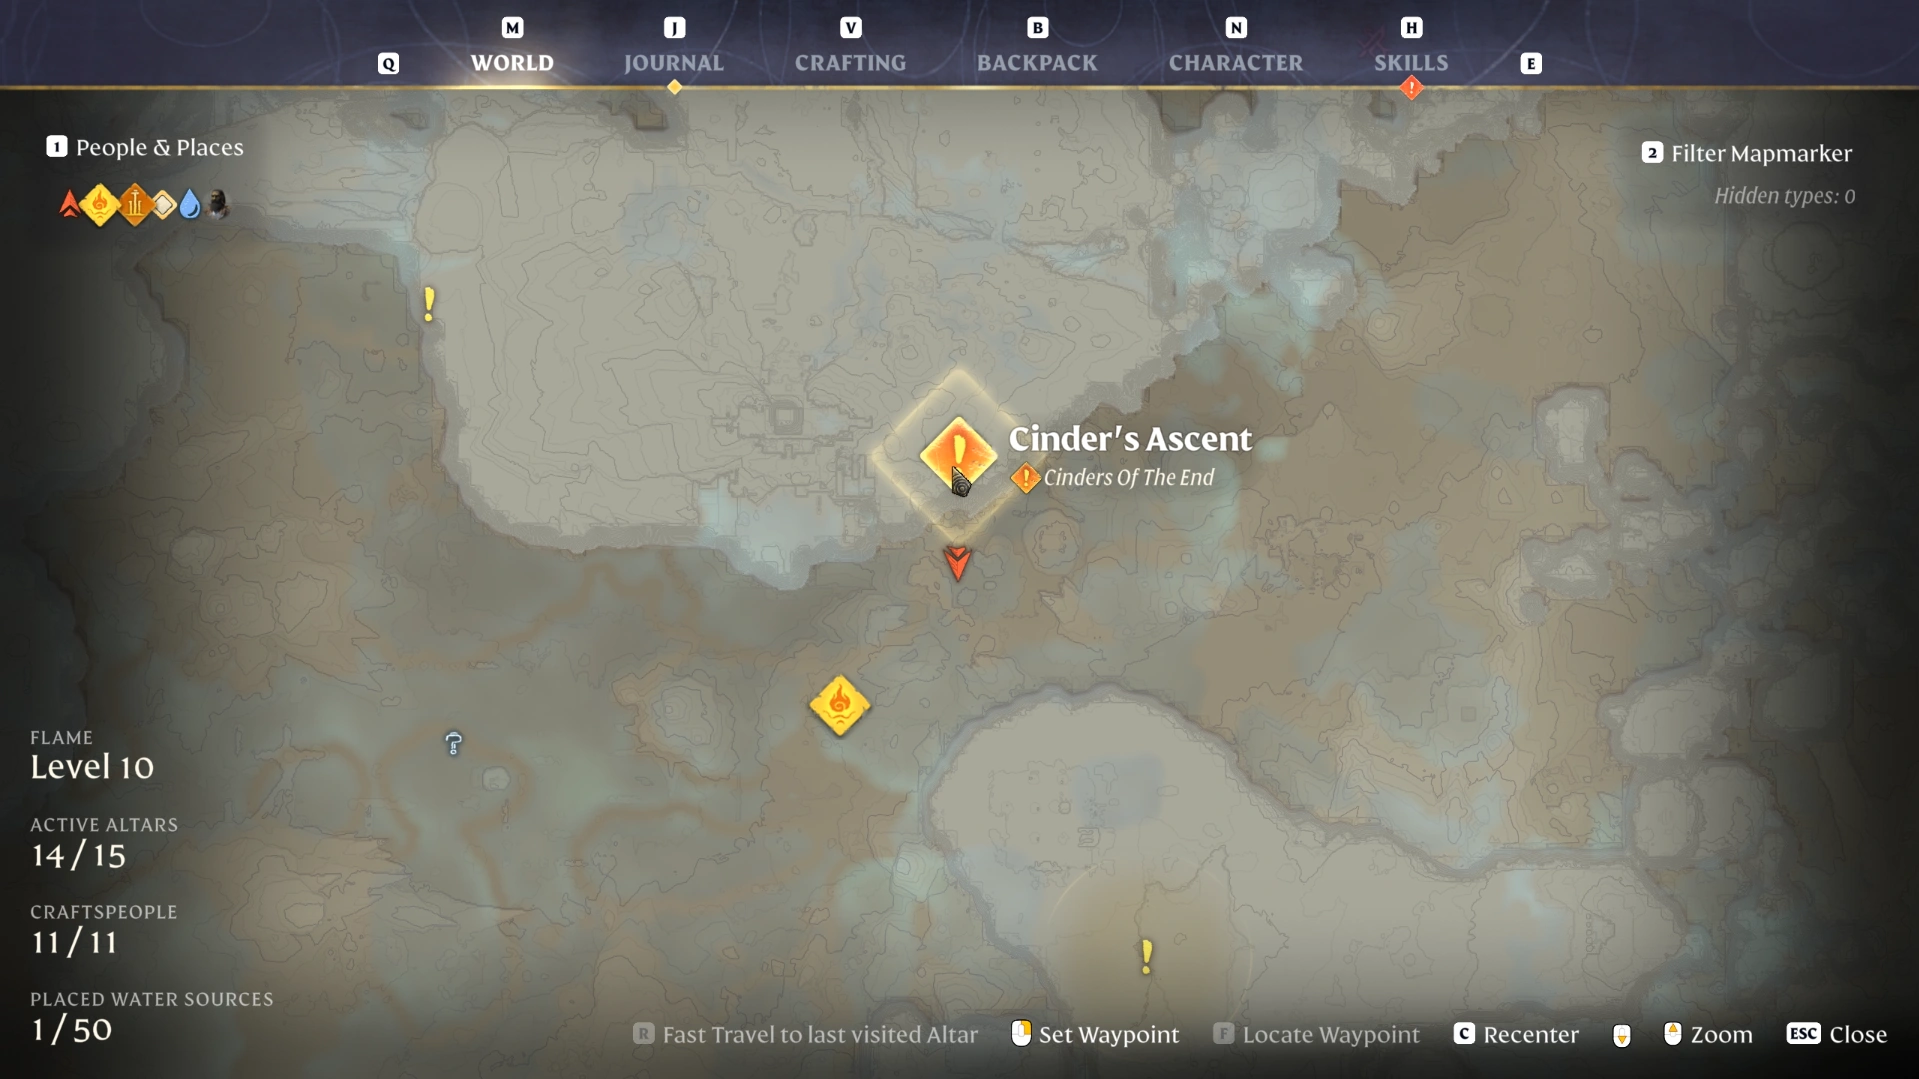
Cinder's Ascent to the Worker's Ward
The first leg takes you from the Sky Islands teleporter to the Worker's Ward, mostly by gliding and grappling. Optional chests branch off along the way, but these steps follow the shortest path:
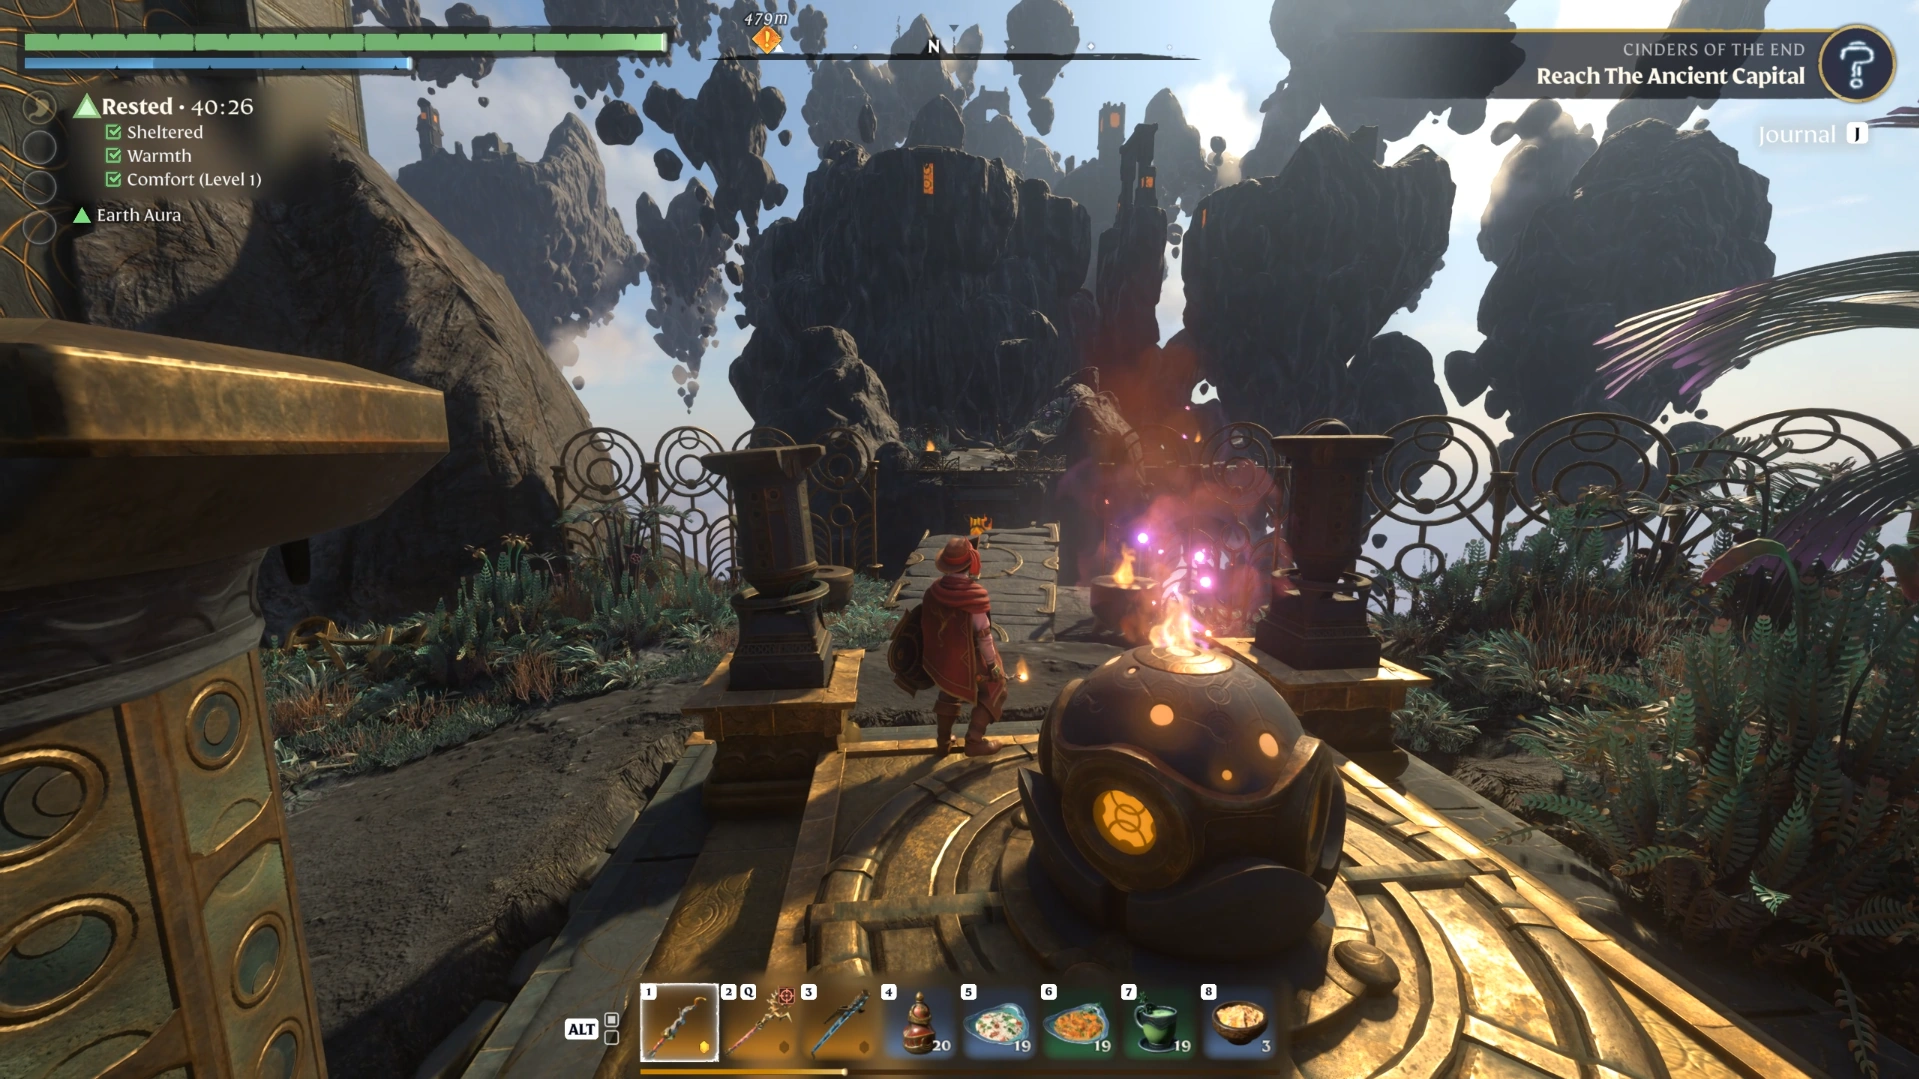
Teleport to the Sky Islands: Use the teleporter at Cinder's Ascent, then go through the door straight ahead toward the Ancient Capital.
Glide past the first fight: Run, jump, and glide across, then wait while the Wanderer speaks and the Fell and Ancients start fighting each other. Once they're engaged, run past them and grab the lore note.
Take the right-hand route: Climb as high as you can, then glide up and to the right (our first attempt only just reached the ledge). Follow the path left, hit the jump pad, and enter the Shroud.
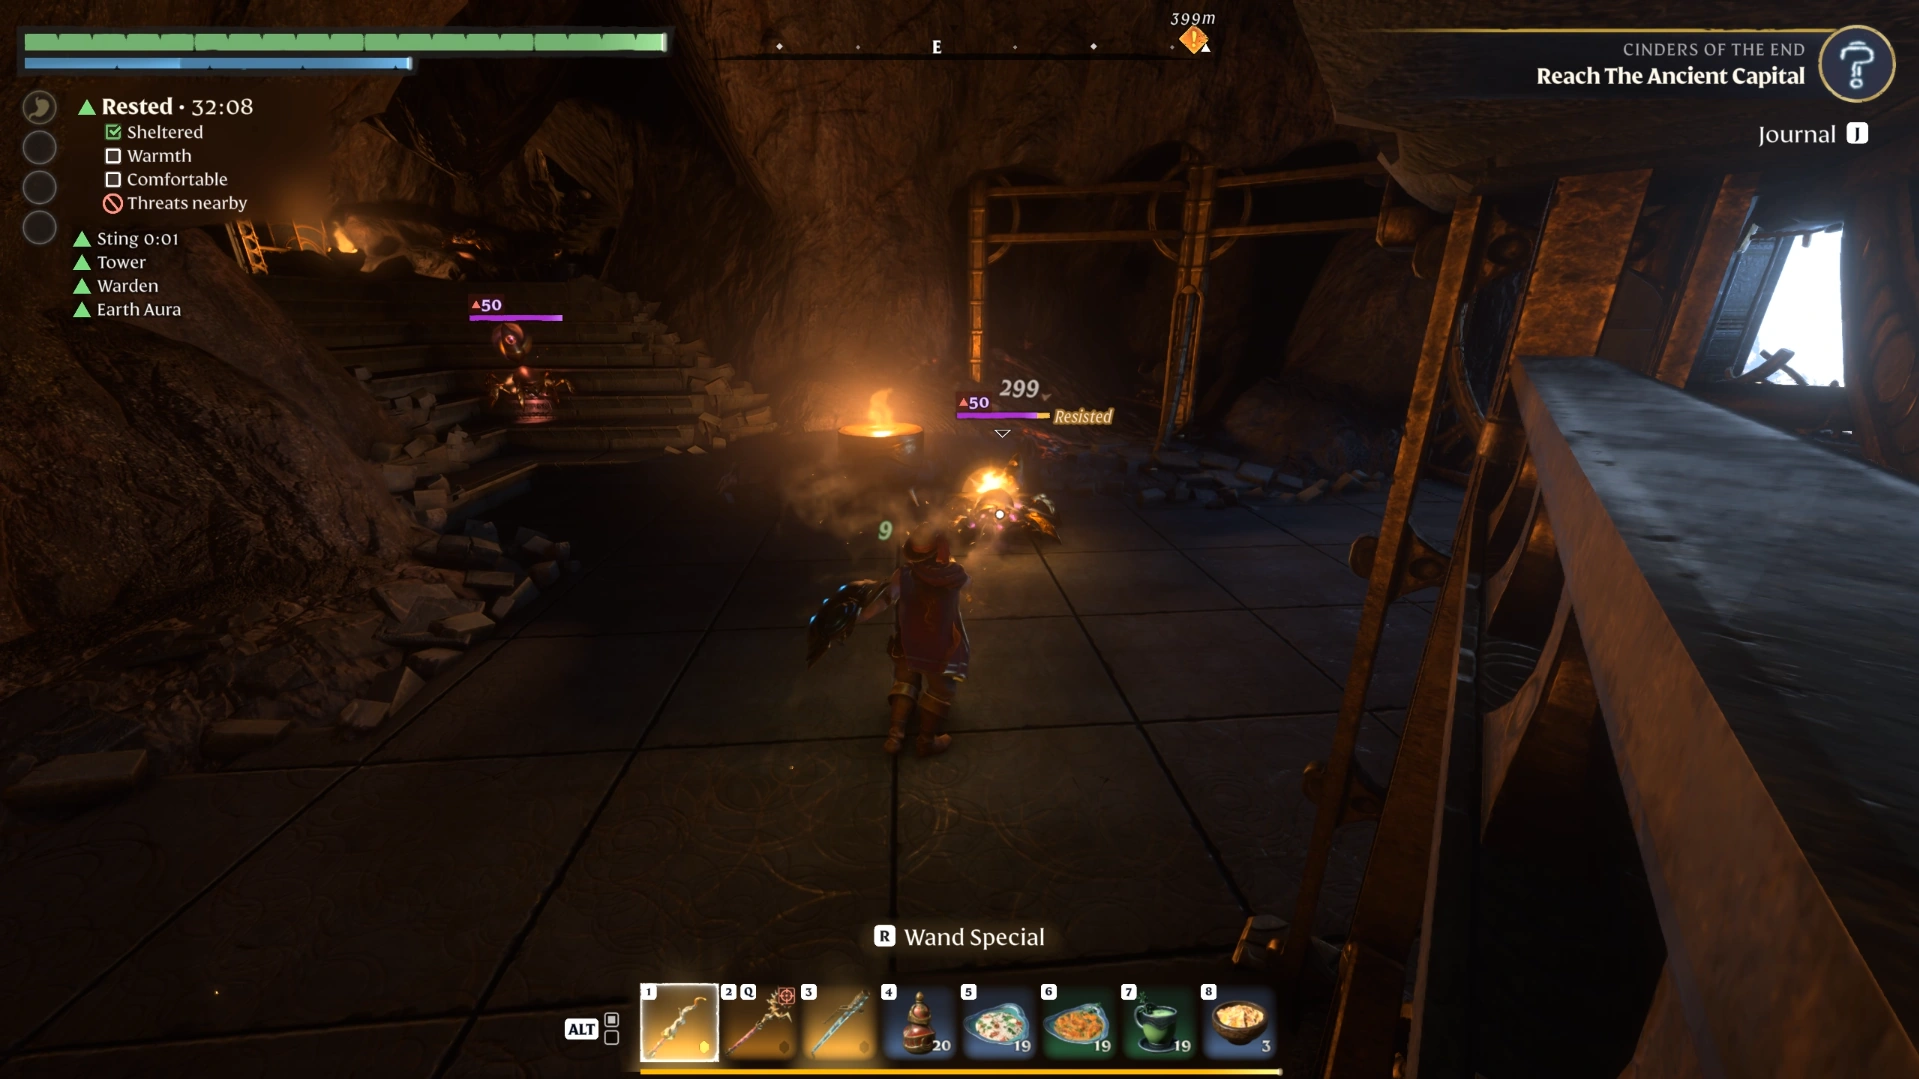
Skip the two elites: Run past both elite enemies, up the stairs on the left and the next flight, break through, and ride the elevator up.
Activate the respawn point: Go through the door and take the respawn point.
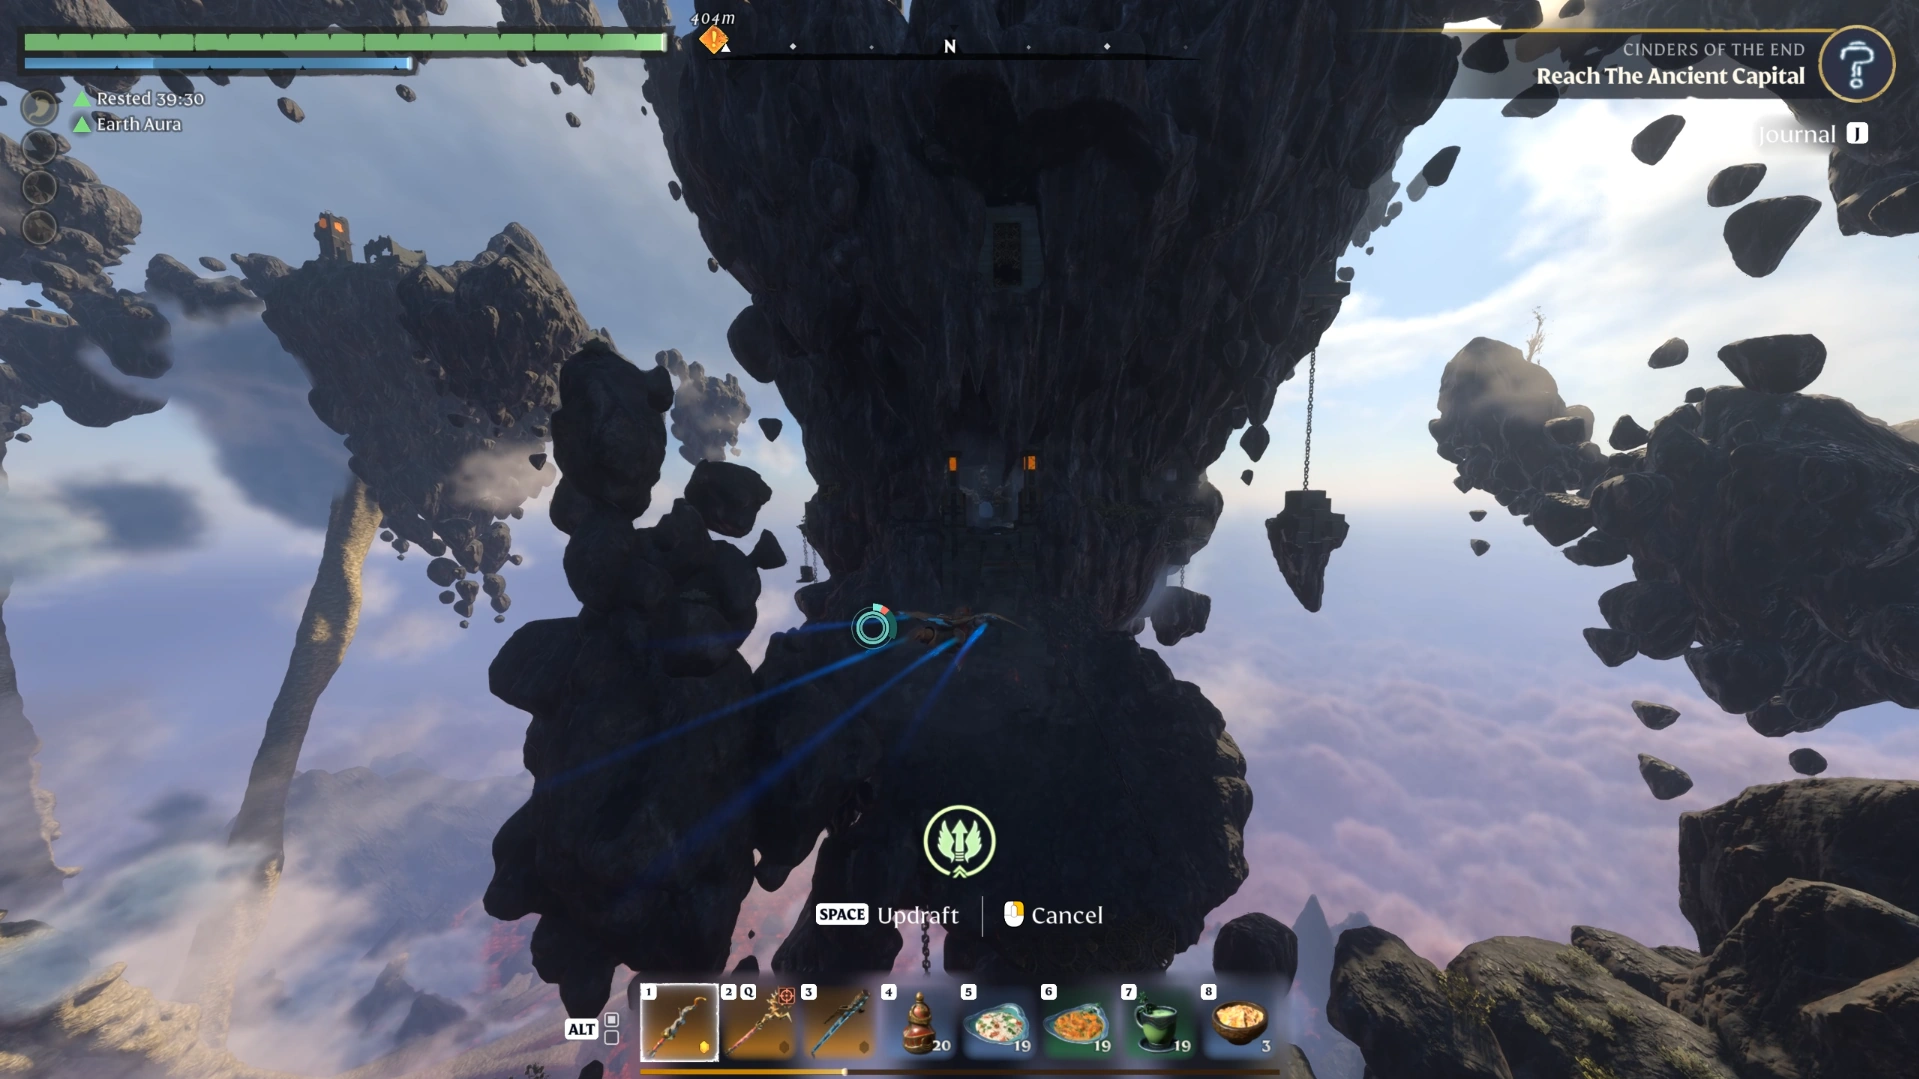
Cross to the Worker's Ward: Glide and grapple straight ahead, hit the jump pad, grapple up, and follow the path. Ignore the Ancients on both crossings and glide over to the Worker's Ward.
The left path at step 3 leads to chests and farmable Ancients if you want loot. Otherwise, head inside the Worker's Ward to start the next leg.
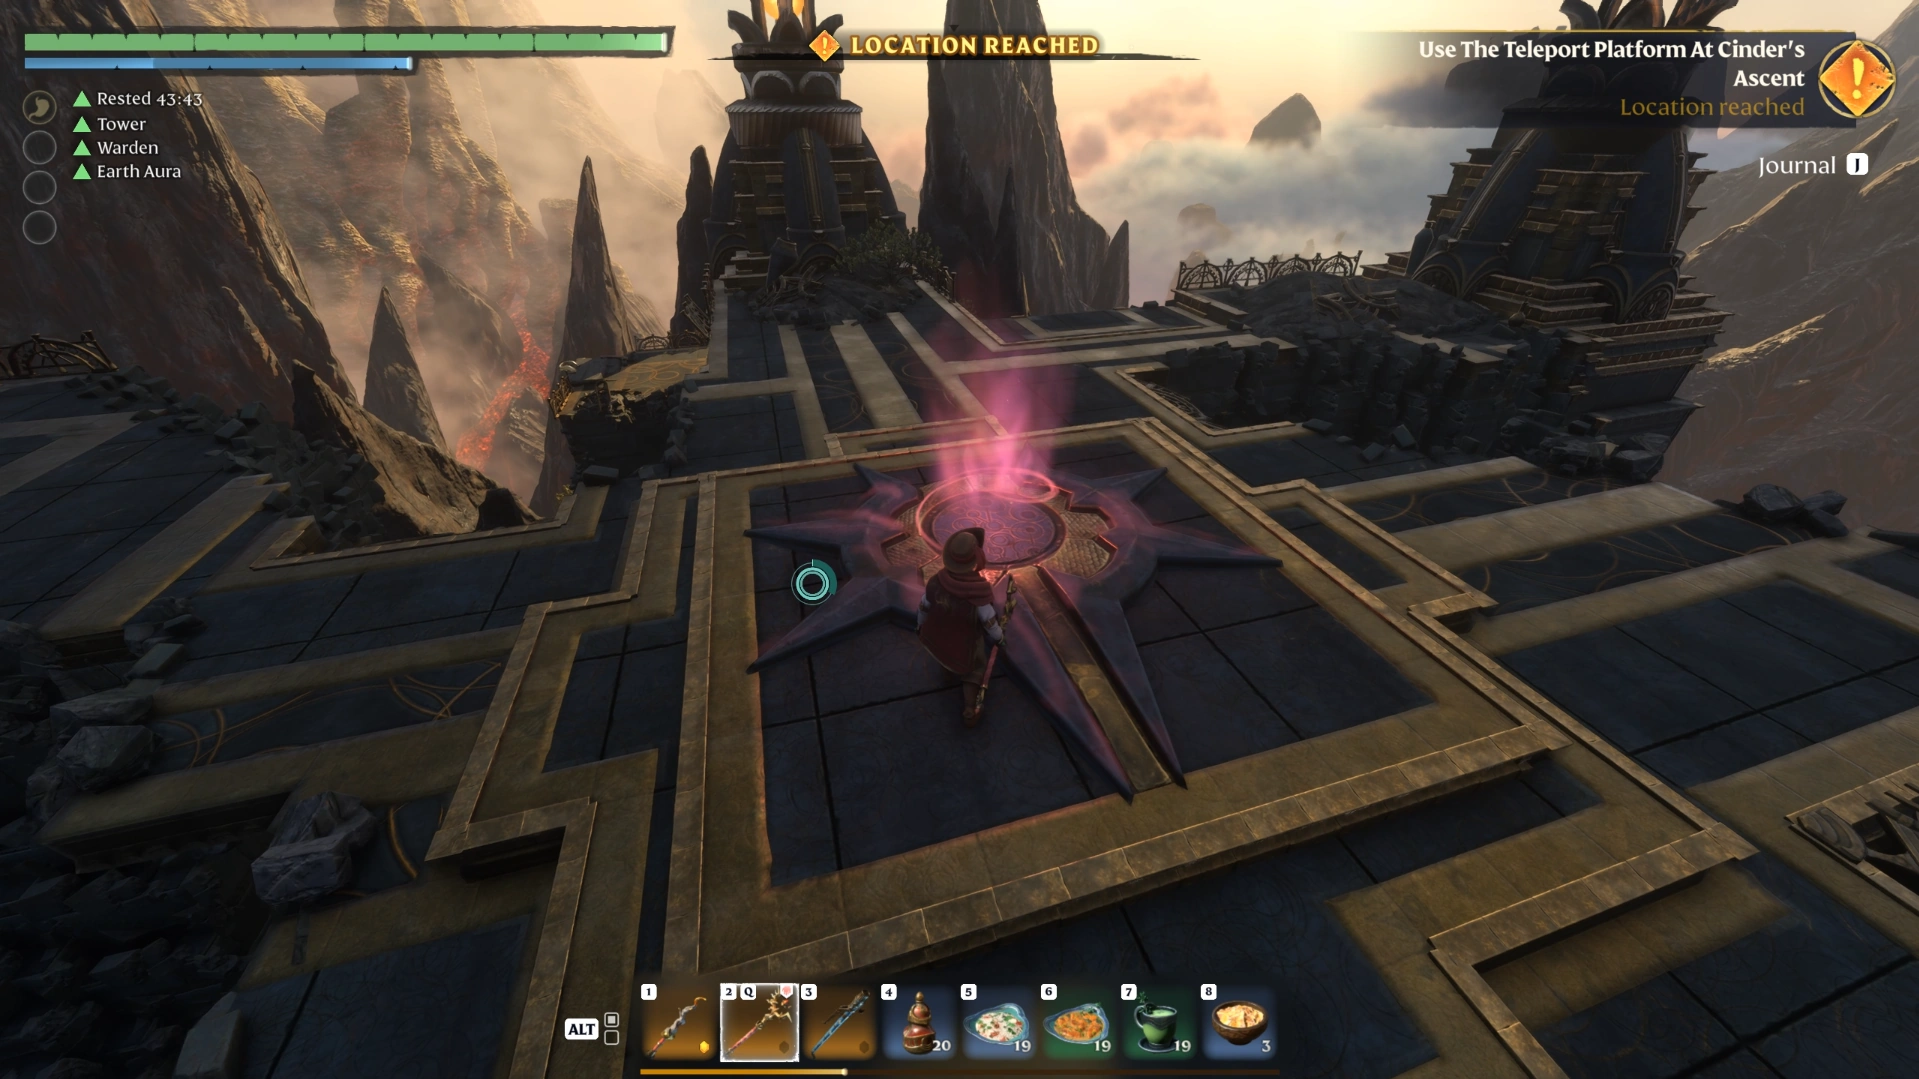
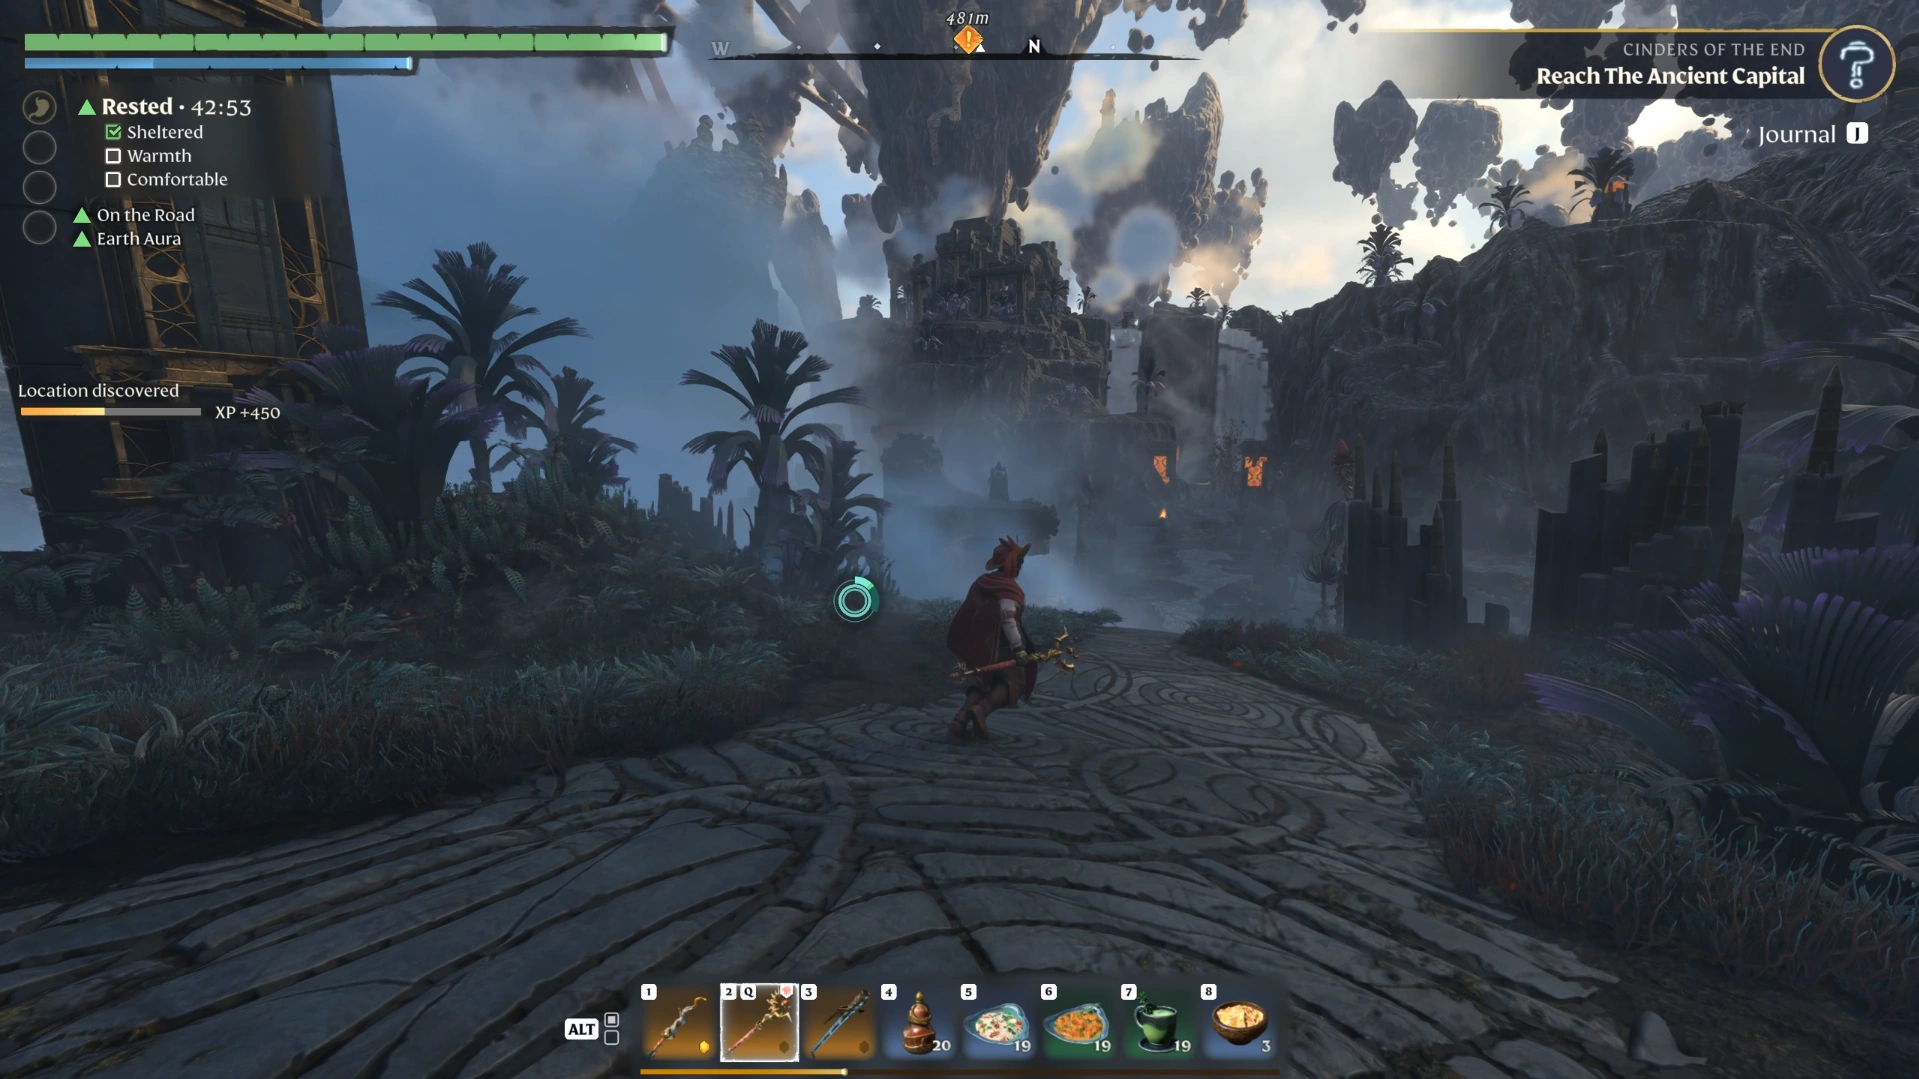
Worker's Ward to the First Construct
The Worker's Ward holds the first optional Shroud Root on the route and ends at a construct you must destroy. Follow these steps from the entrance:
Loot the spark: Go inside, follow the path, and loot the body for a spark.
Detour to the Shroud Root (optional): Continue straight, then head down the pathway to an elite archer and an elite shield enemy. Kill the archer first, since it attacks often and hits hard, then chop the Shroud Root for a skill point.
Keep climbing: Go back up, turn right at the top, and stay on the main path. If you're heading downward, you've taken a wrong turn.
Grab the lore note: Turn up for the lore note, then return the way you came and take the stairs, fighting or running past the Ancients.
Reach the top: Run past the next enemy, take the respawn point, and use the jump pad to reach the top.
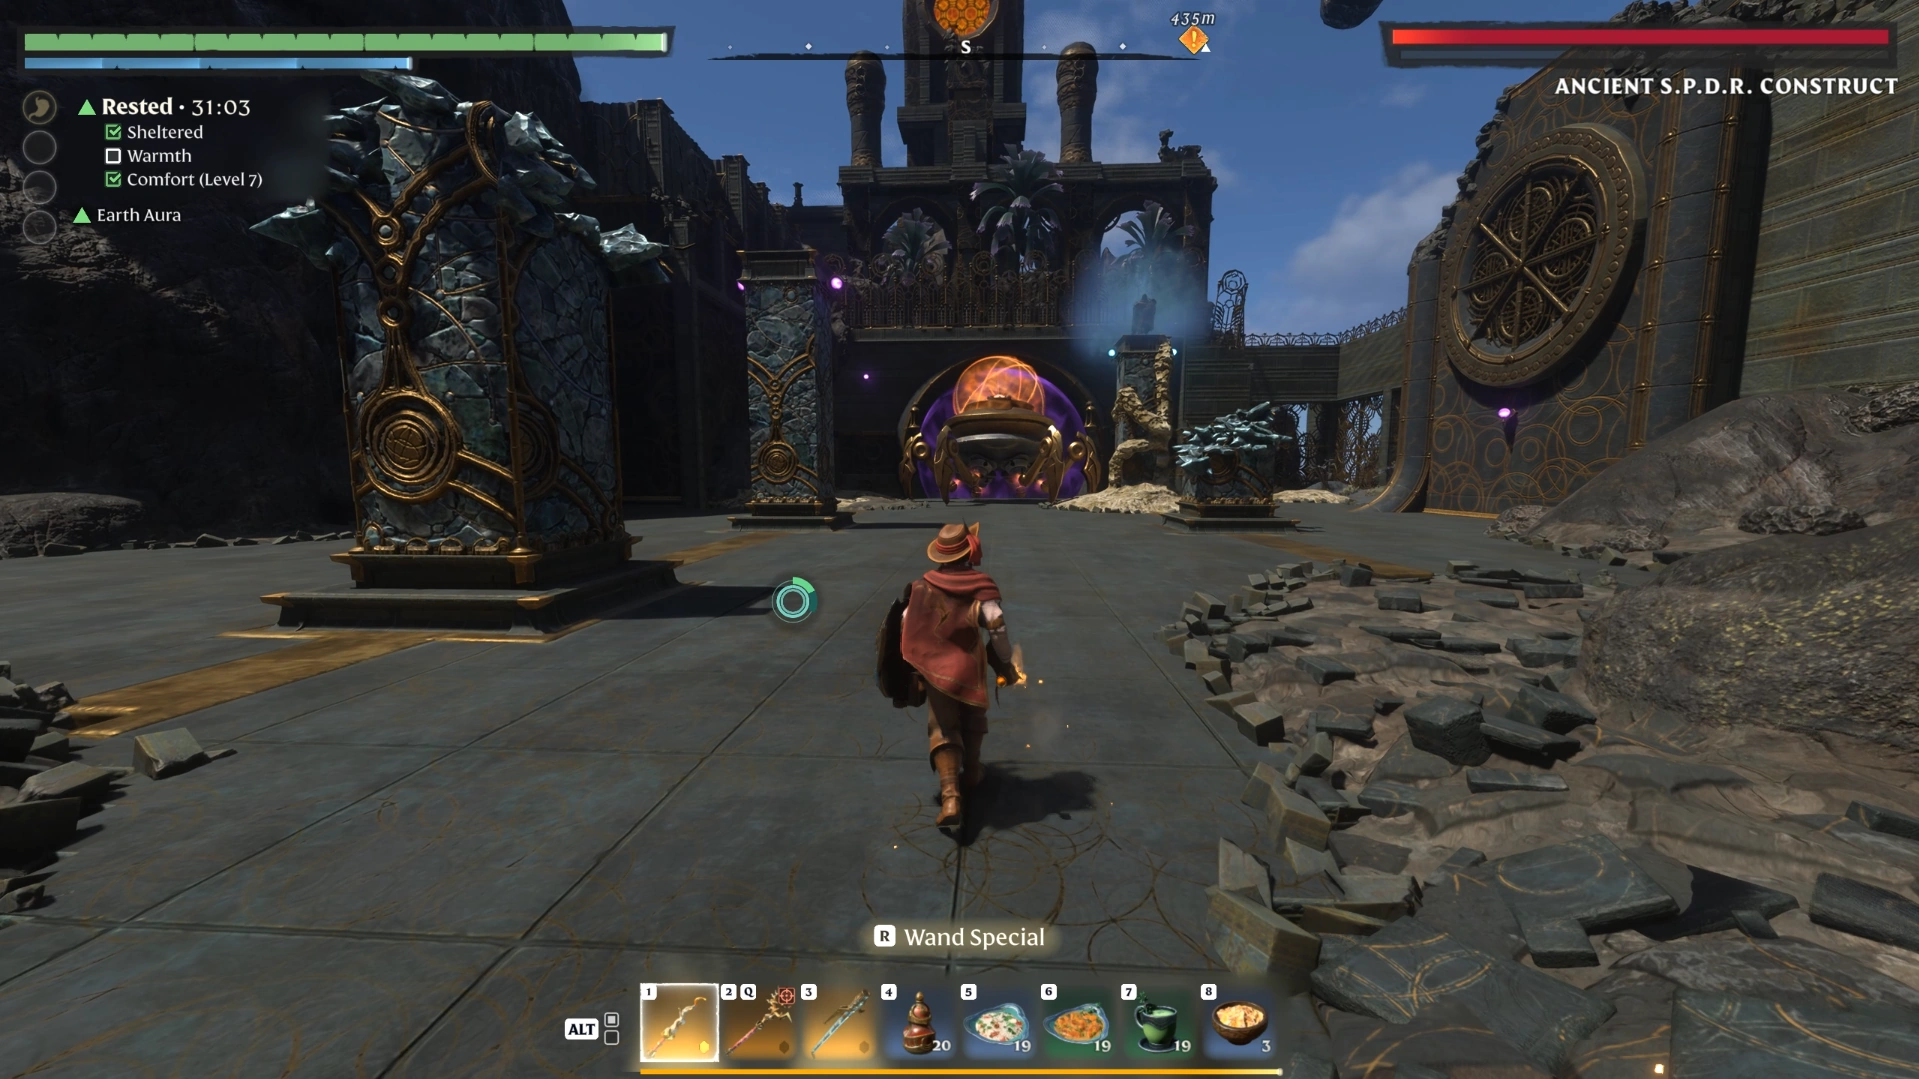
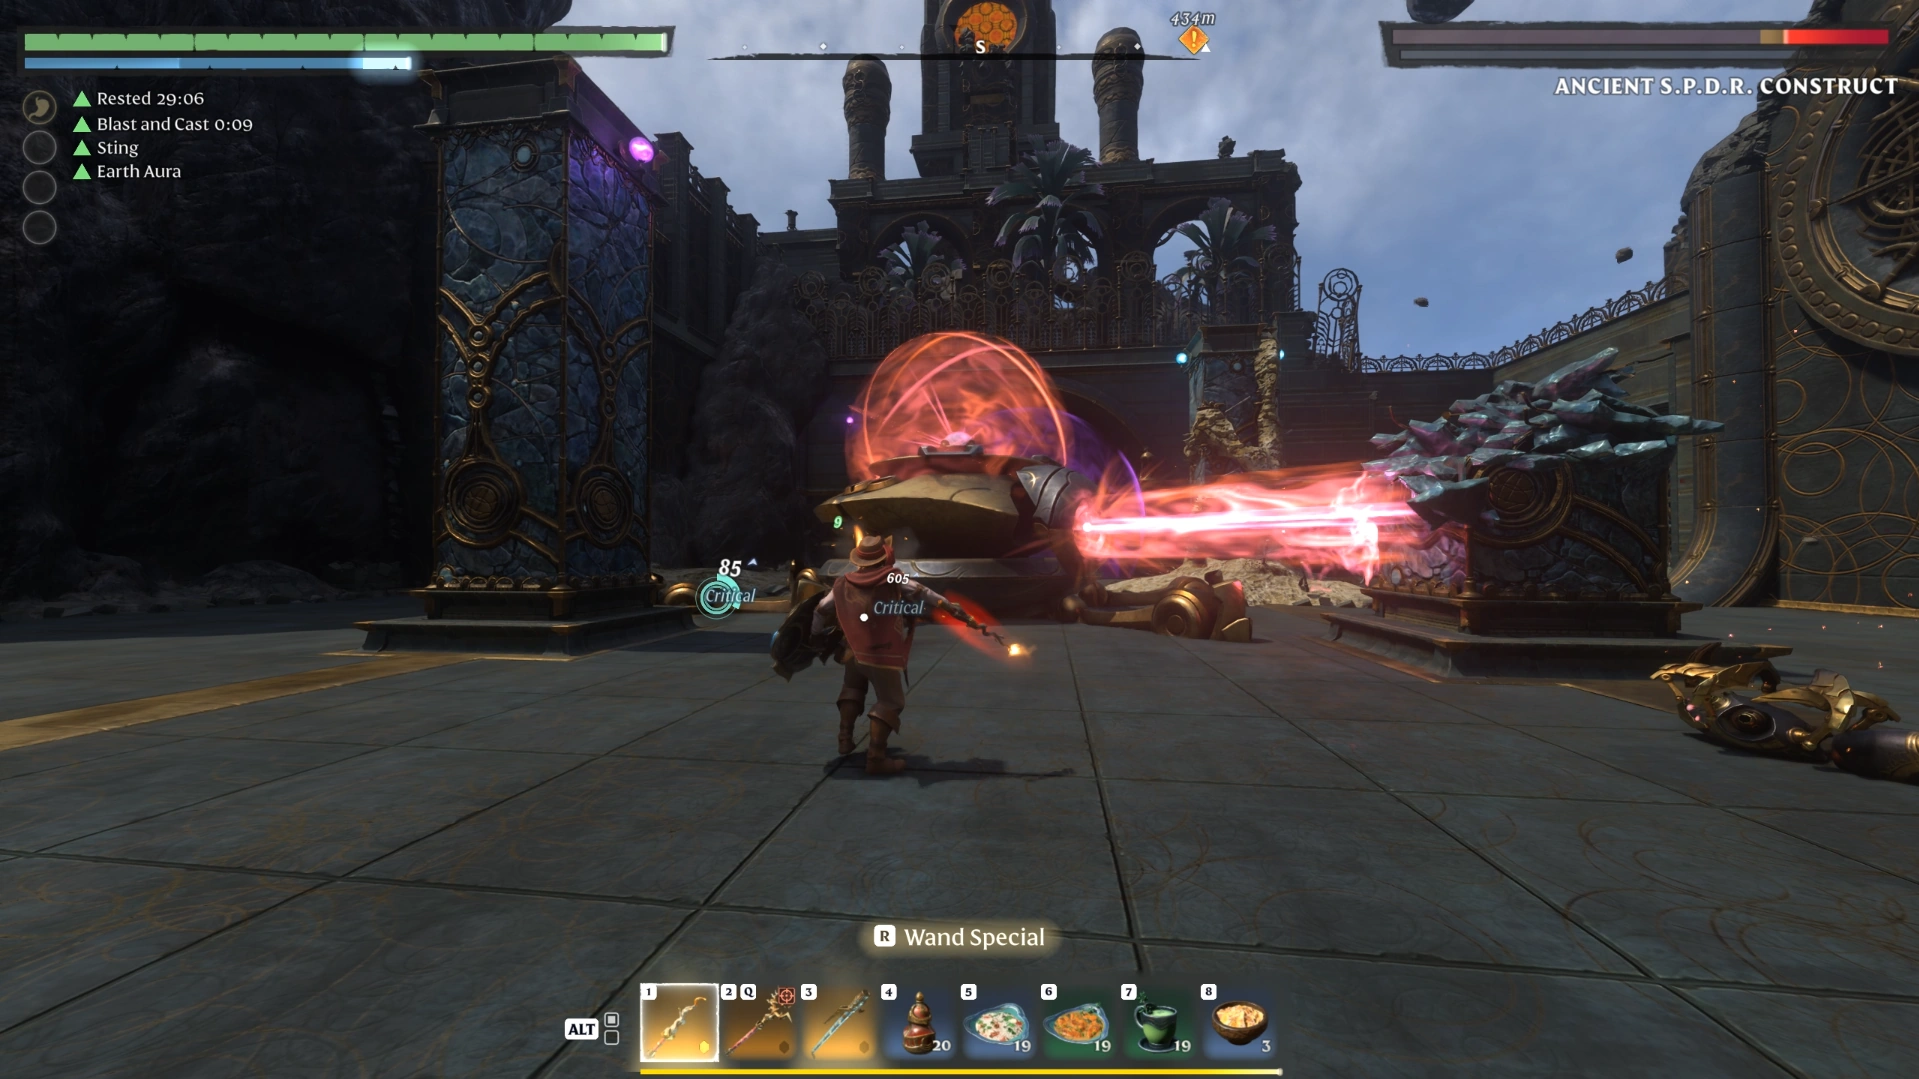
Destroy the construct: The Wanderer appears and the Ancients and Fell clash. Destroy the construct to drop the barrier behind it, using the same approach as the two constructs from the earlier dungeons.
Loot the construct, then go through the opened barrier door to head for the two-button barrier.
How to Open the Two-Button Barrier
The second major gate in Cinders of the End is a barrier that needs two buttons pressed, one on each side of the island. Before that, you cross a chain of towers and wind-assisted glides.
Reach the barrier island
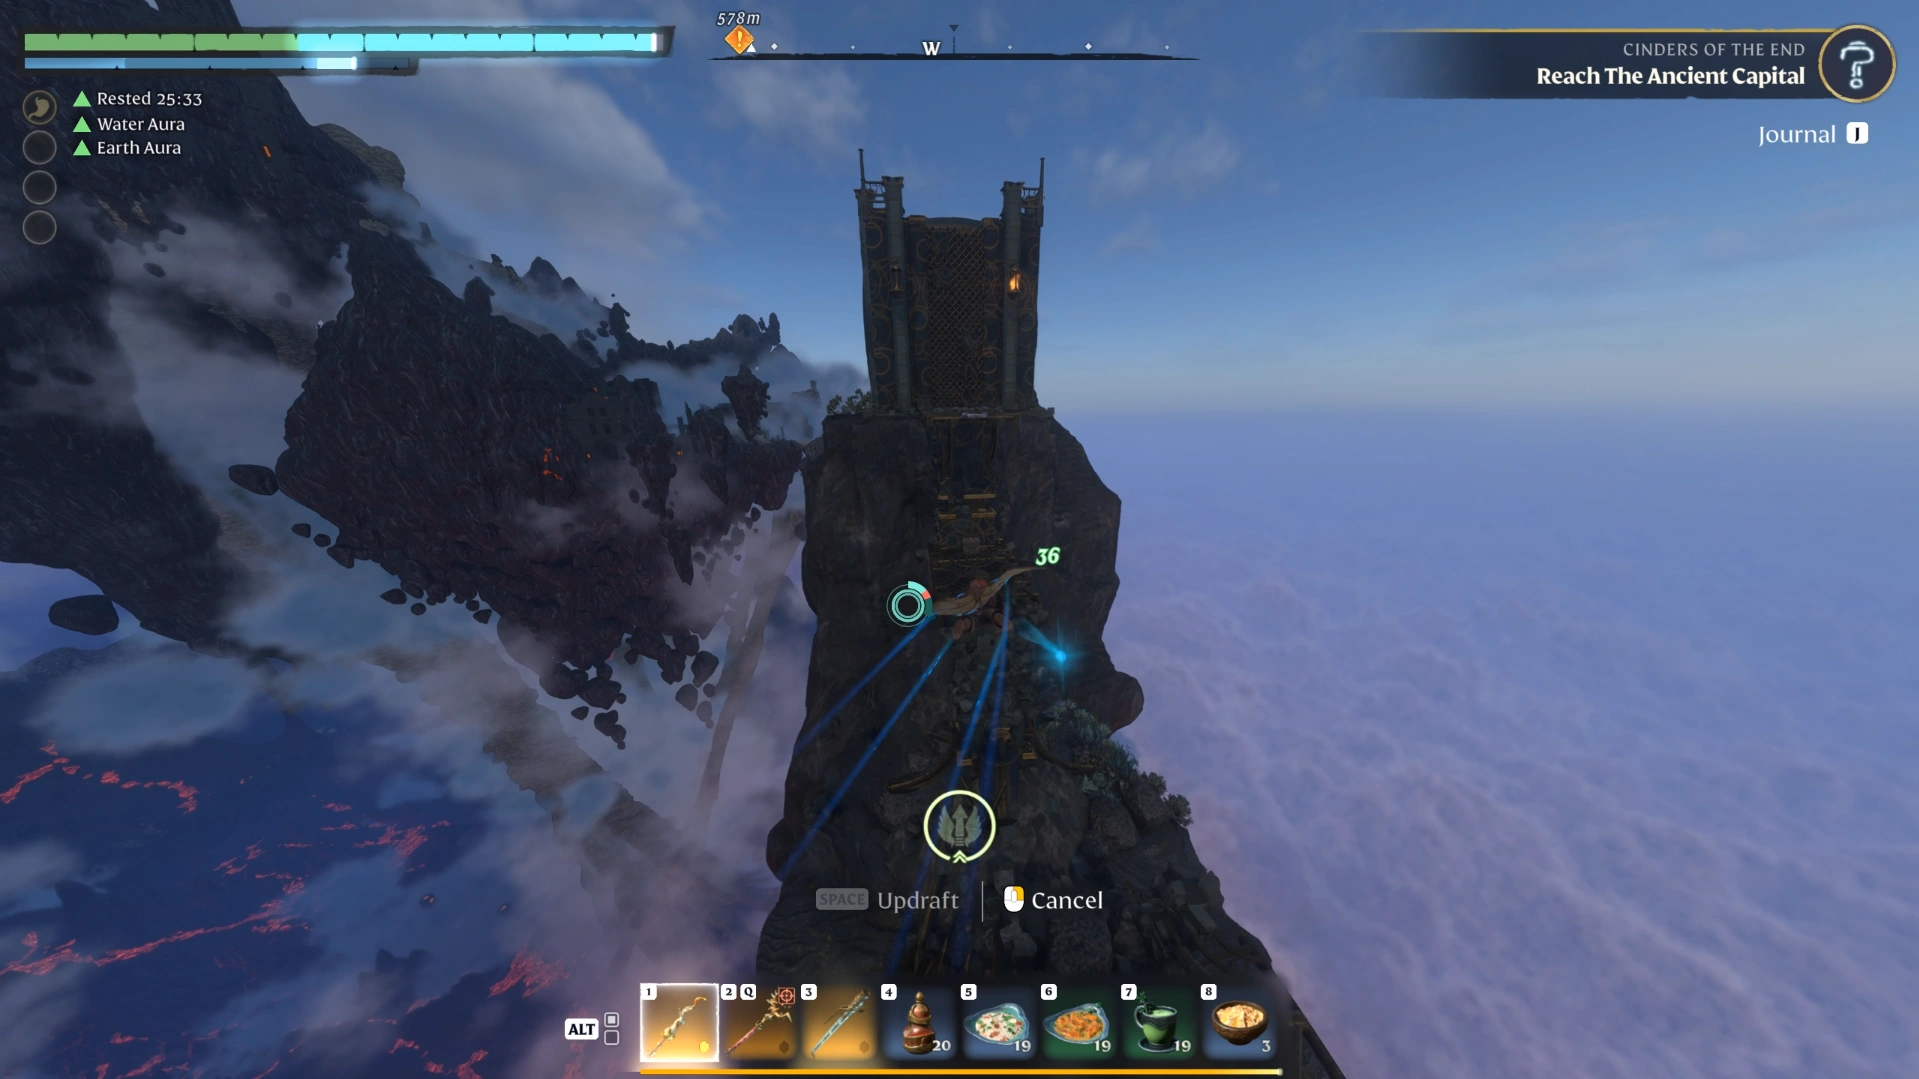
Climb the tower: Go through the door on the left and up the stairs, passing the first 10-spark vault door. Use the jump pads to reach the top of the tower, dodge the rolling spikes on the stairs, grab the lore note, and grapple up.
Glide through the pillars: Head straight and take the left destination (the right side only has loot). Hit the jump pad, glide through the pillars using the wind, and take the respawn point where you land.
Climb past the Ancients: Skip the Ancients, go right up two flights of stairs, then right again and grapple up. Take the lift and climb to the top.
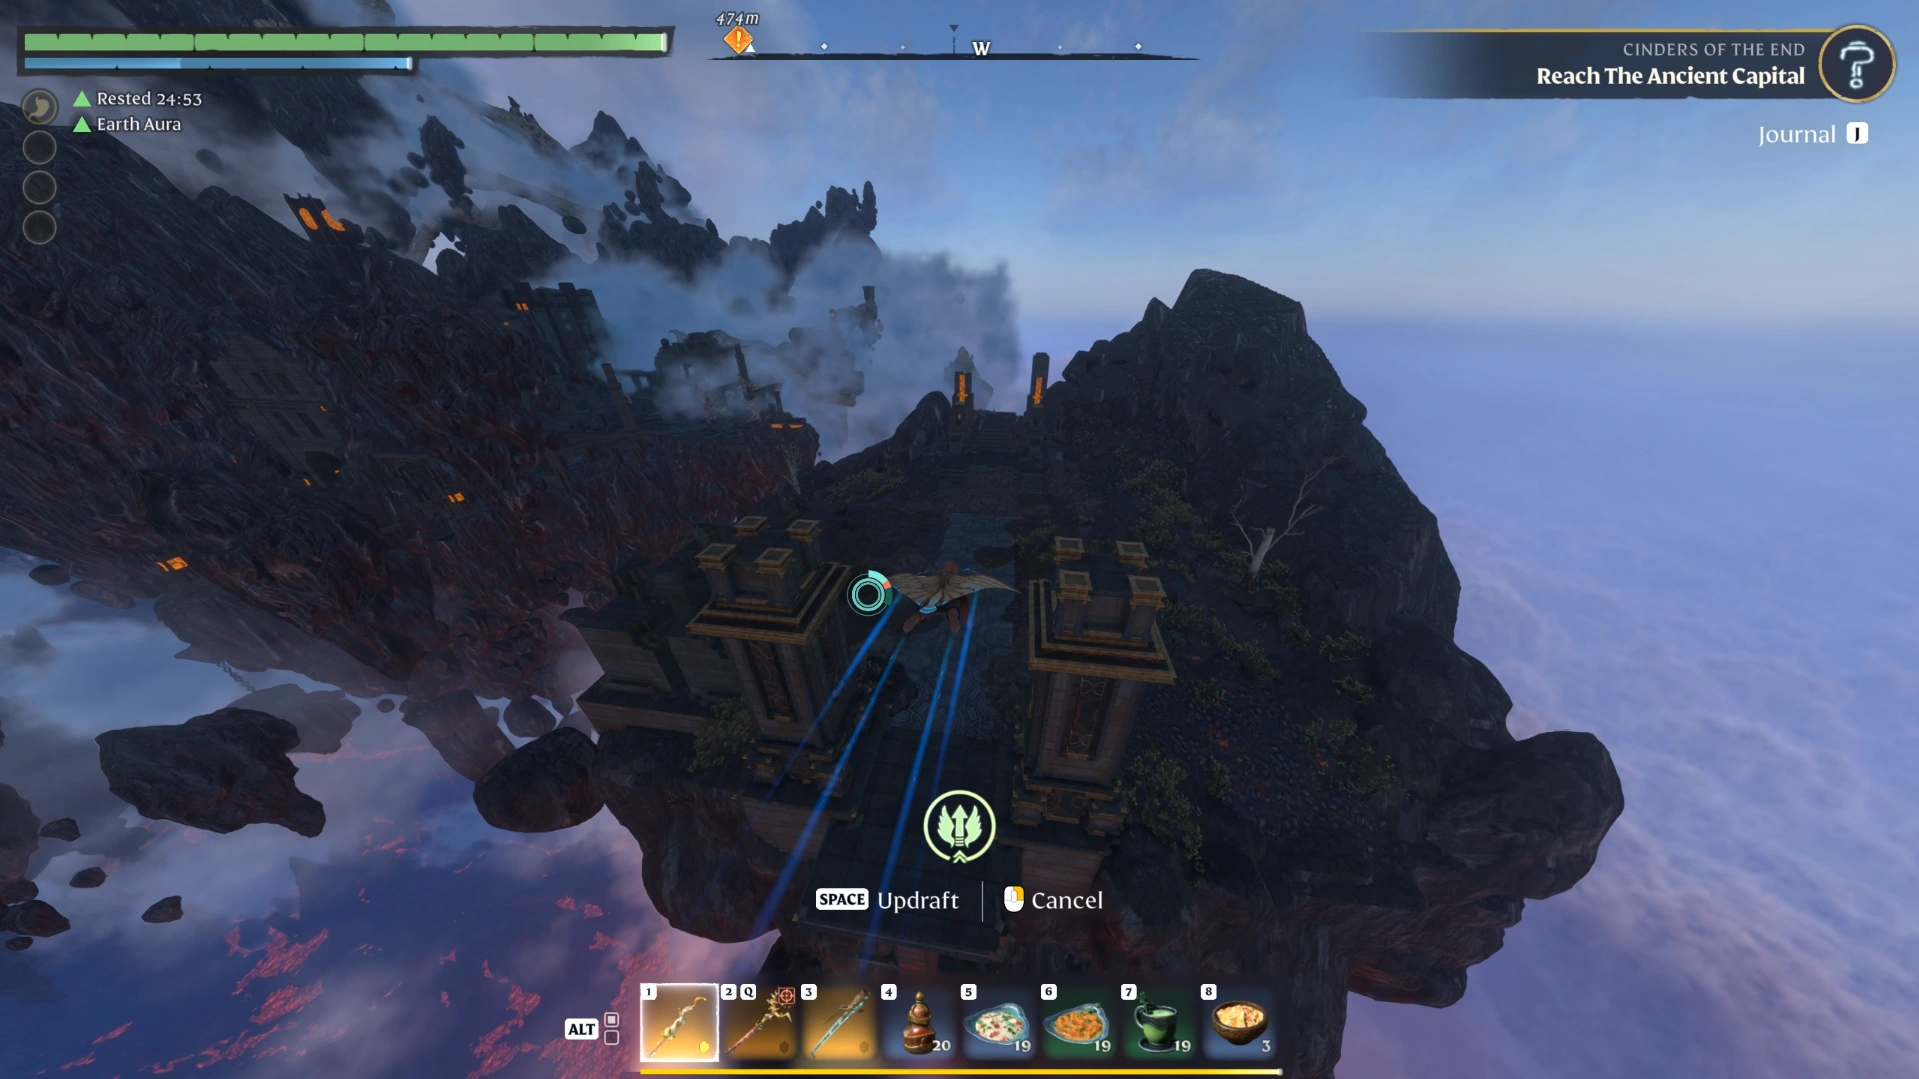
Glide back behind you: Use the jump pad and glide back the way you came to reach a chest, then grapple up. Use the next jump pad and glide across to the barrier island from the edge.
Press both barrier buttons
The Wanderer appears again and the Fell and Ancients start fighting, but you don't need to fight anything here. Do the easy button on the left first:
Left button: Go up the left side without entering the building, turn right, then left, and drop down. Press the button on the wall.
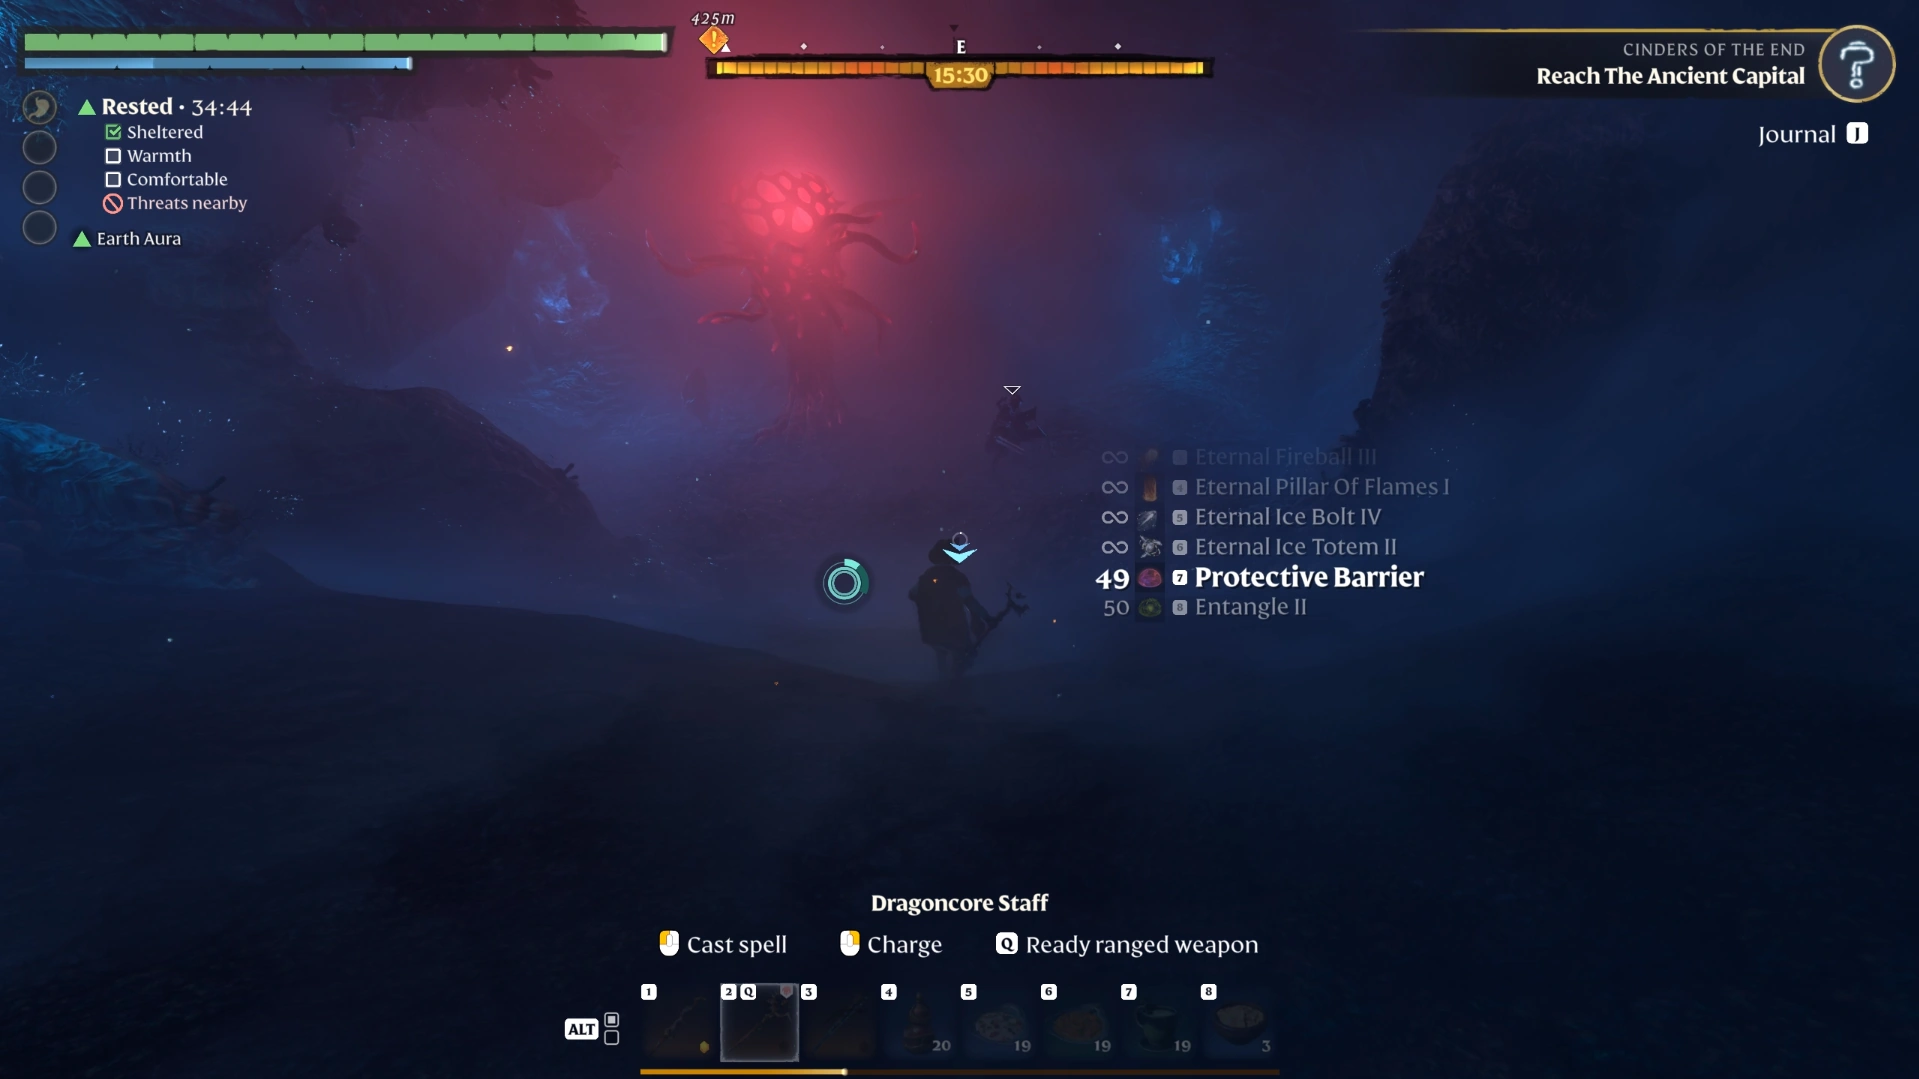
Cross to the Shroud side: Go back up and cross directly to the opposite, Shroud-covered side. Keep left, run past the enemies, take two flights of stairs, and go inside.
Follow the tentacles down: Keep heading down along the path marked by tentacles. Grappling up and to the right is the quest path, while continuing down leads to the second optional Shroud Root.
Detour to the Shroud Root (optional): Clear the Fell around the root and chop it for a skill point, which also reset our Shroud timer. Go back the way you came afterward.
Clear the climb: Turn right, kill the Fell, the tentacles, the two archers, and the spawner, then grapple up. Follow the path to the top.
Right button: Take the jump pad at the top and hit the button in the top-left corner to unlock the barrier.
Example Scenario (hypothetical): Your Shroud timer is nearly full when you reach the tentacle path, so you skip the detour and grapple straight up to the right button. If it's running low instead, the detour root is the safer choice before the long climb.
Once the barrier unlocks, glide down to it, go through and up the stairs, and activate the respawn point before the next section.
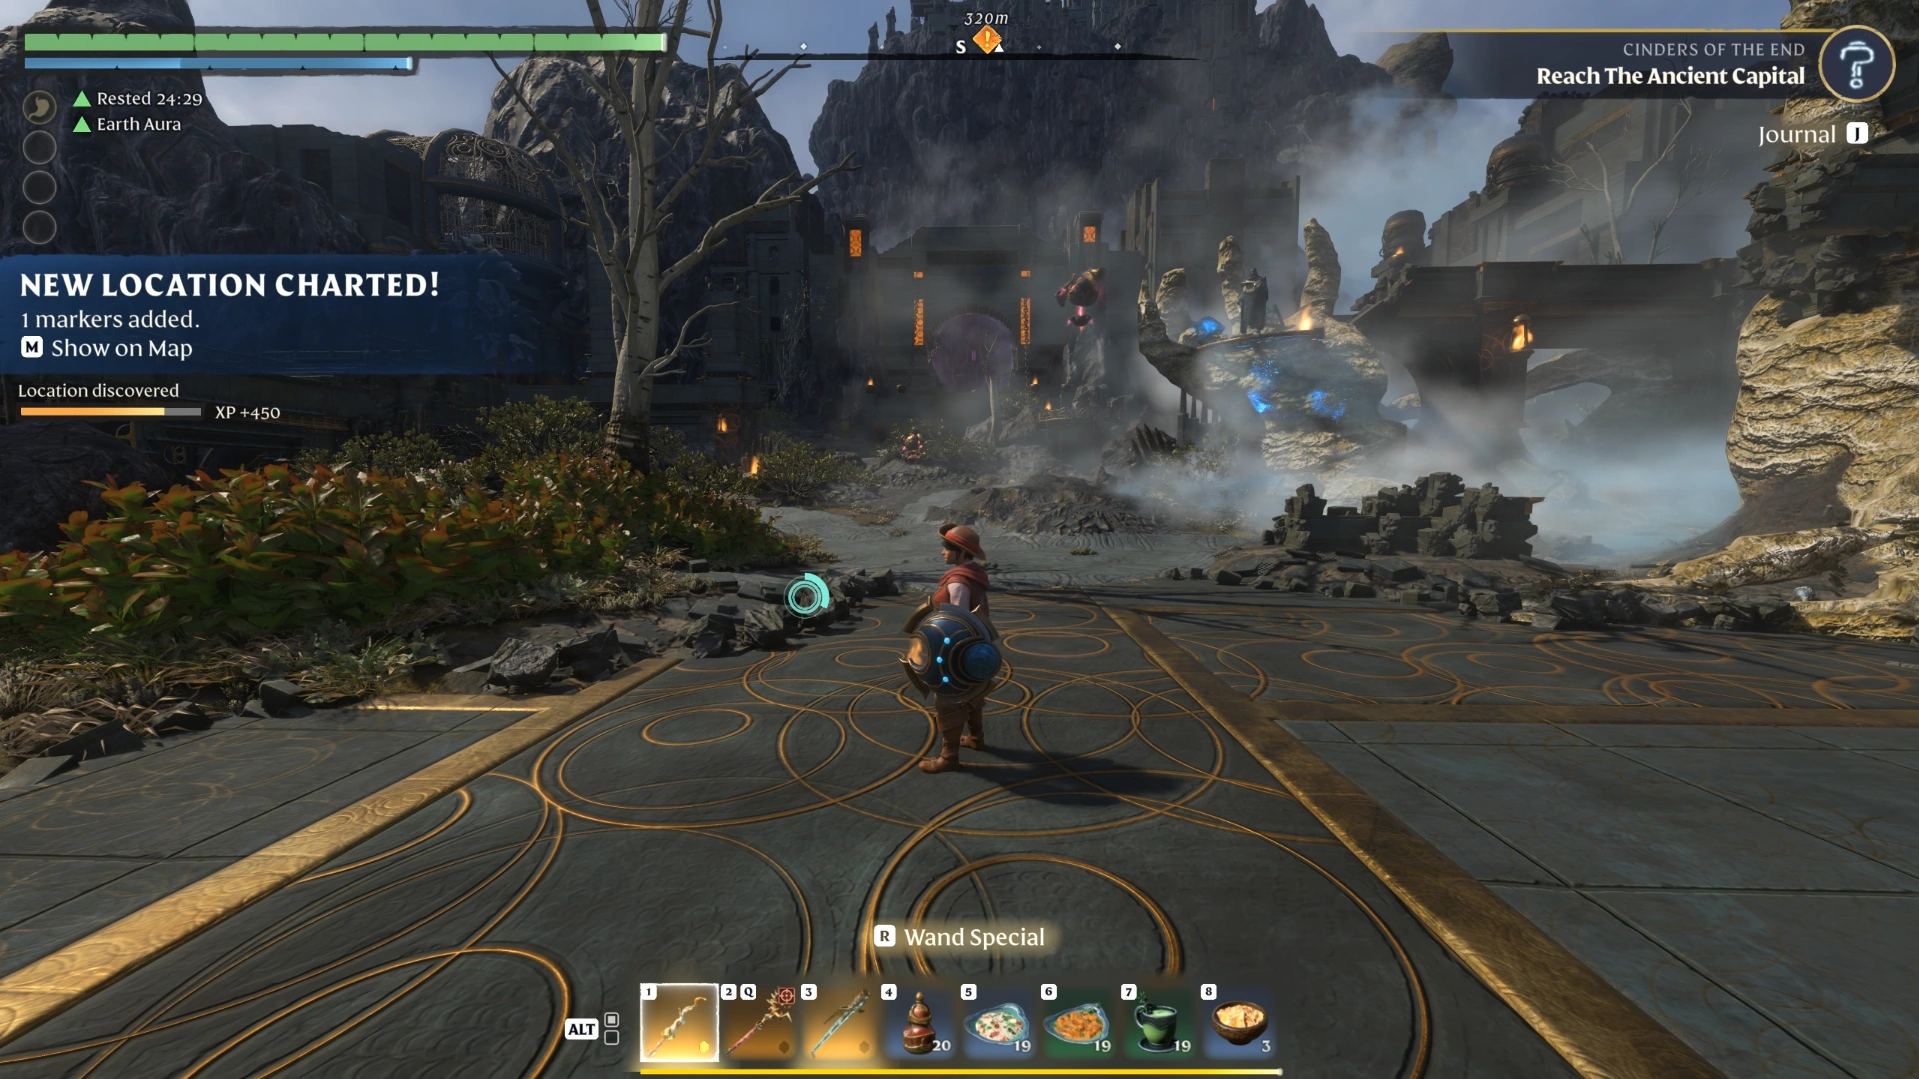
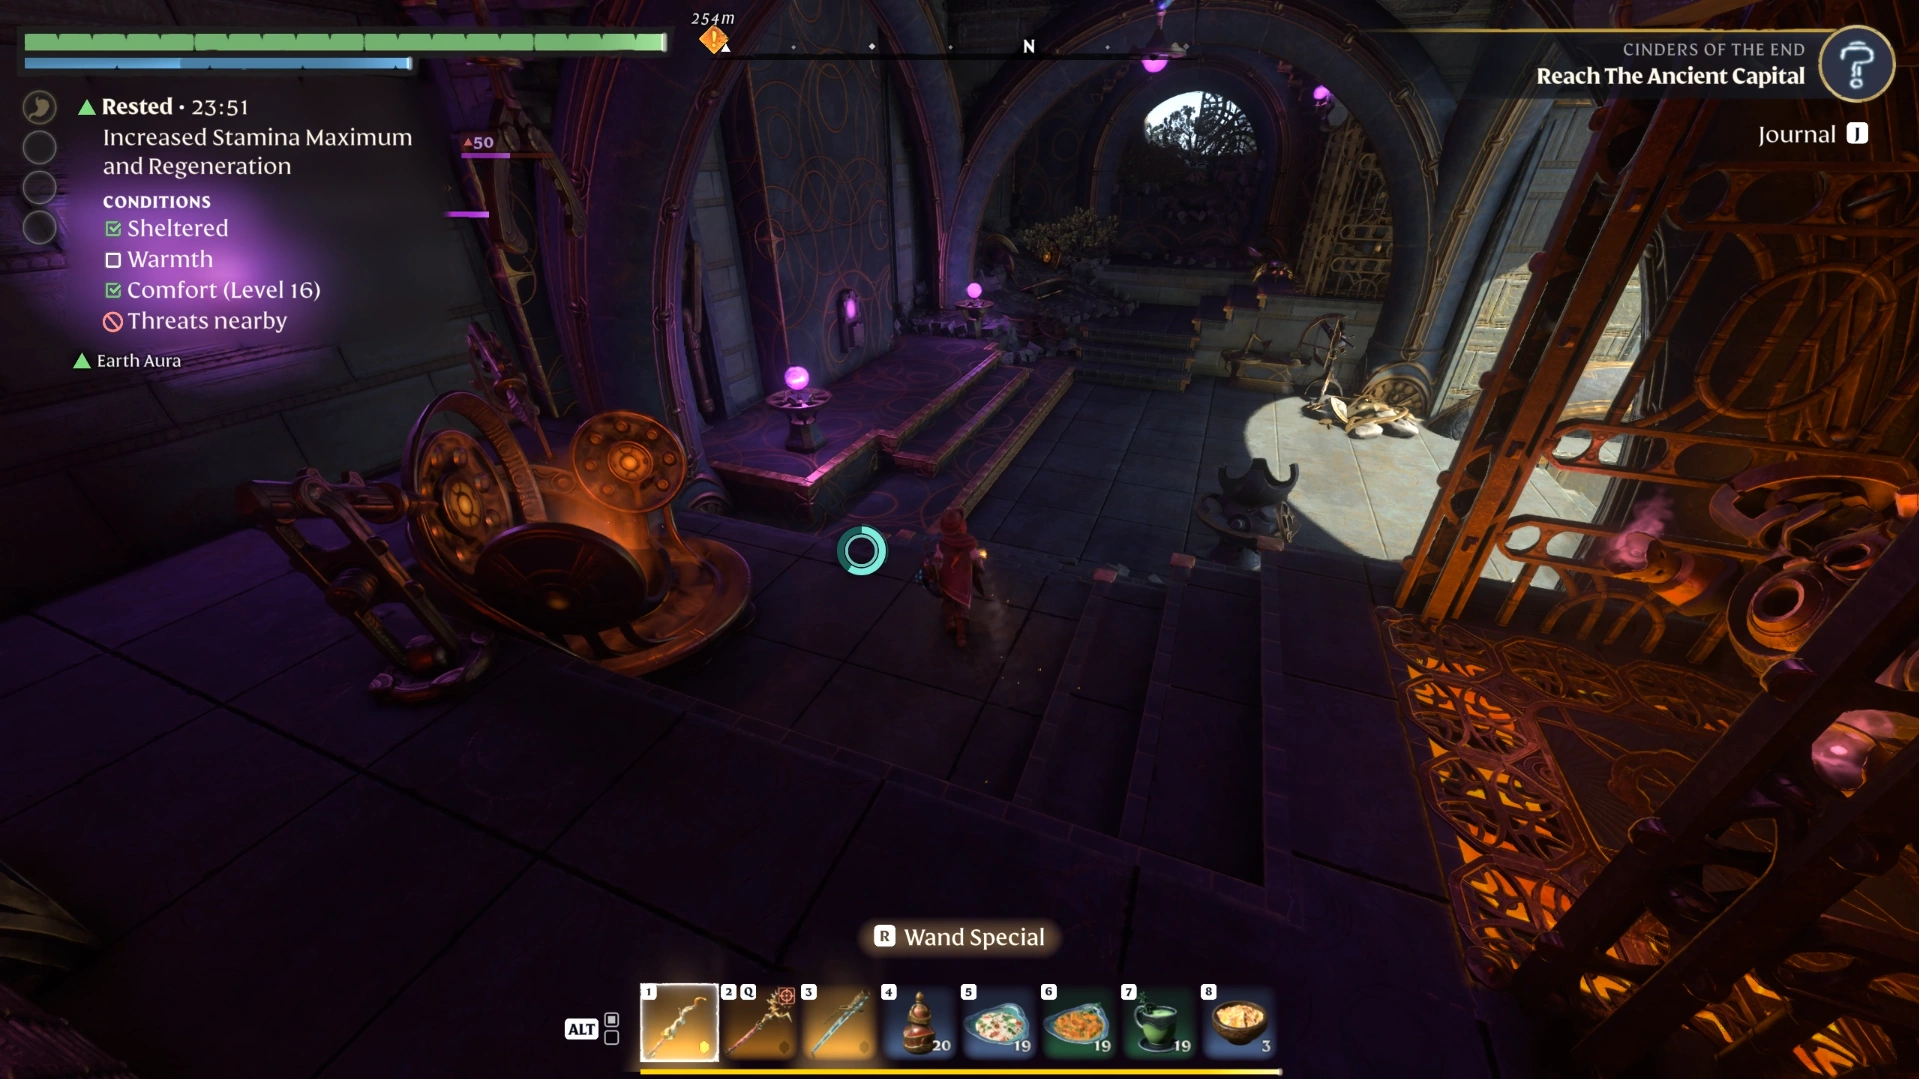
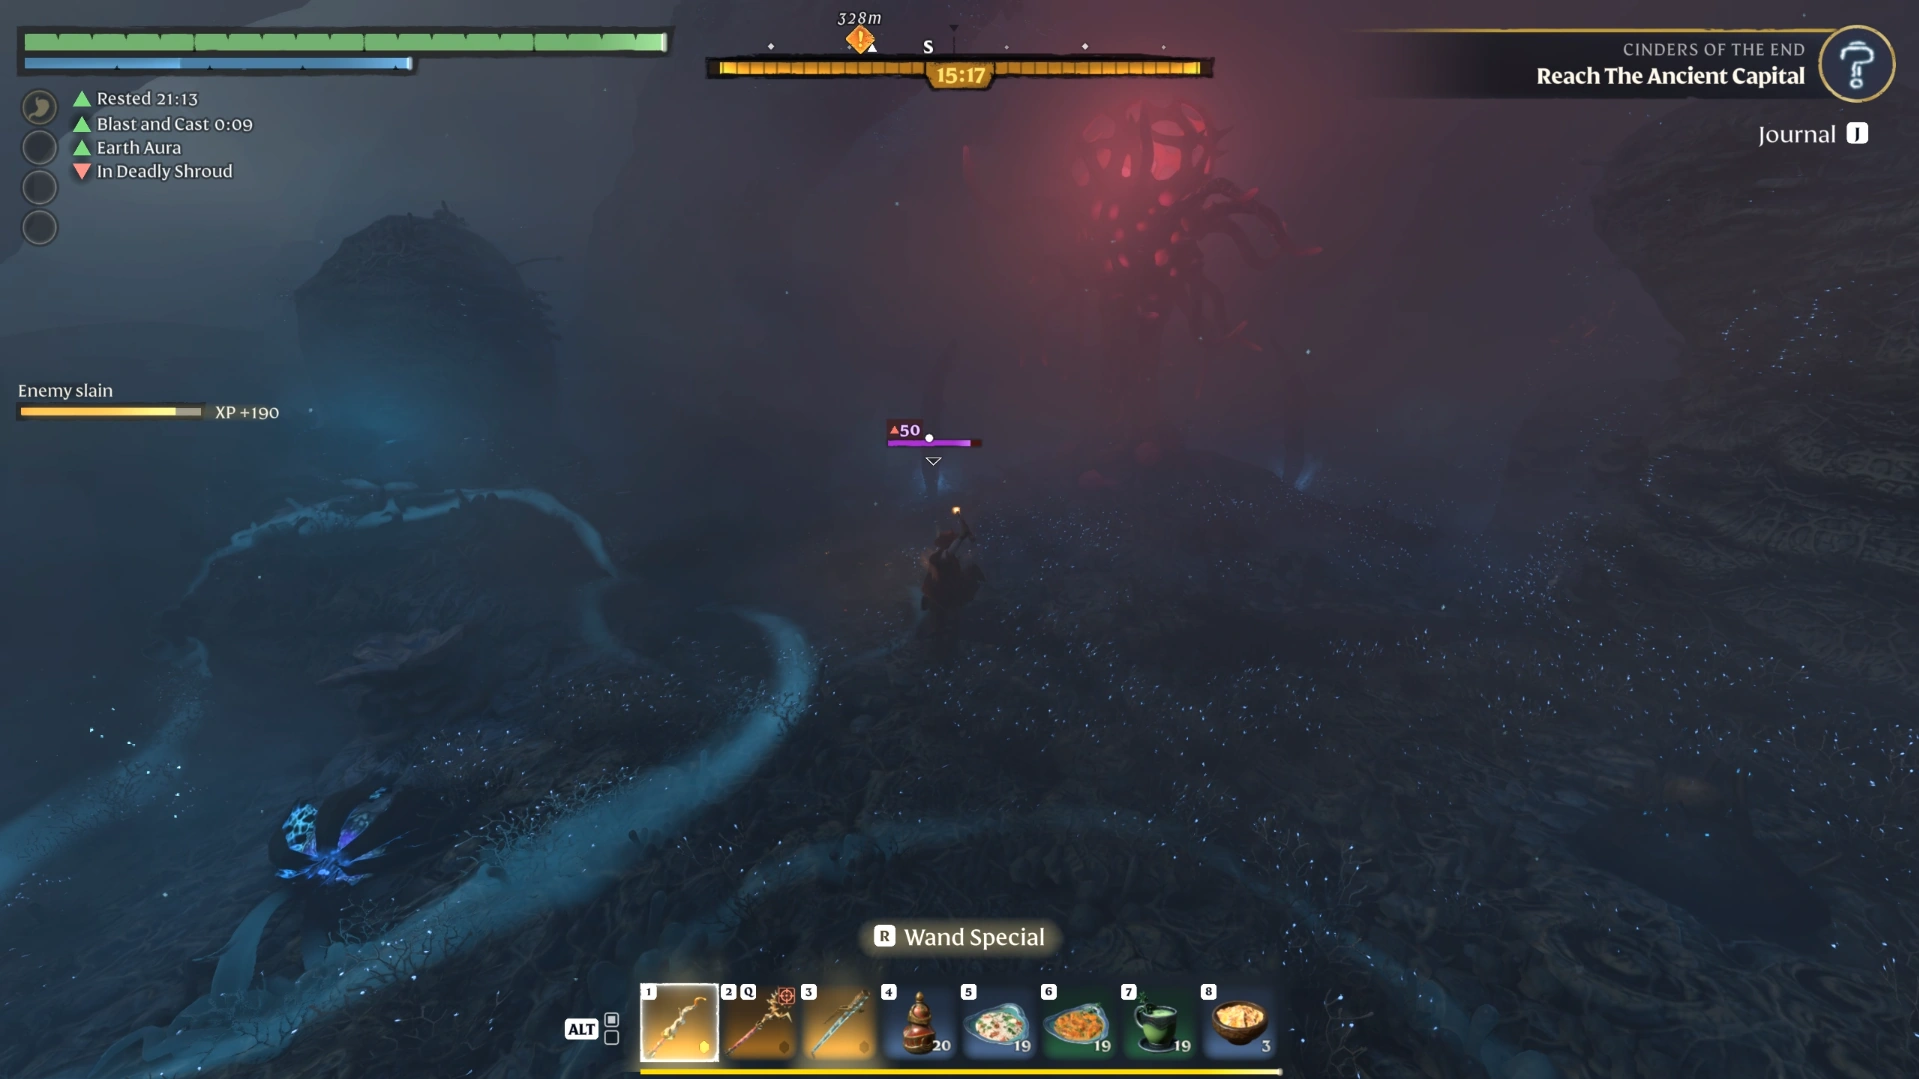
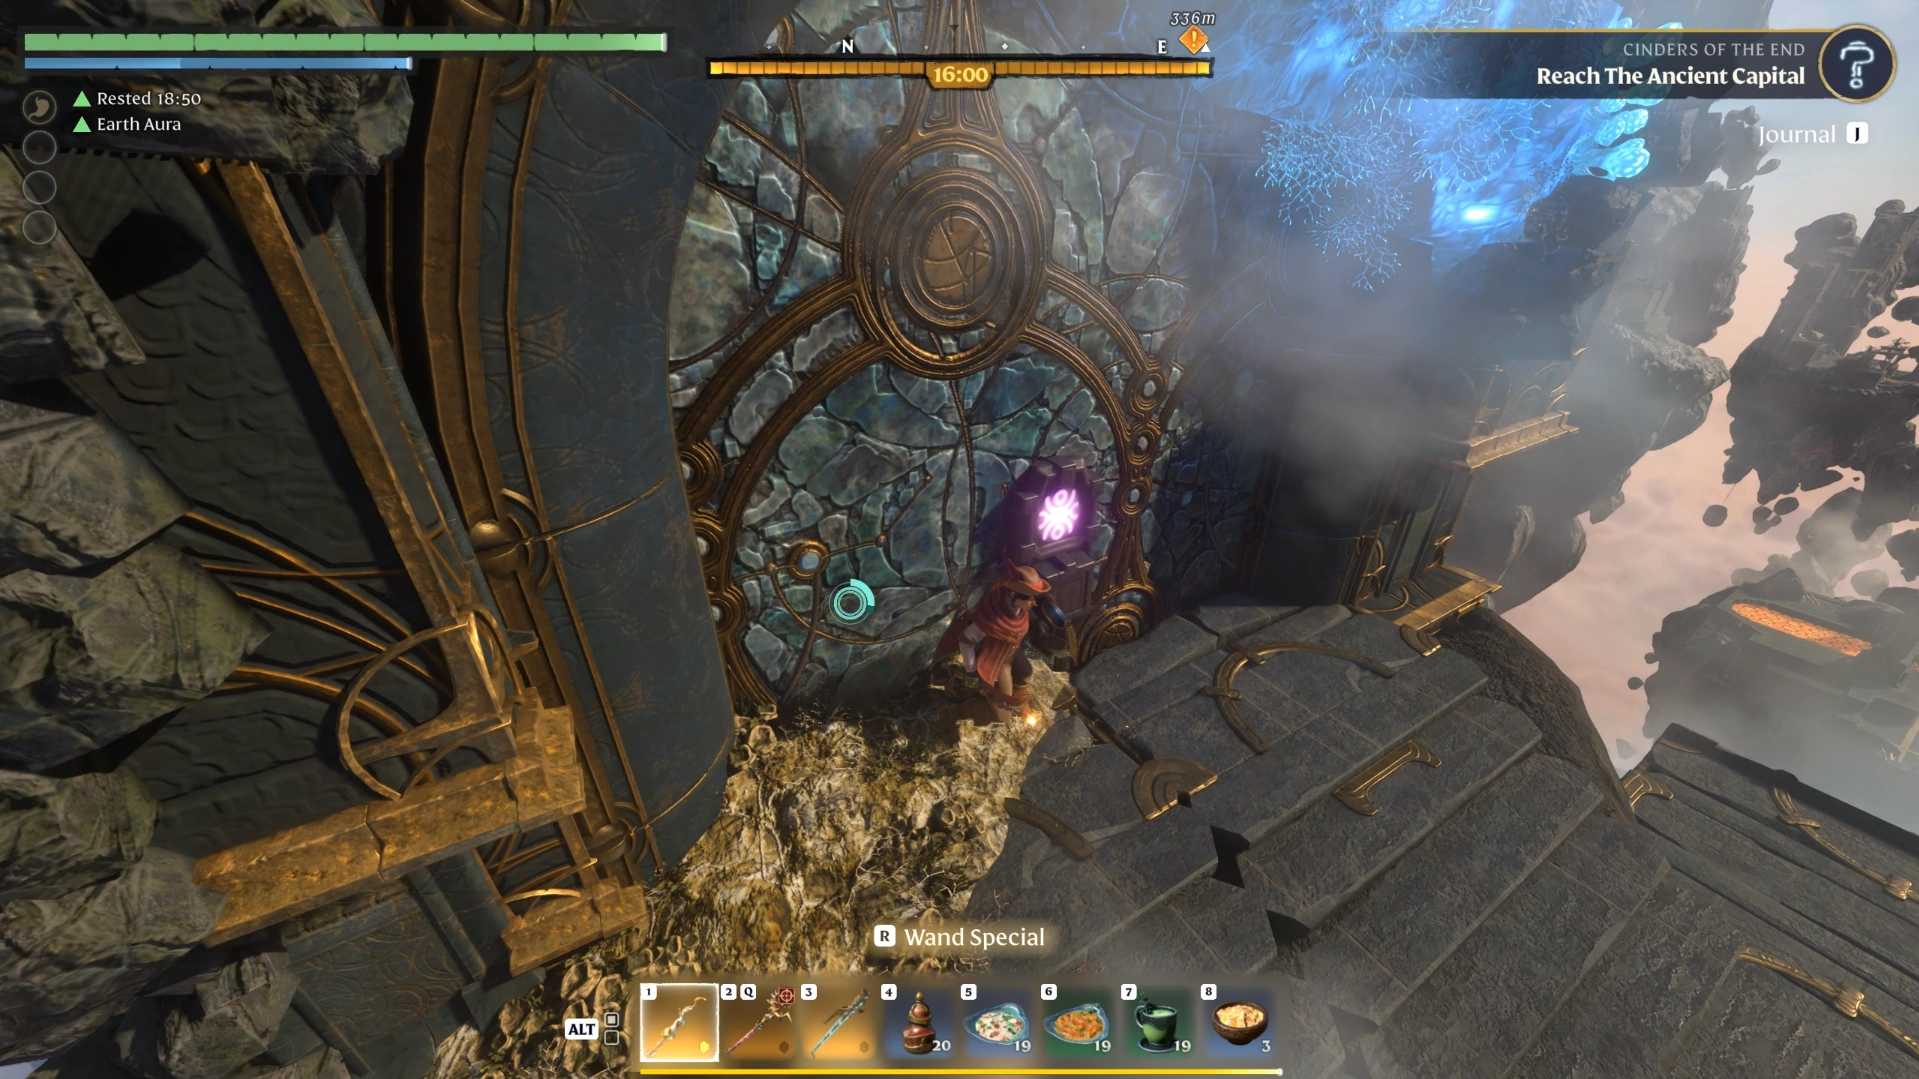
Shooting Button, Alarm Room, and the Shroud Climb
This is the longest stretch of the quest and the easiest place to get lost. It covers a door you open with a ranged attack, an Ancient-filled alarm room, and a maze-like Shroud section that ends at the third Shroud Root.
Shoot the button to open the door
Find the platform: Head forward, go through the door on the left, take the stairs on the left, and follow them around. Stand on the platform at the end.
Hit the button: Shoot the button above you with a bow or a staff fireball to open the door, then jump down.
Loot the golden chest: Use the jump pad to reach the golden chest, then glide across to the next section.
Keep crossing: Climb up, continue straight, hit the jump pad, and glide across. Ignore the Ancient ahead, go down through the door, and glide across again (an Ancient and a body with a spark are just behind you here).
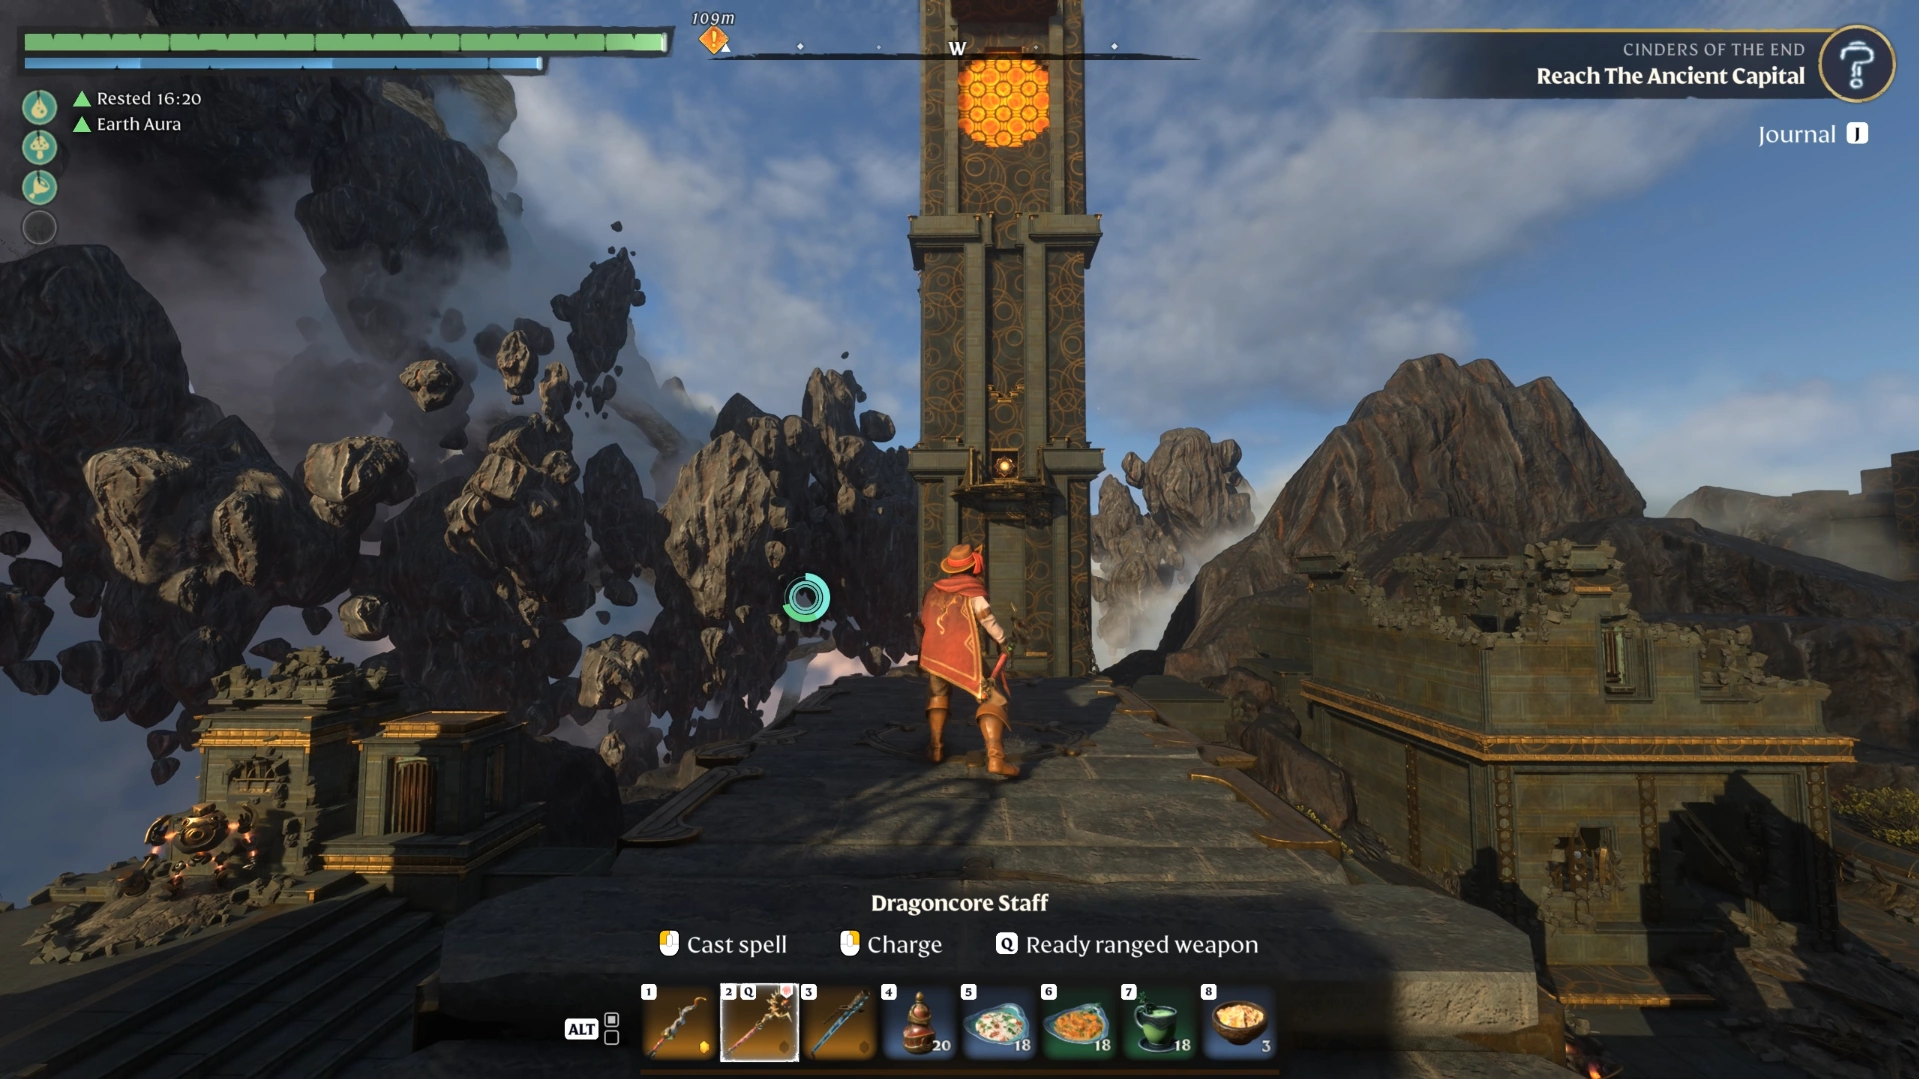
Clear the alarm room
Continue up the path to a building full of Ancients. You must clear the room and switch off the alarm to open the next barrier:
Clear the ground floor: Kill the Ancients, loot the body on the right, and grab the lore note on the left. The Ancients tend to bunch up here, which makes area attacks like fireballs efficient.
Turn off the alarm: Go up either staircase, loot the bodies, and switch off the alarm. Go around and through the barrier it opens.
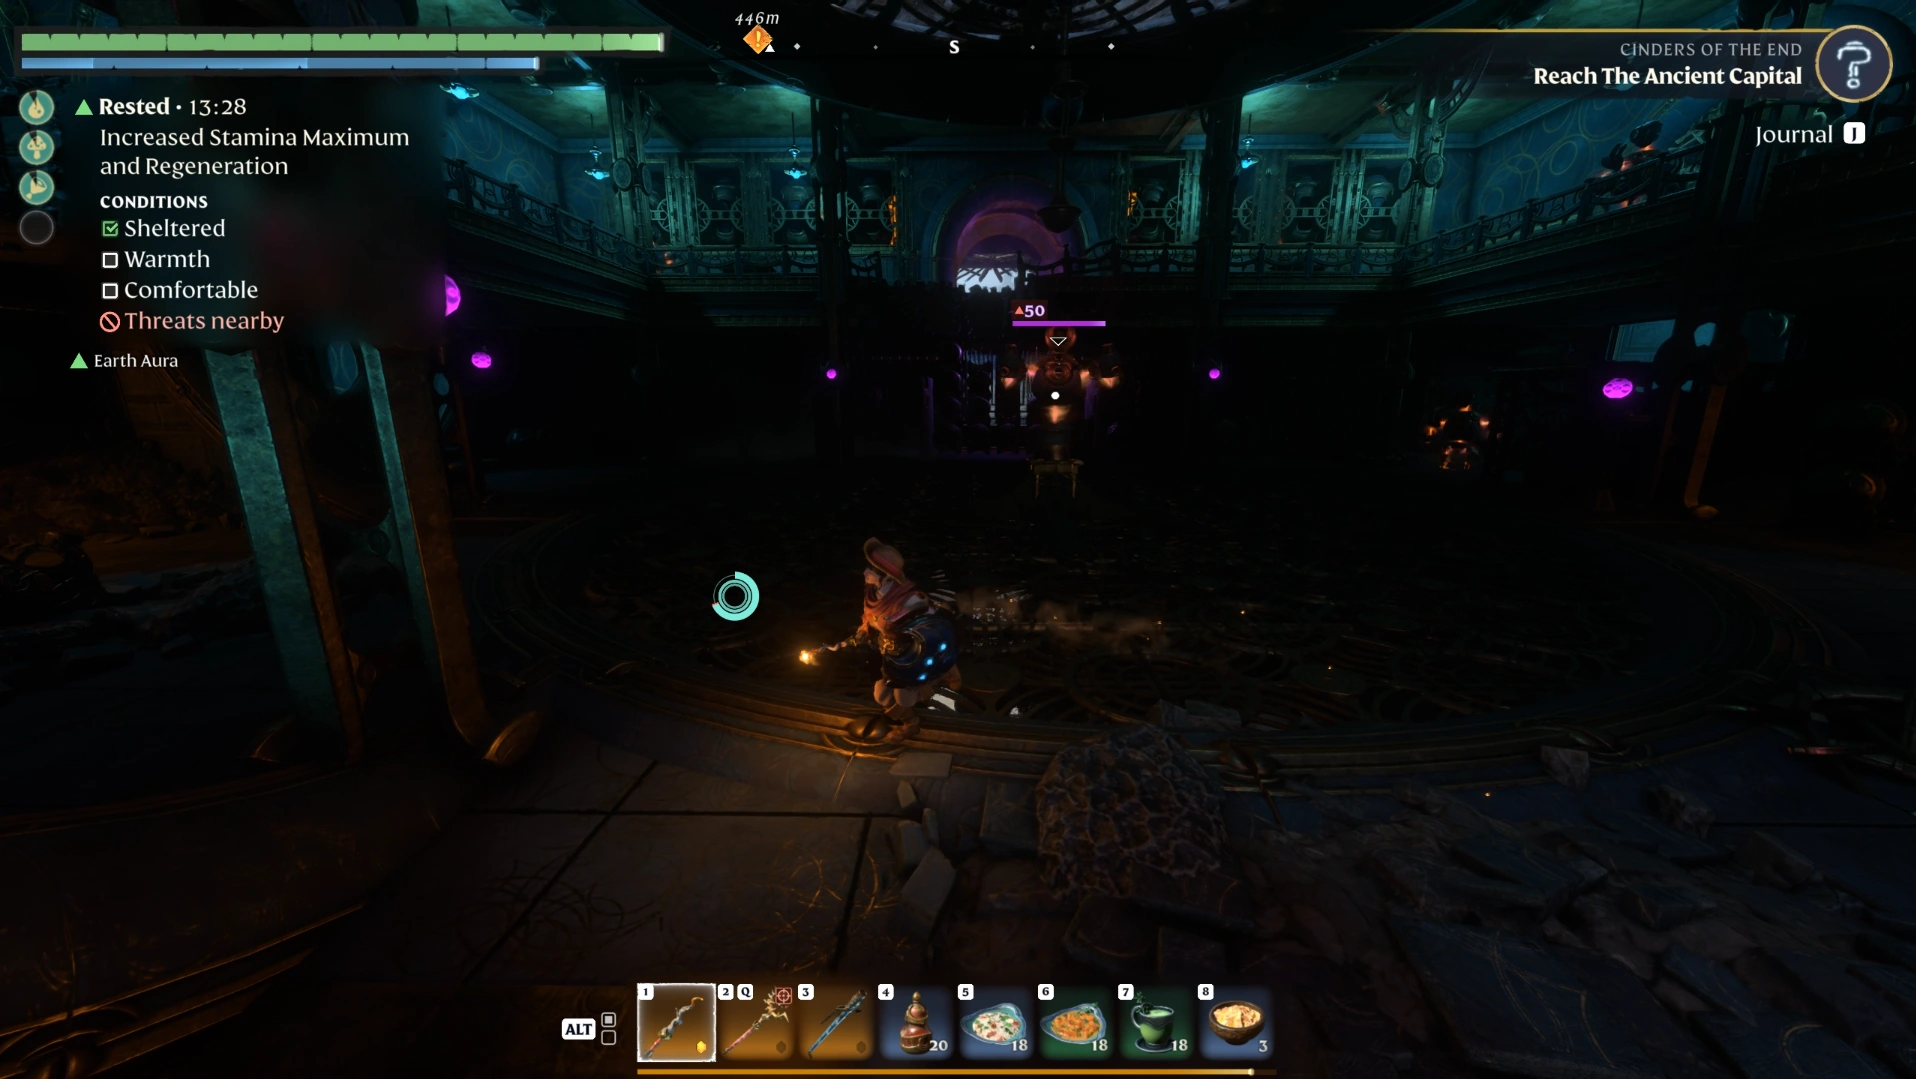
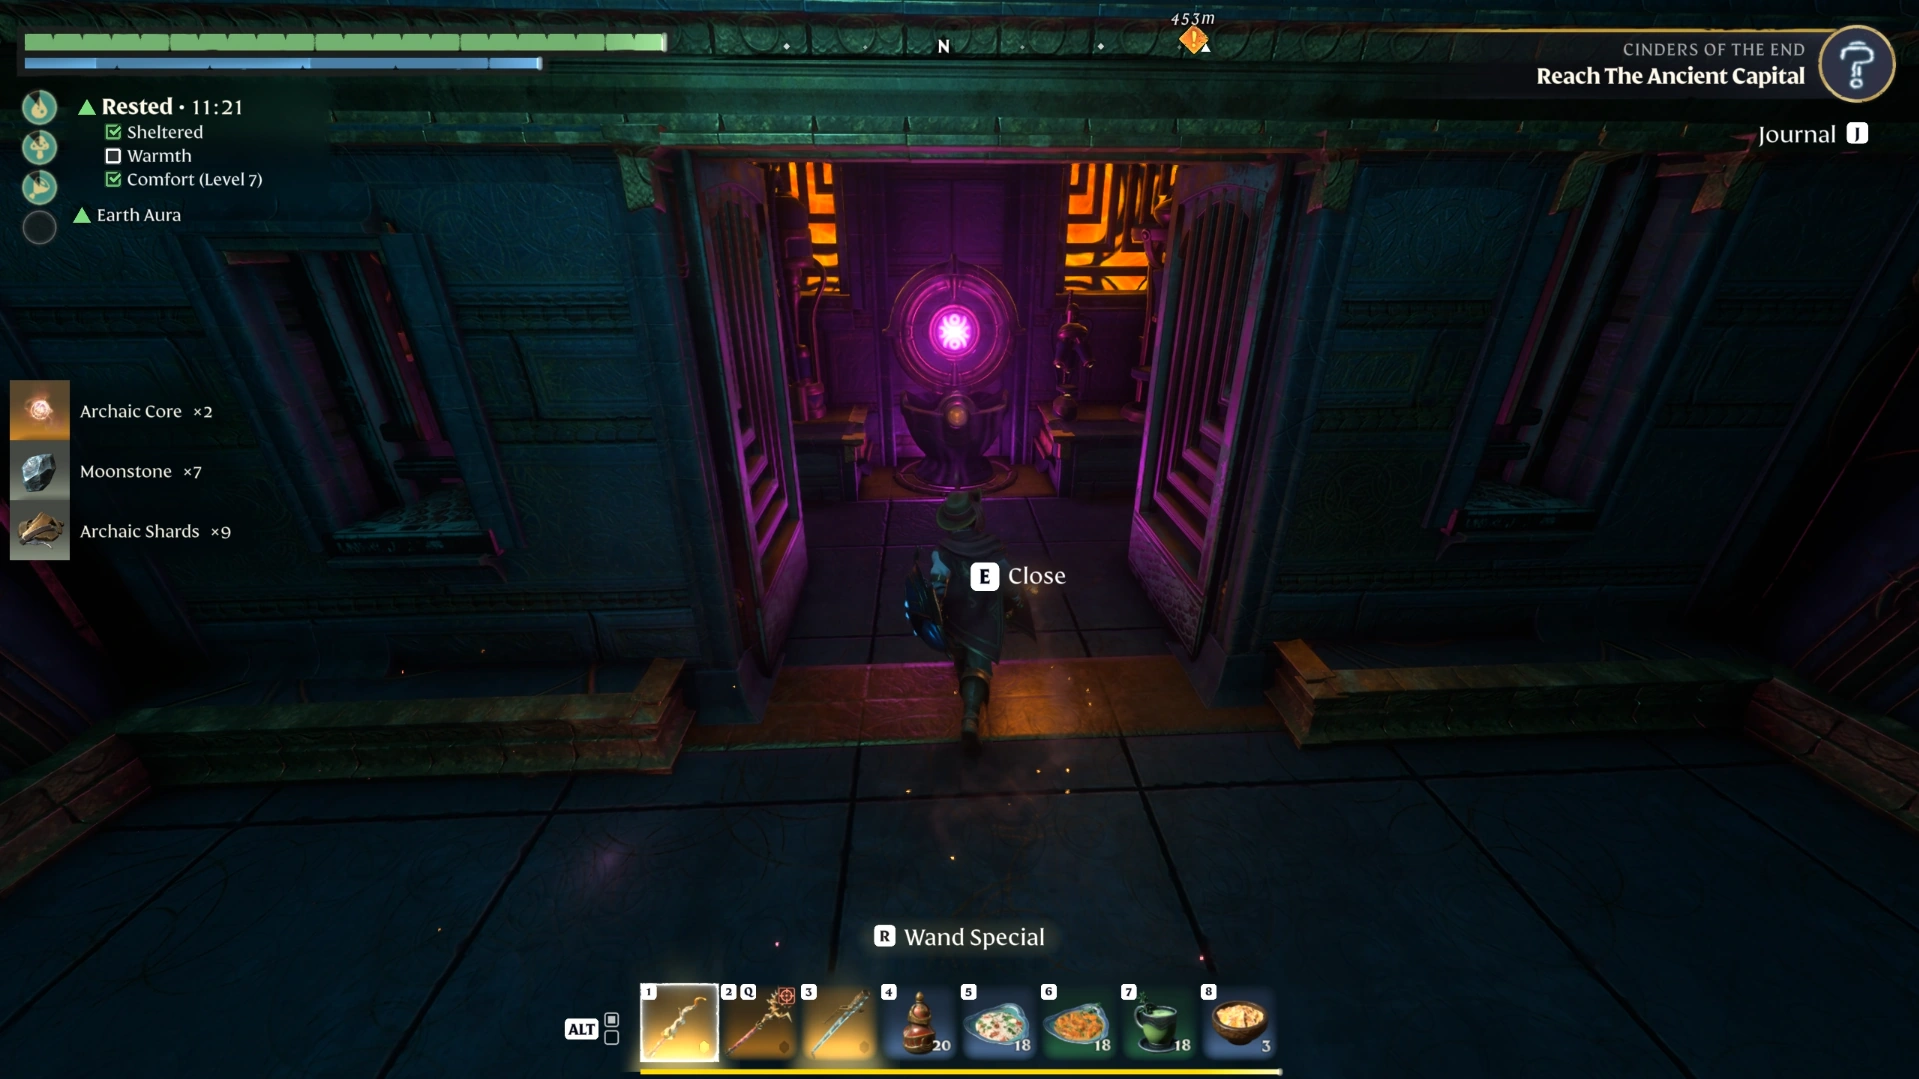
Climb through the Shroud
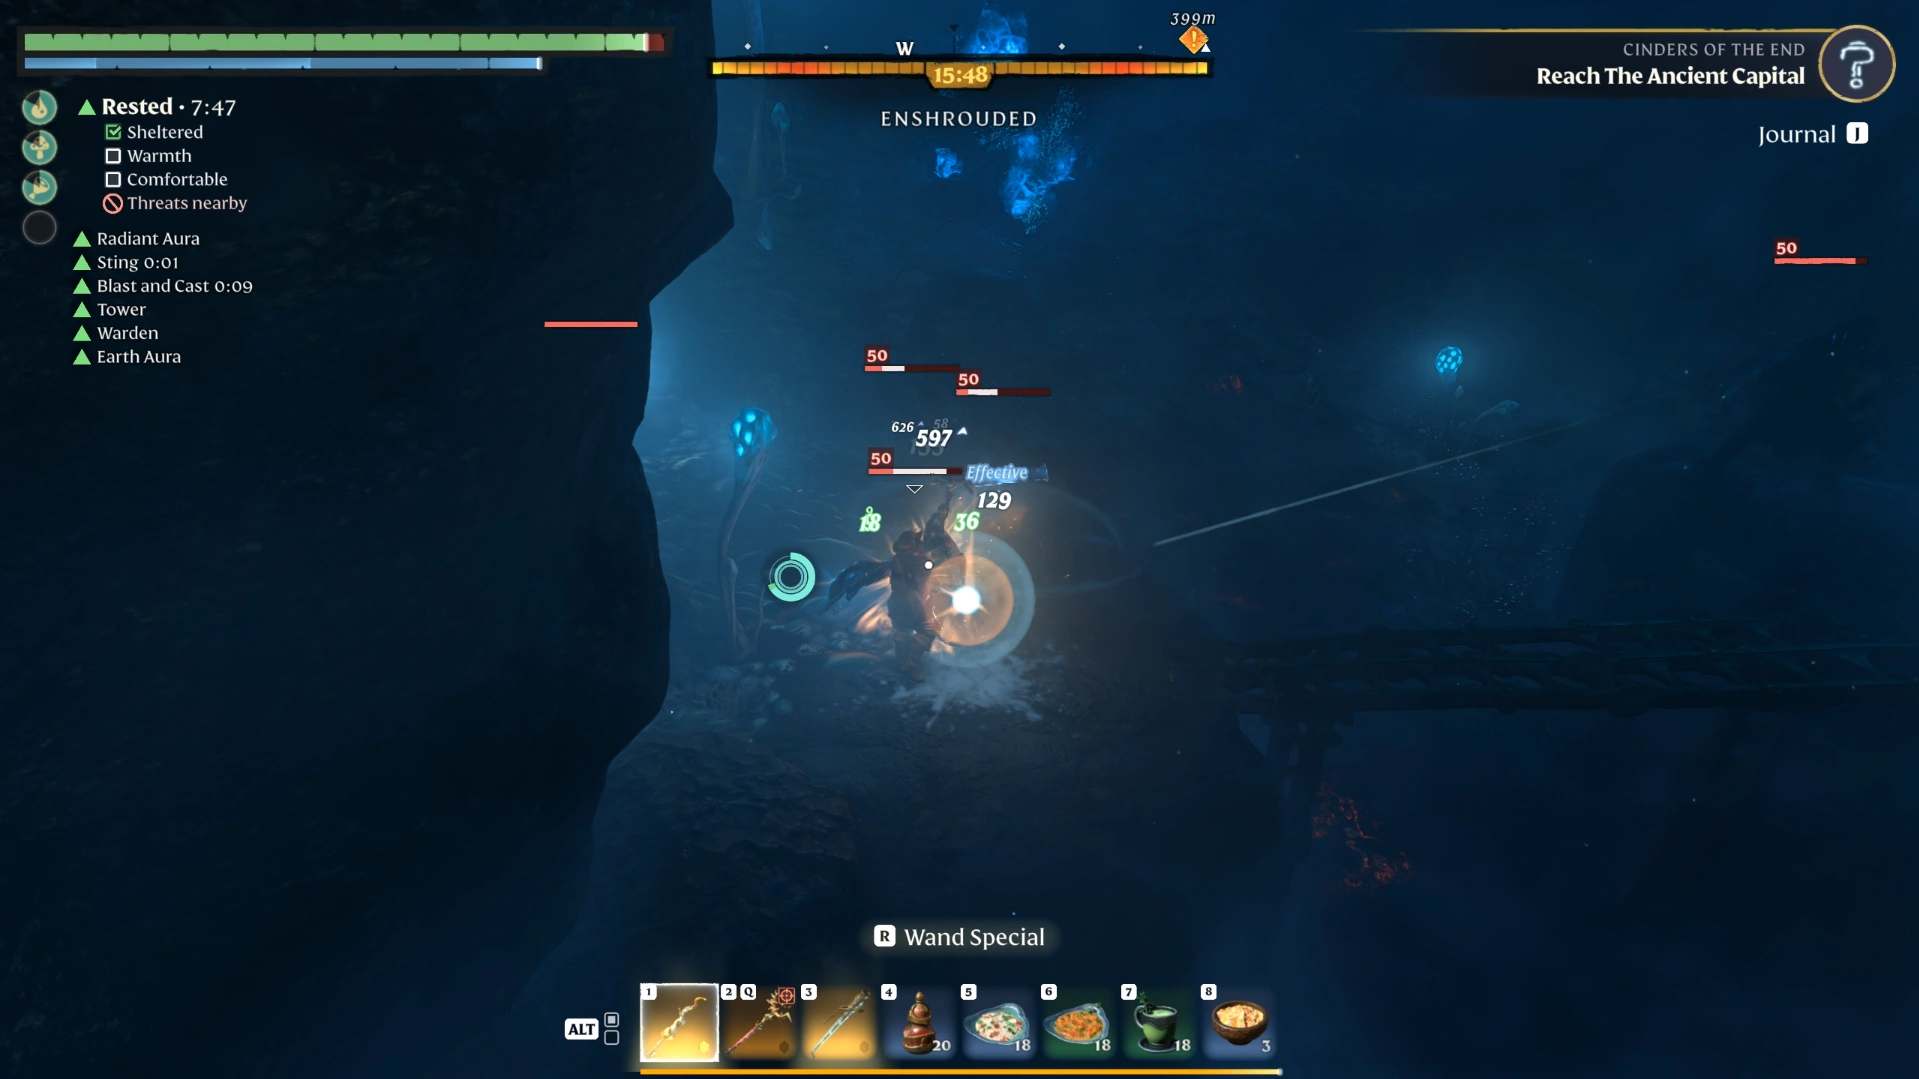
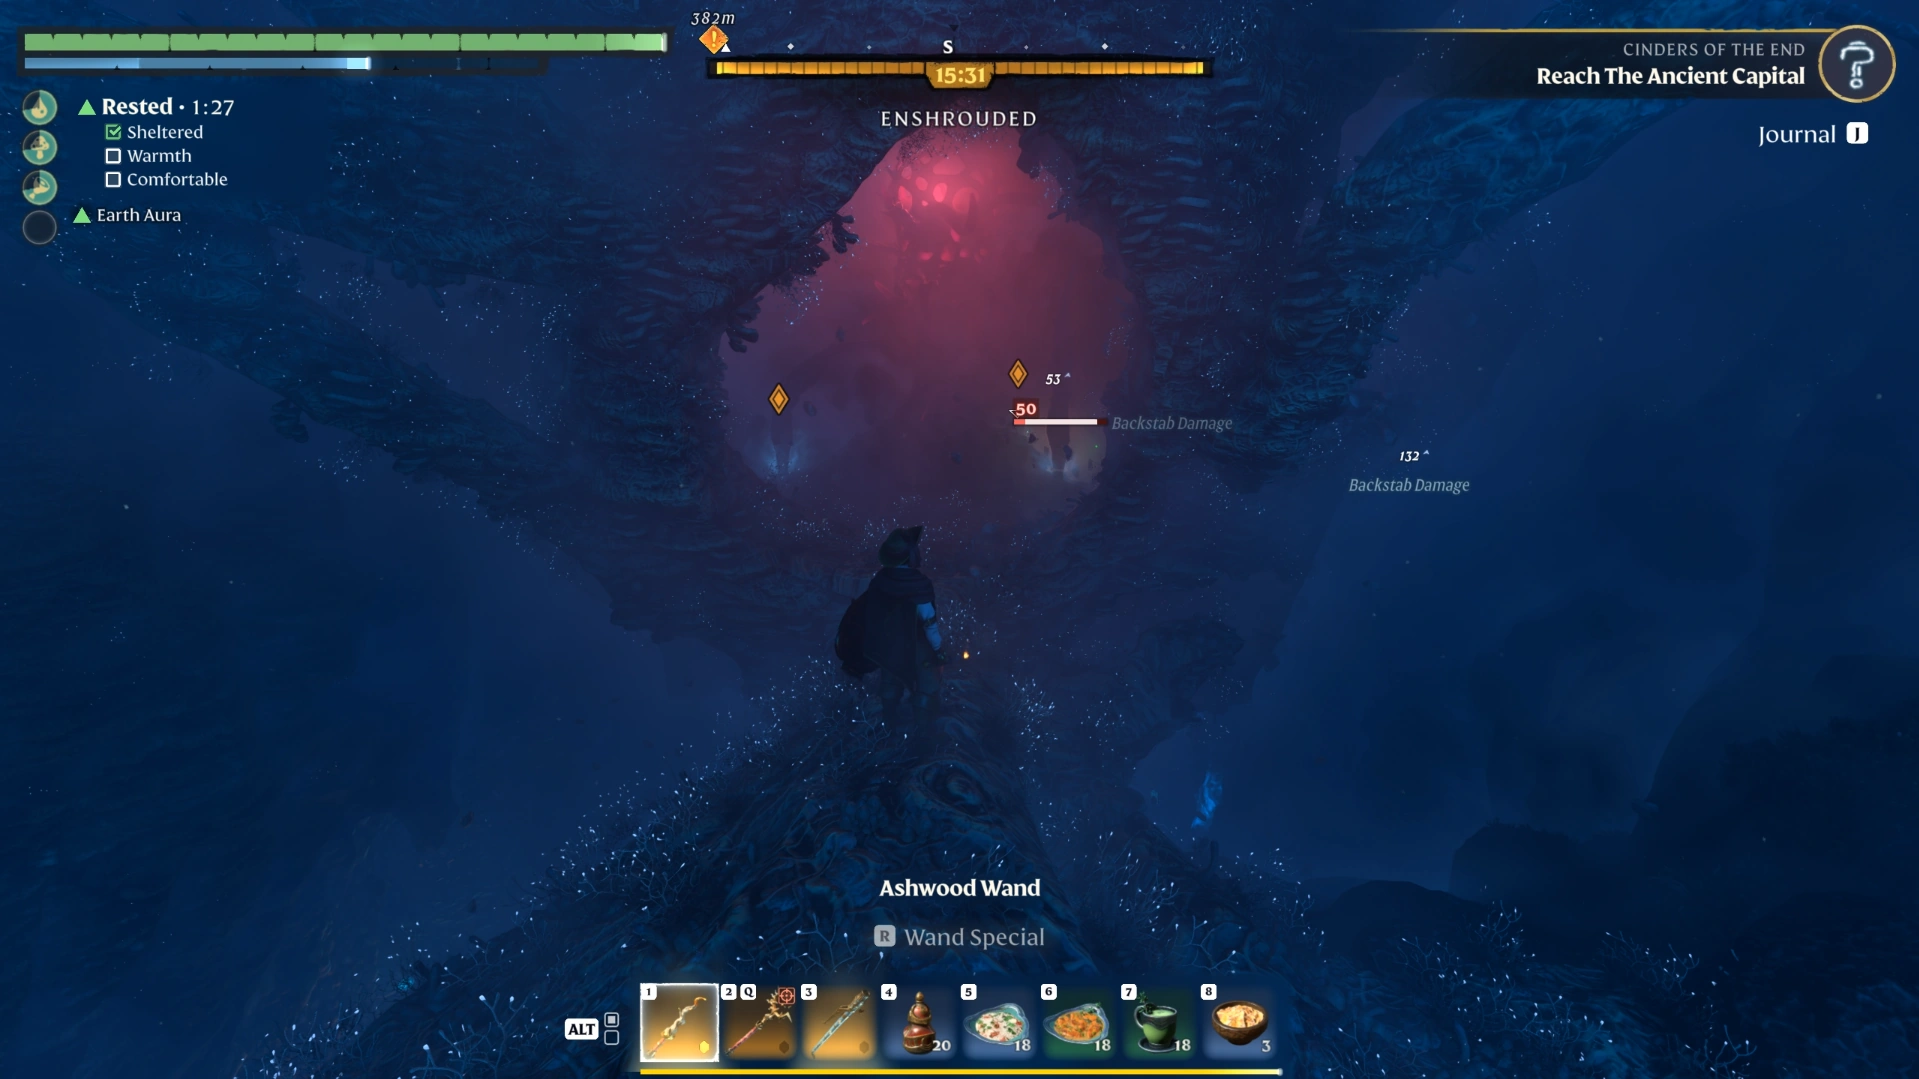
You drop into a Shroud section full of Fell and spawners, which you can fight or run past. Follow the path straight until the Wanderer appears again, take the respawn point, and go inside.
In the next section, always head upward. If you're going down or staying on the same level, you're off the route, and the side rooms with Shroud timer resets are the only detours worth taking.
Watch the ground: Explosive enemies emerge from the floor, so keep moving. Take out the Fell and the spawner, then grapple up.
Kill the large enemies: Keep straight (not left) and clear the group of large enemies. In our run, one of them dropped a legendary weapon.
Go up and left: Clear the tentacles, go up to the left, break through the wall, and continue straight.
Destroy the bug nests: Swarms of small bugs pour out of nests here, so destroy each nest first and then clean up the bugs. A breakable section in this area hides a Shroud timer reset.
Break through to the Shroud Root: Break through the next wall, keep climbing, then break through again and cross the room to the third Shroud Root. Kill the tentacles and chop it, but watch for holes in the floor that drop you to the bottom.
Exit the Shroud: Follow the path, kill the enemy ahead, and head up to leave the Shroud.
Example Scenario (hypothetical): You reach the bug nests with only a few seconds of Shroud time left. Destroy the nests on your way to the breakable section, use the timer reset, and then clear the remaining bugs.
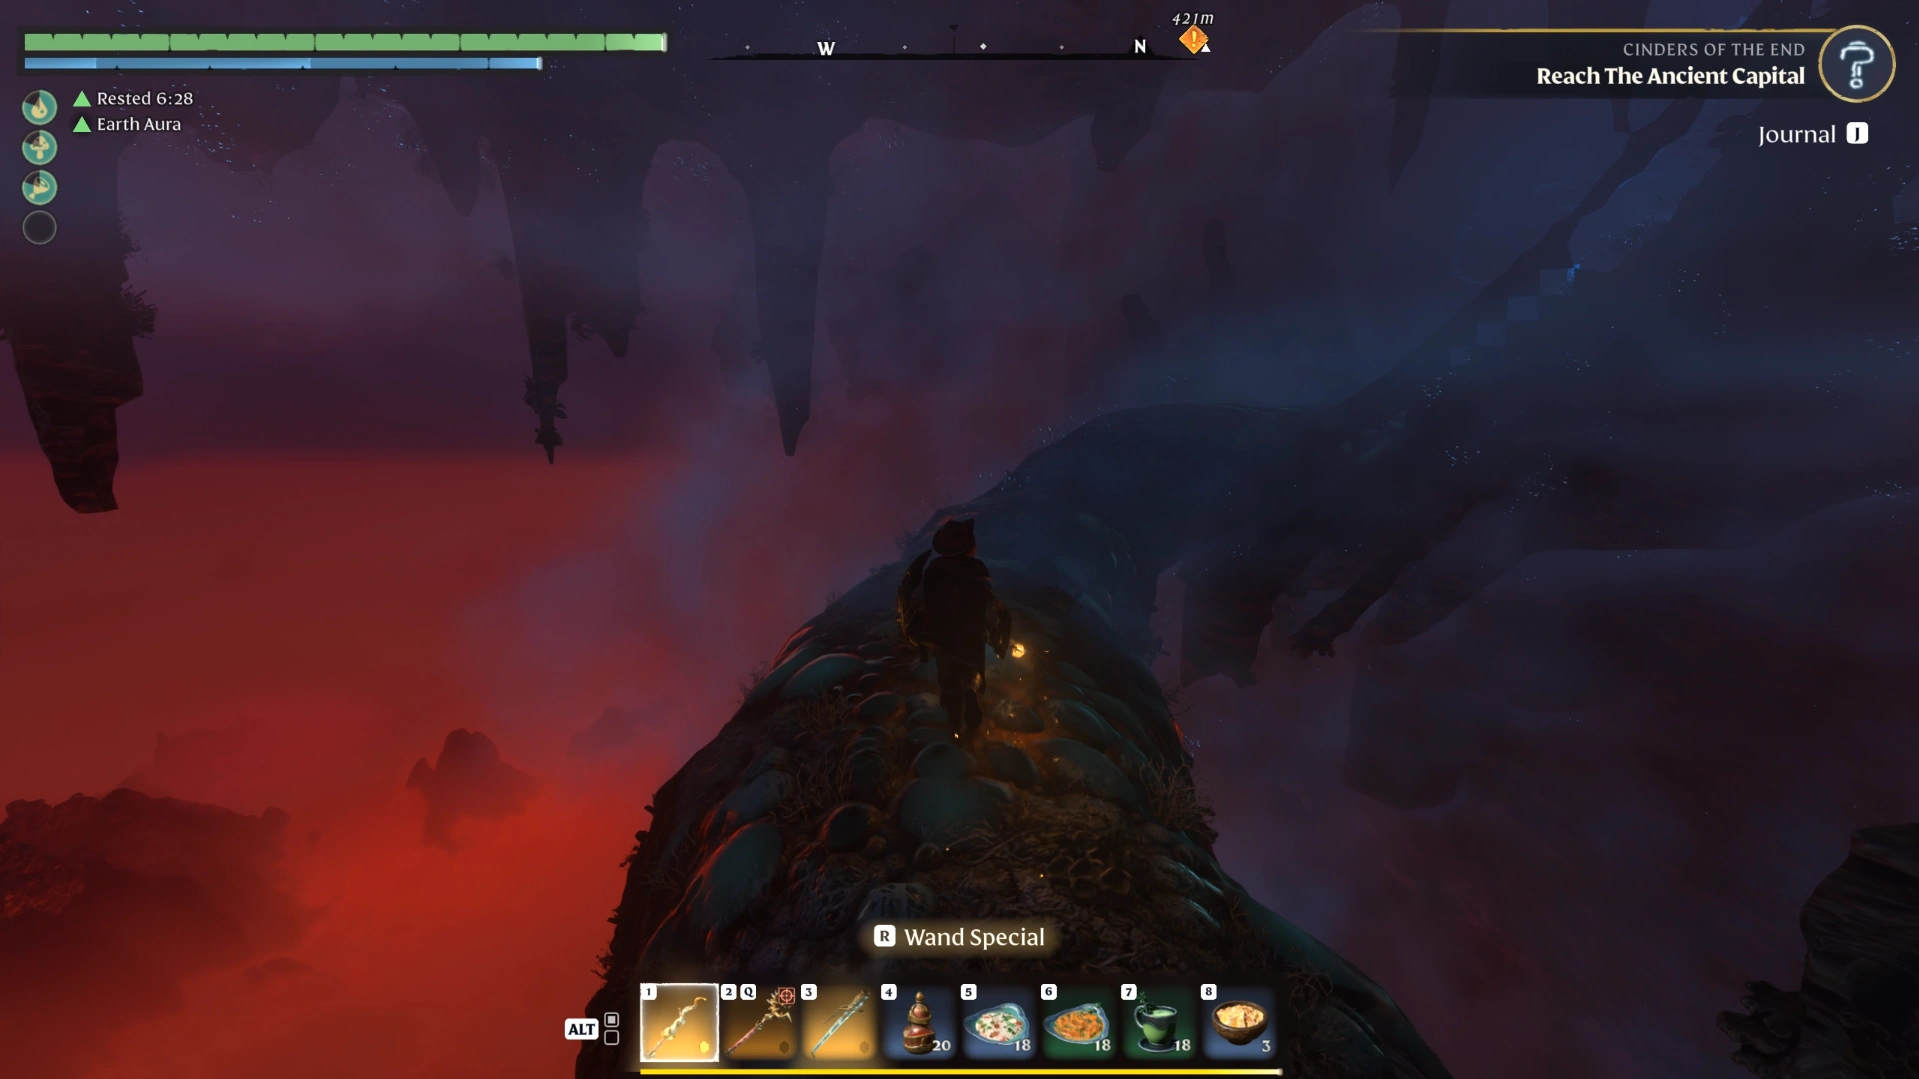
Once you're out of the Shroud, follow the path toward the lava to start the road to the Citadel.
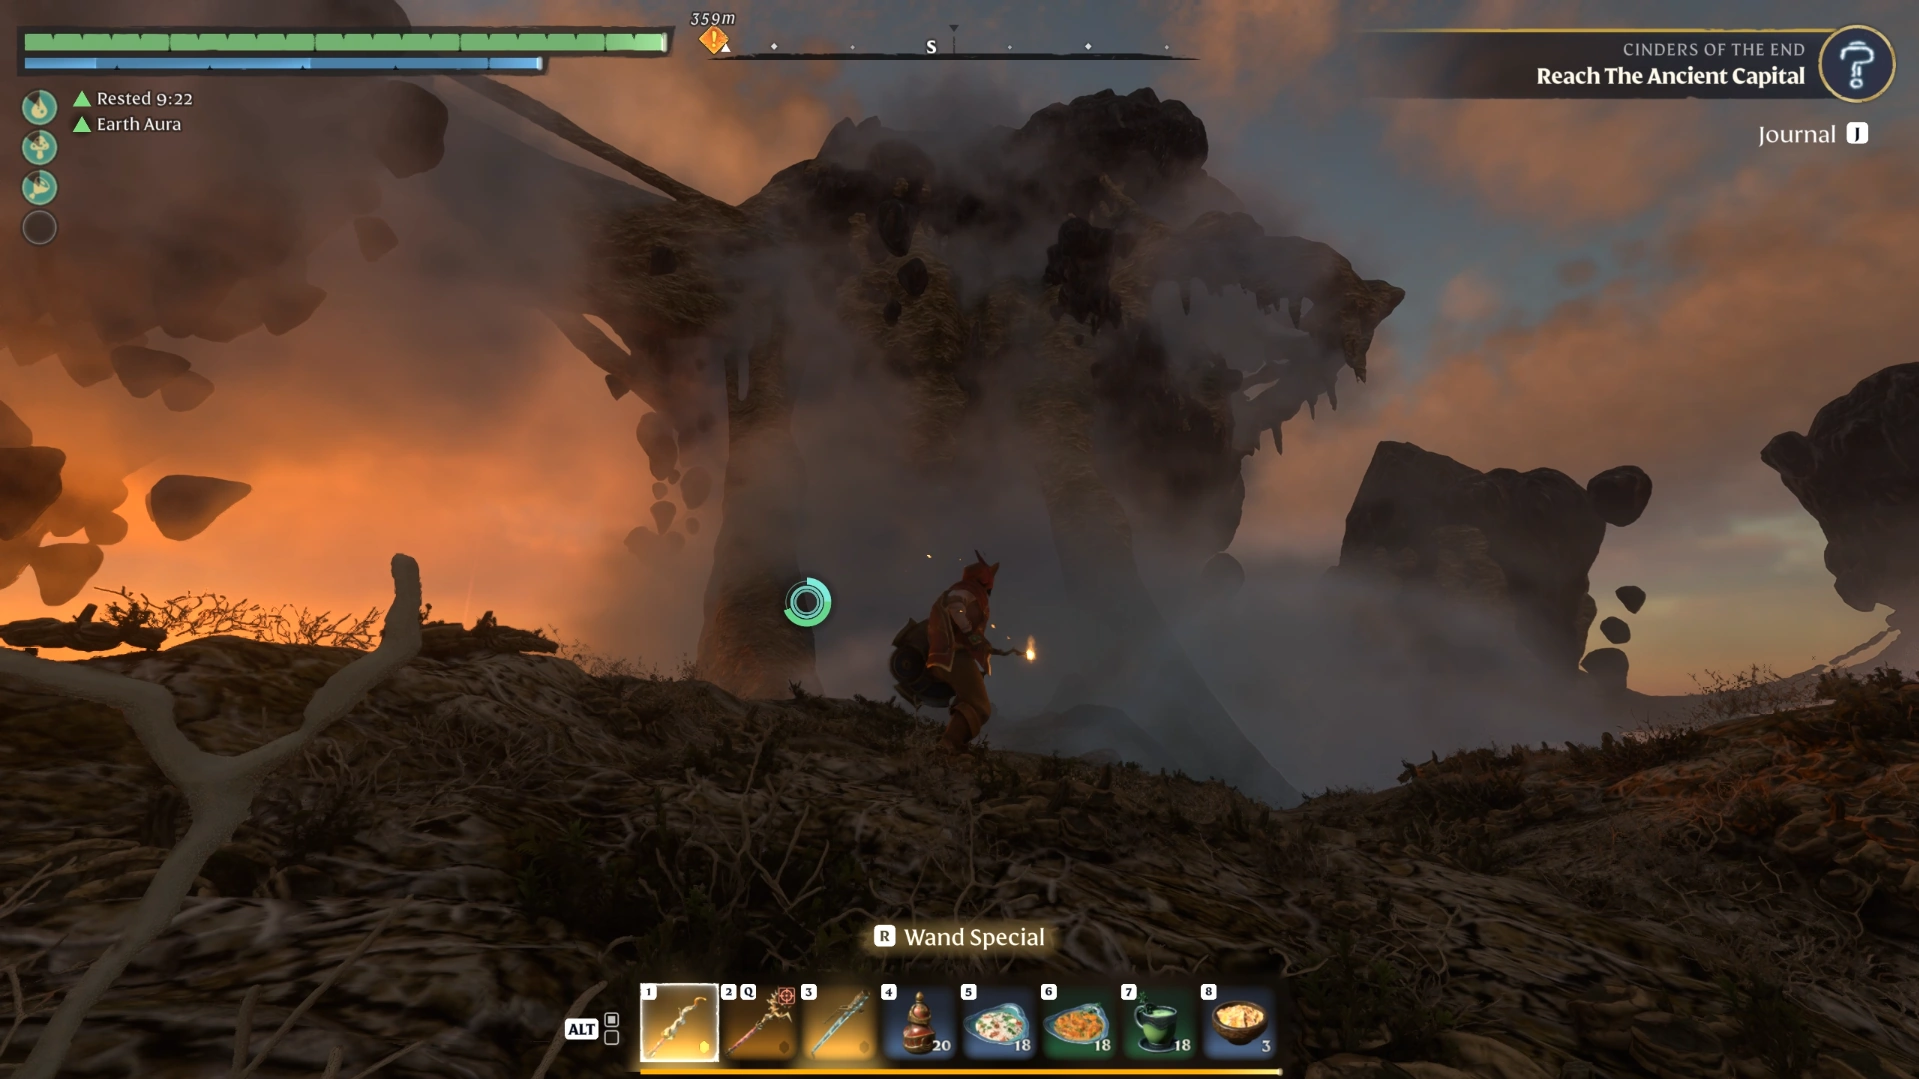
Road to the Citadel and the Climb to Vorgoth
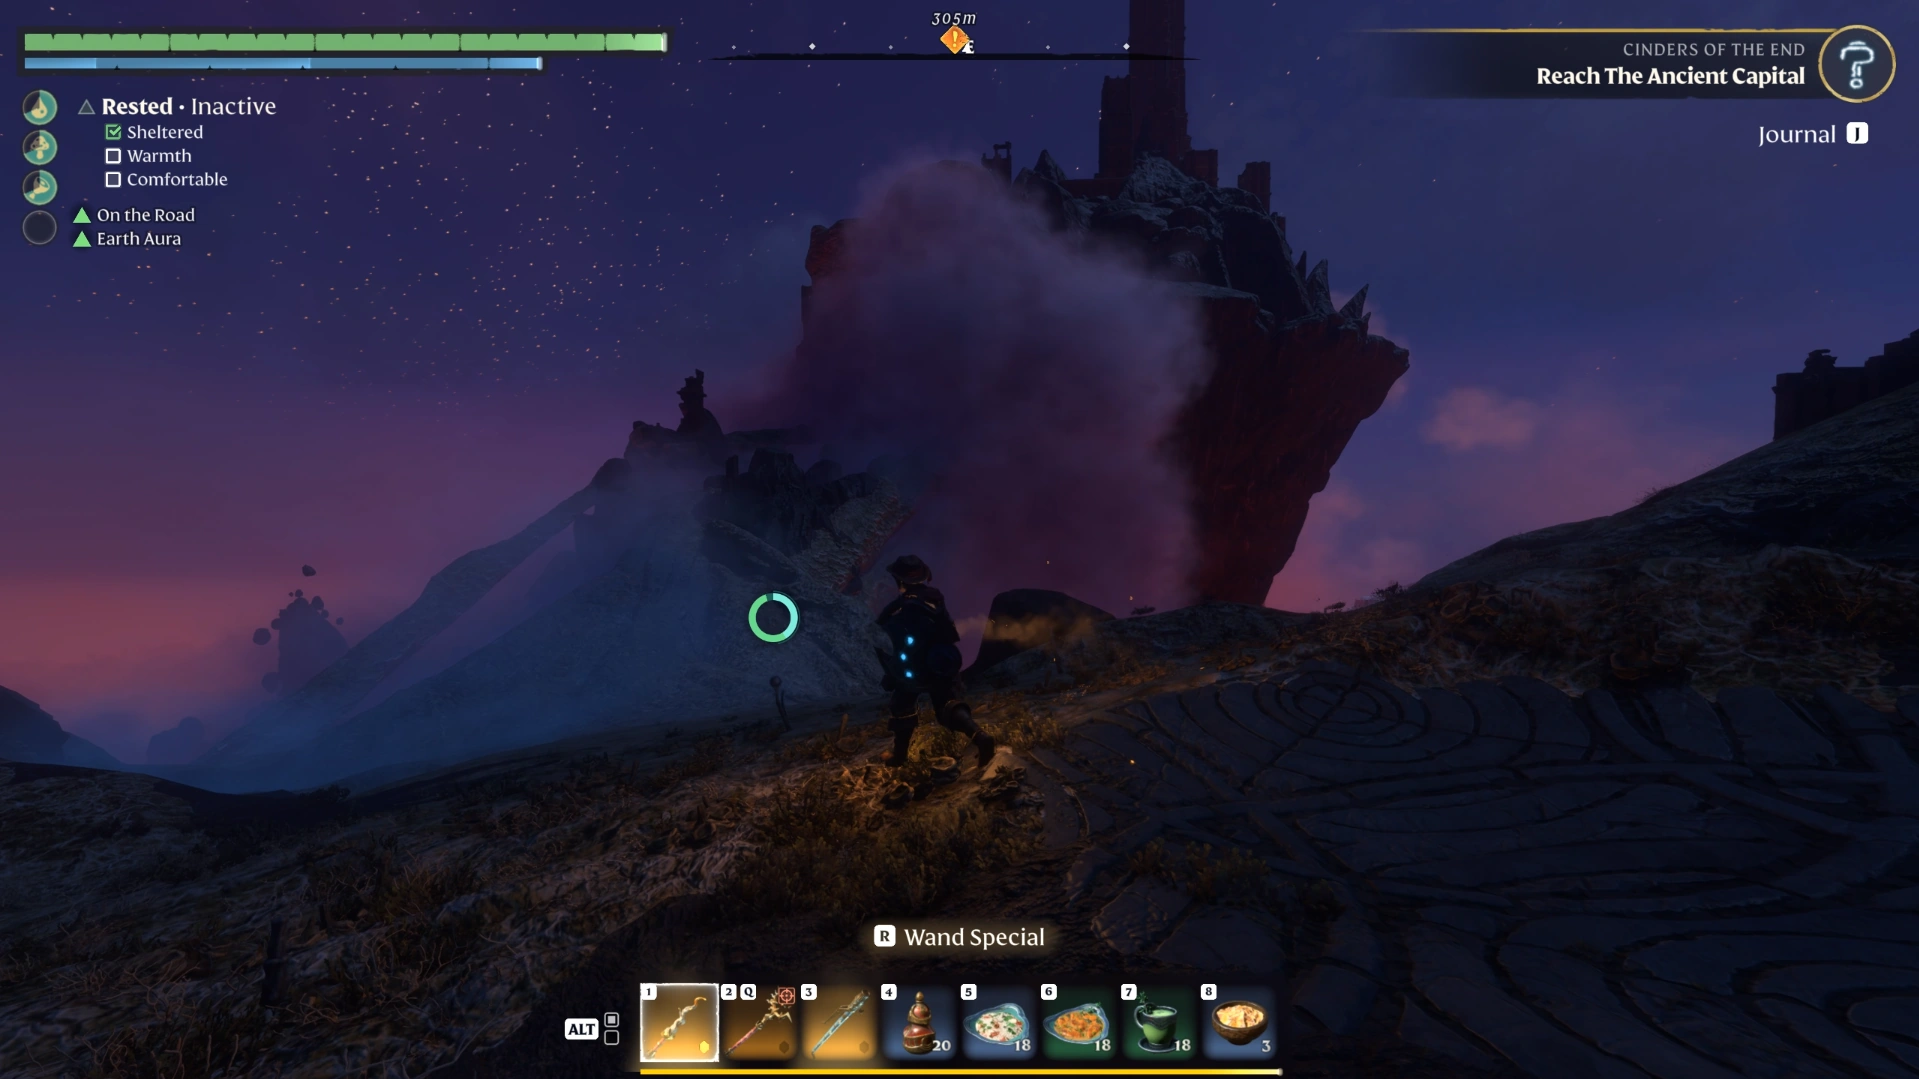
The route to the Citadel is a mostly straight road. The Citadel itself is a platforming climb that ends at a teleporter to Vorgoth, who waits beside the Mother Flame.
Reach the Citadel
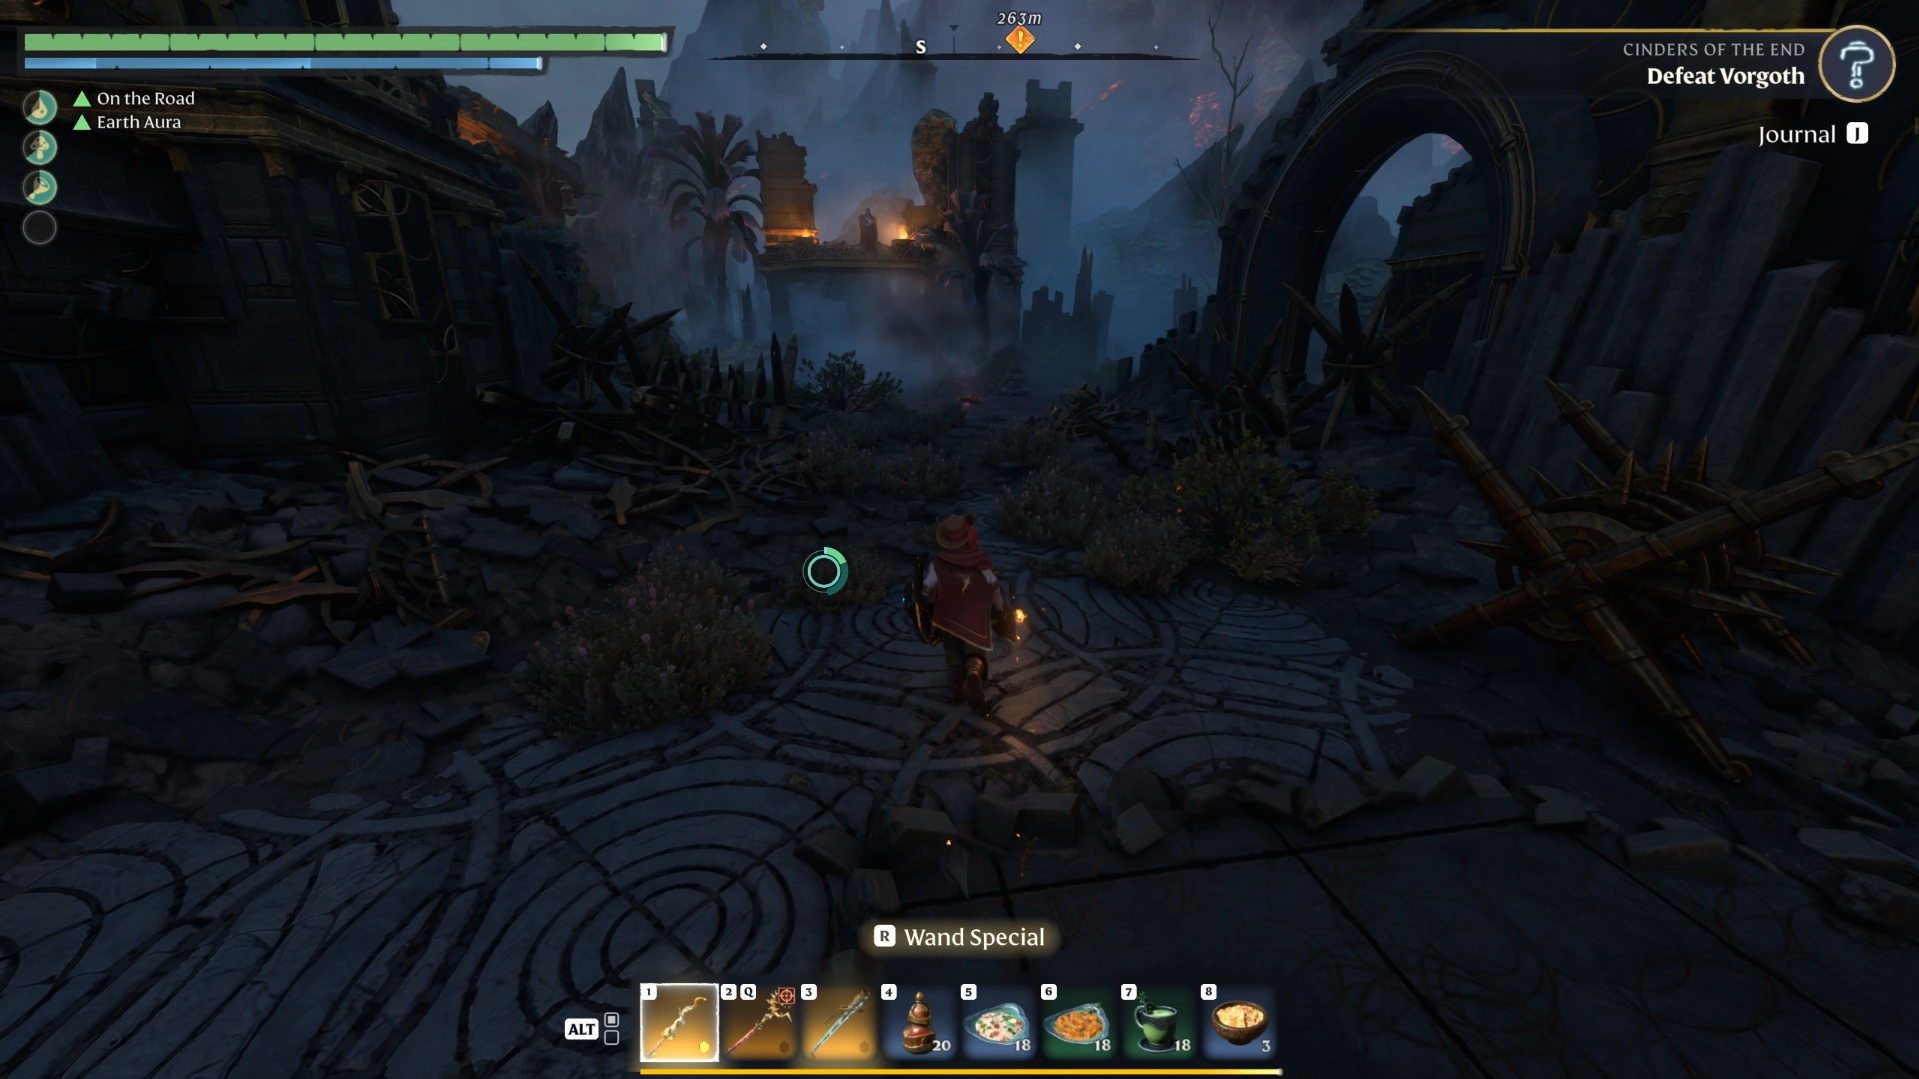
Cross the lava: Turn right by the lava, grapple across, and continue straight.
Visit the camp (optional): Go right into the camp for a lore note and any loot, then return to the main road.
Follow the road: Stay on the main road, go up on the left by the small tower, and head toward the lights ahead.
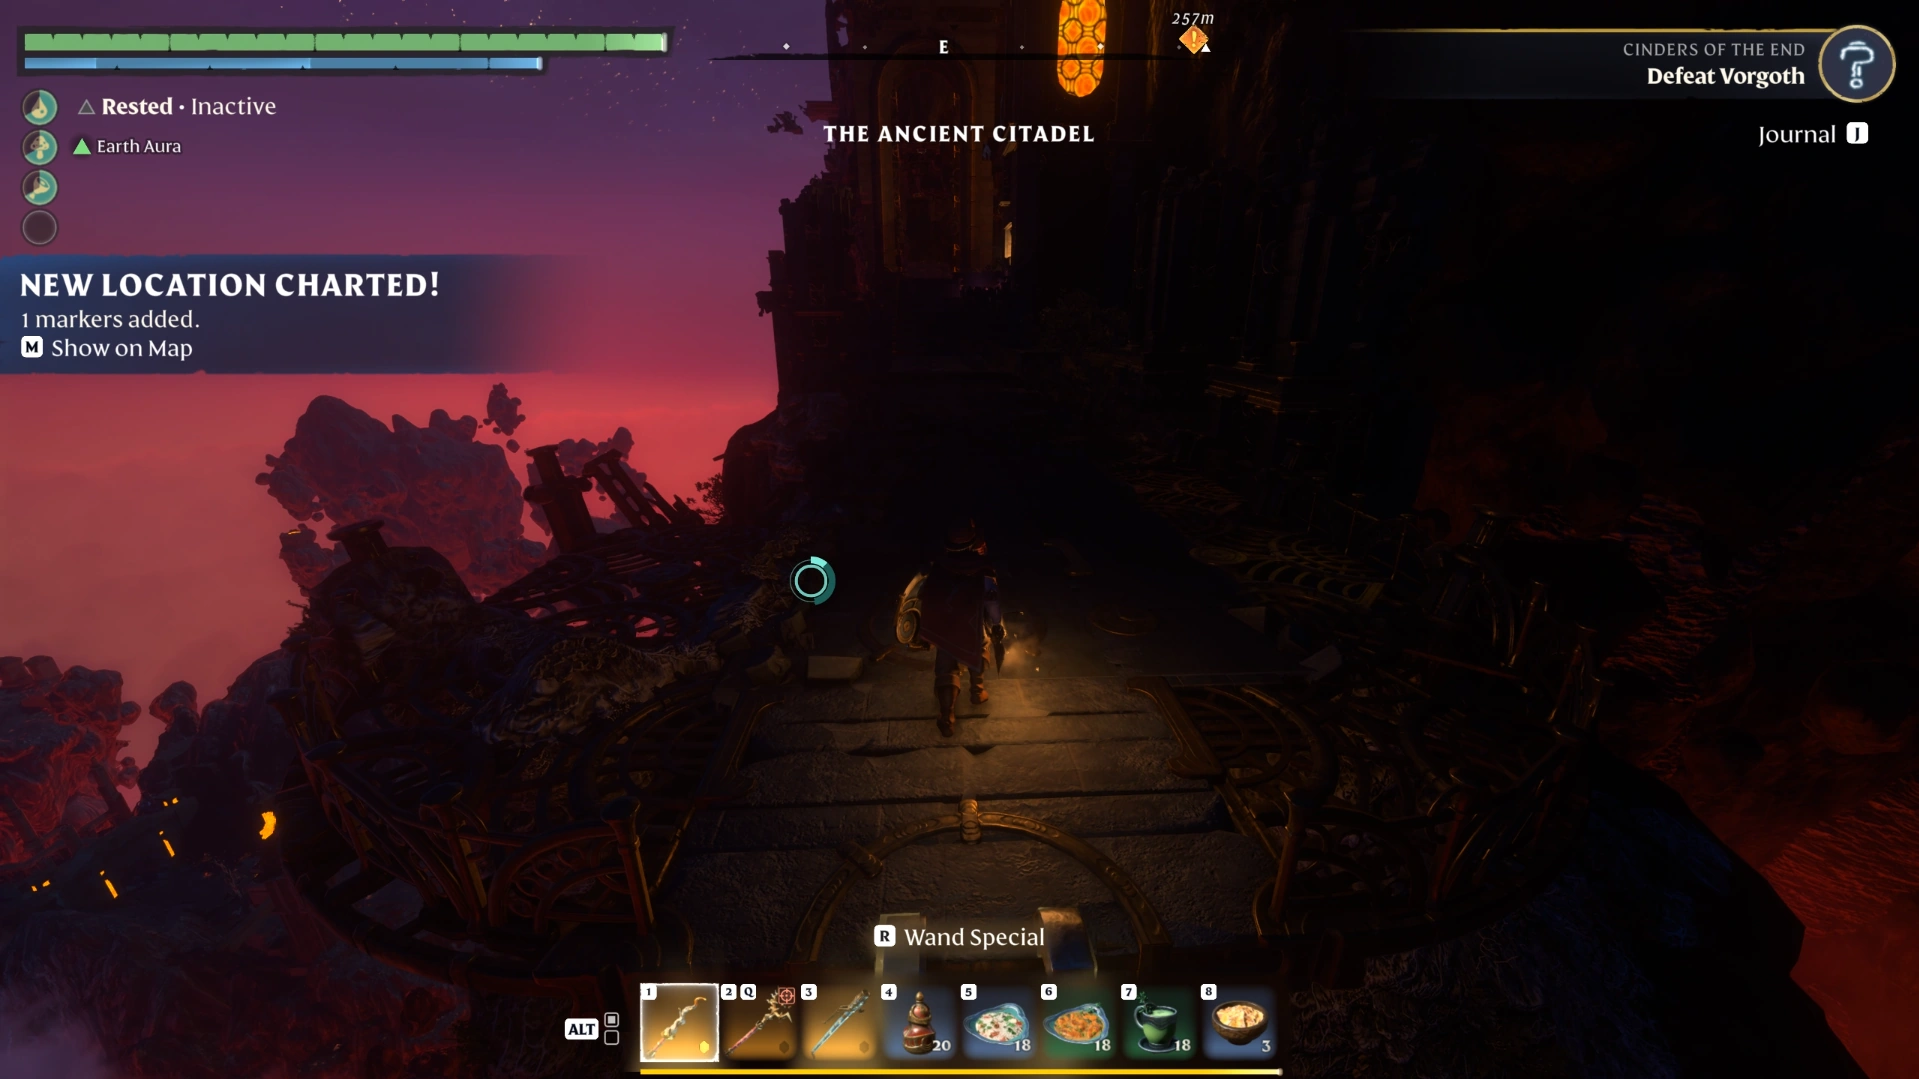
Climb the Citadel
Run the obstacle course: Loot the enemy at the start, grapple across, go right, and take the jump pad. Climb two flights of stairs, jump and grapple across, climb up, follow the stairs, jump across, and grapple to the top.
Skip the ambush: The Wanderer appears again and enemies arrive, but you can ignore them. Go right, continue straight while avoiding the hole, then go slightly right up the stairs.
Grab the lore note: Pass the second 10-spark vault door, run past two enemies, and open the door around the back. Take the lore note from the table and return through the door.
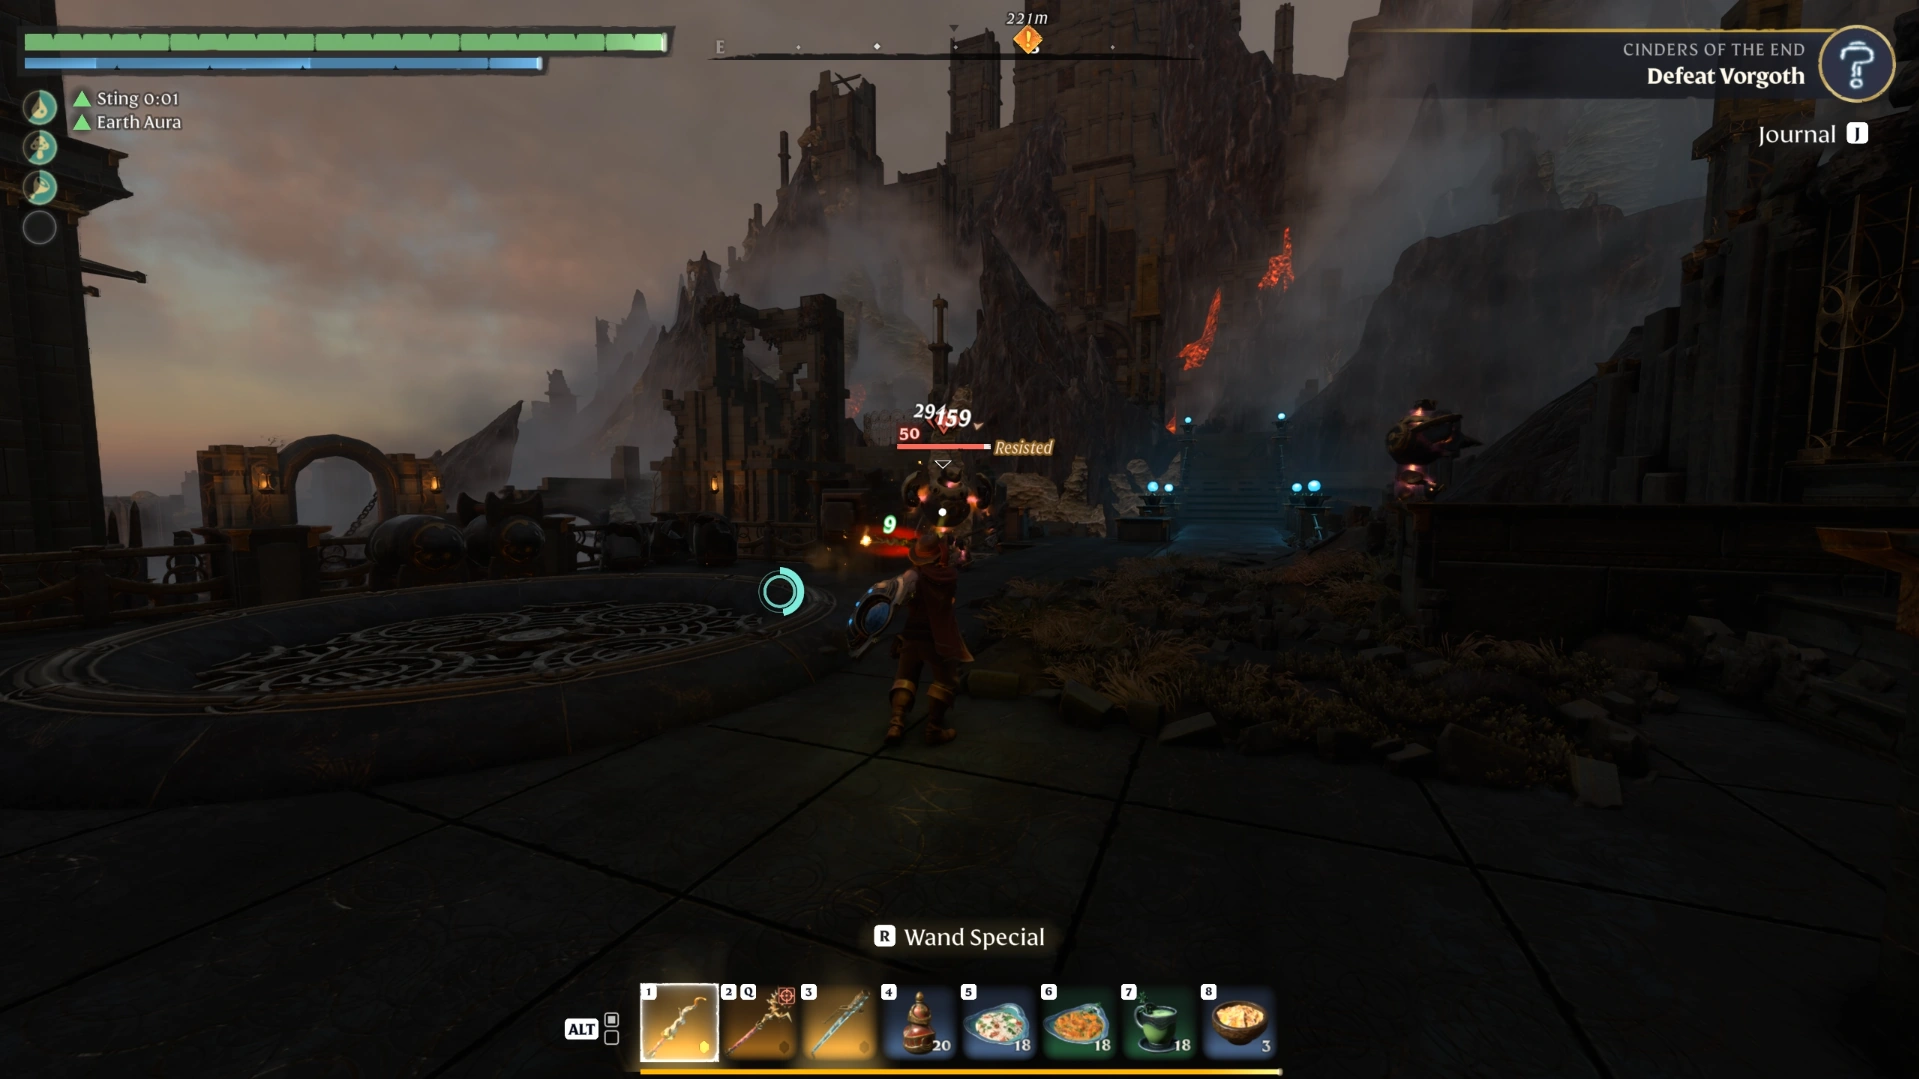
Let the construct fight the Fell: A second construct guards this area, but you don't have to fight it. Wait for it and the Fell to engage each other, then move around the right side.
Break the wall: Use your pickaxe to break through the wall, wait for the elevator, and ride it up.
Prepare for the boss: Activate the respawn point at the top and grab the miniature collectible nearby.
When you're ready, take the teleporter up to Vorgoth.
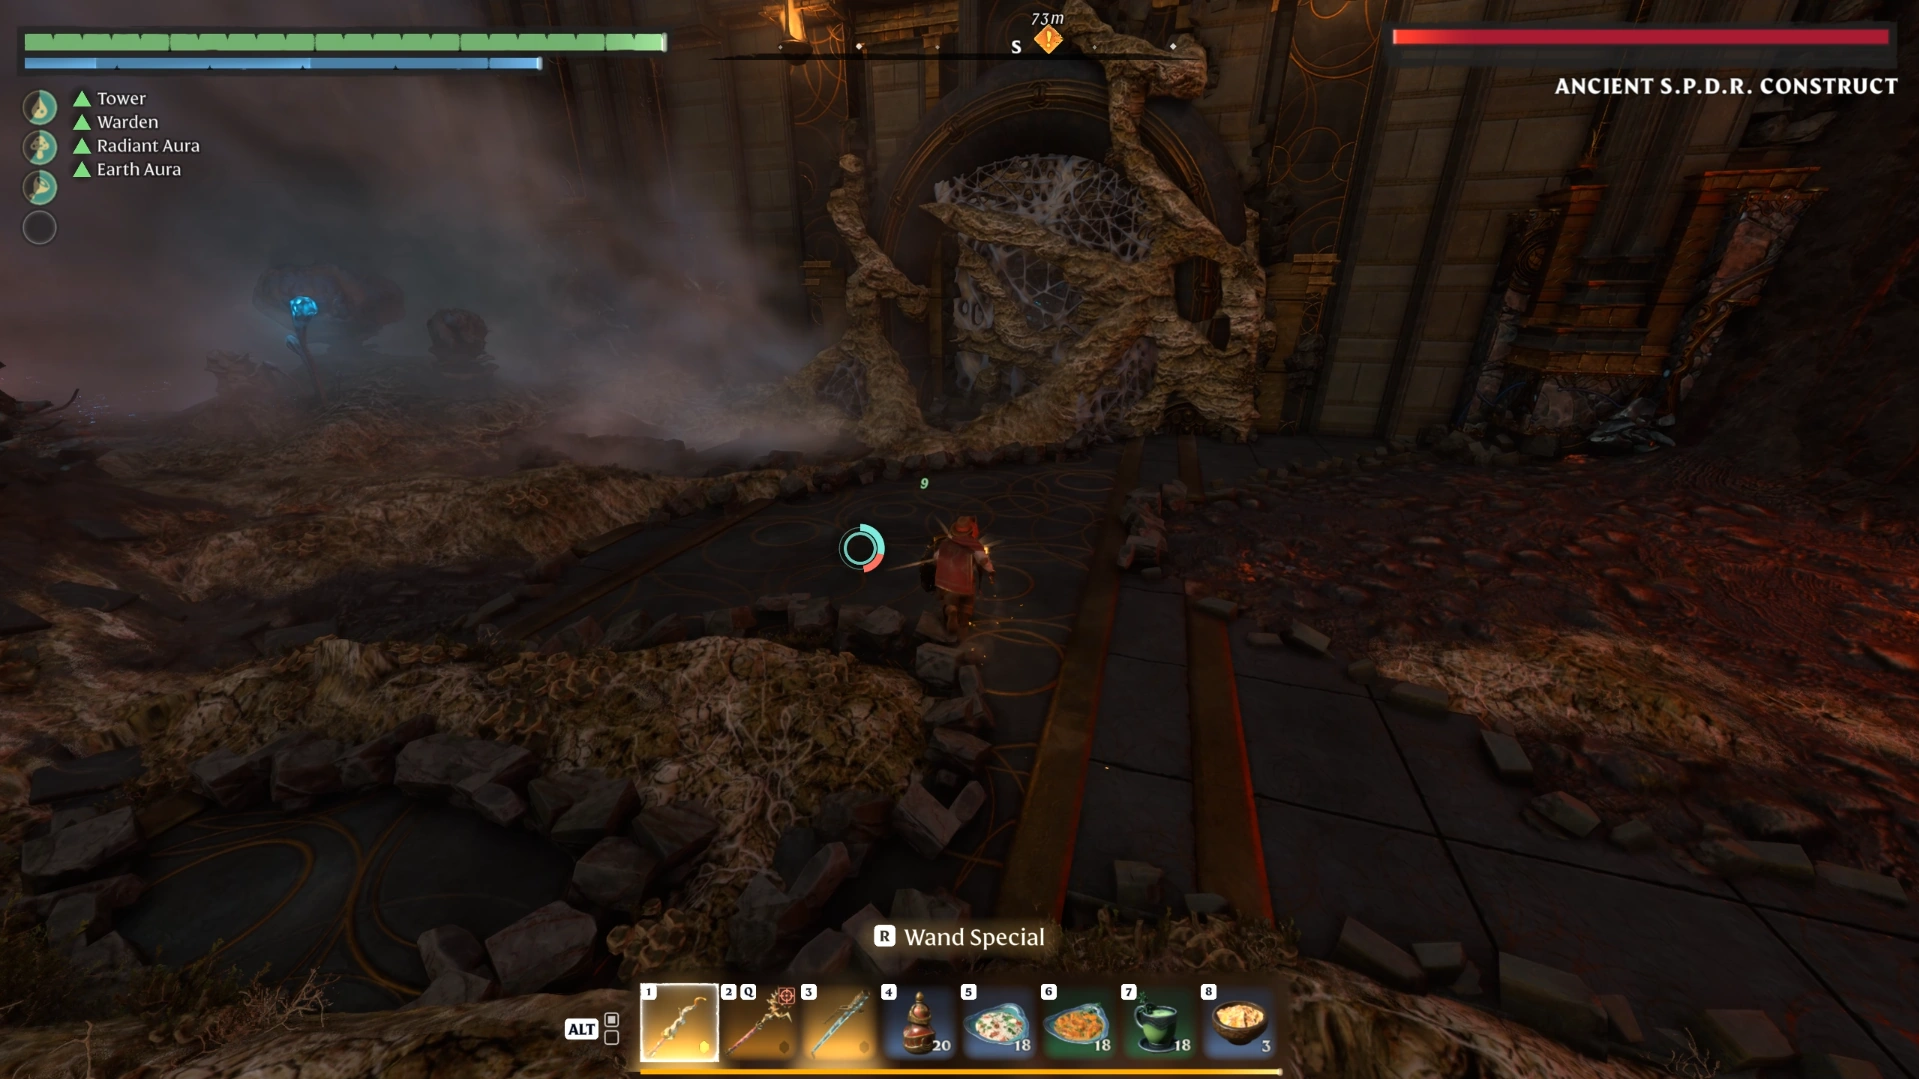
How to Beat Vorgoth in Enshrouded
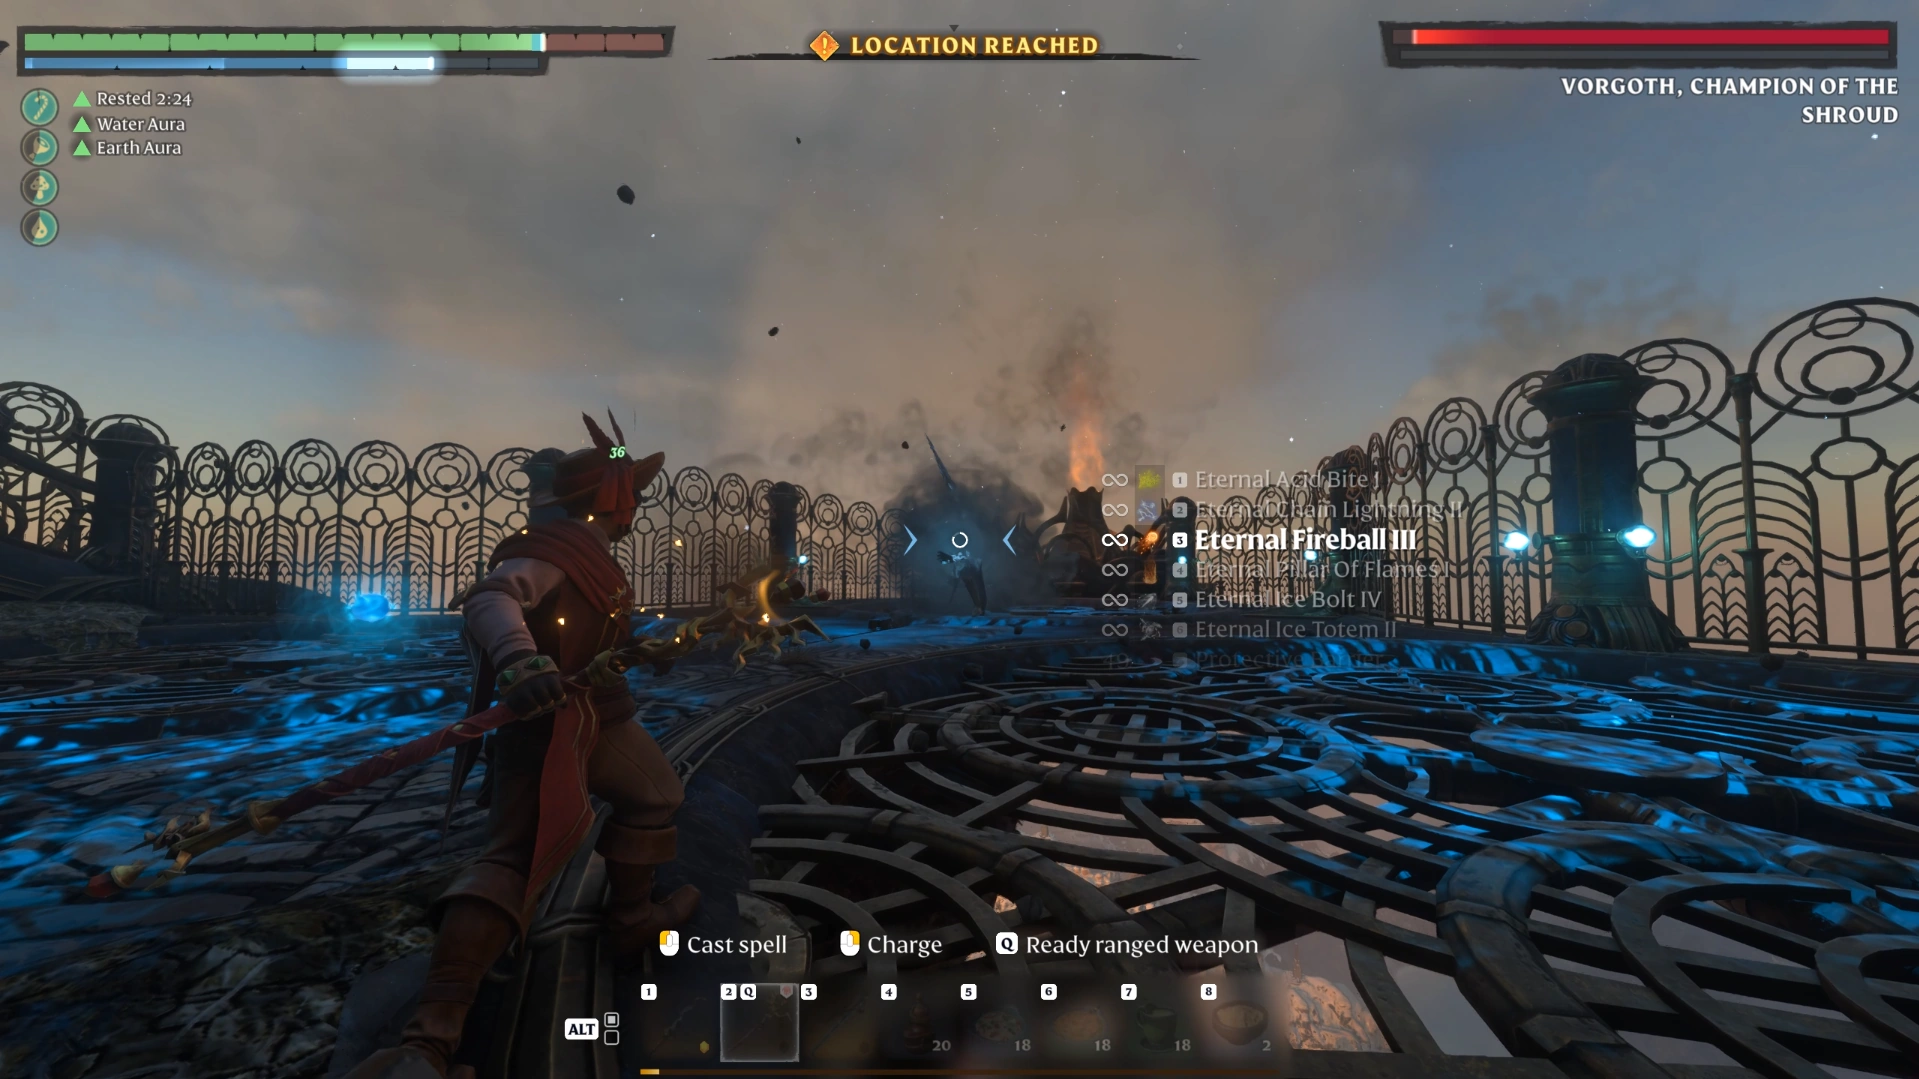
Vorgoth is a two-phase boss: Vorgoth, Champion of the Shroud, followed by Vorgoth, the Wanderer's Vessel. Both phases share ground circle attacks, so the core strategy stays the same: keep moving, dodge his lunges and swings, and remove tentacles or eyes when they appear.
Phase 1: Vorgoth, Champion of the Shroud
Opening attack: Stand between his strikes rather than backing away to avoid the damage.
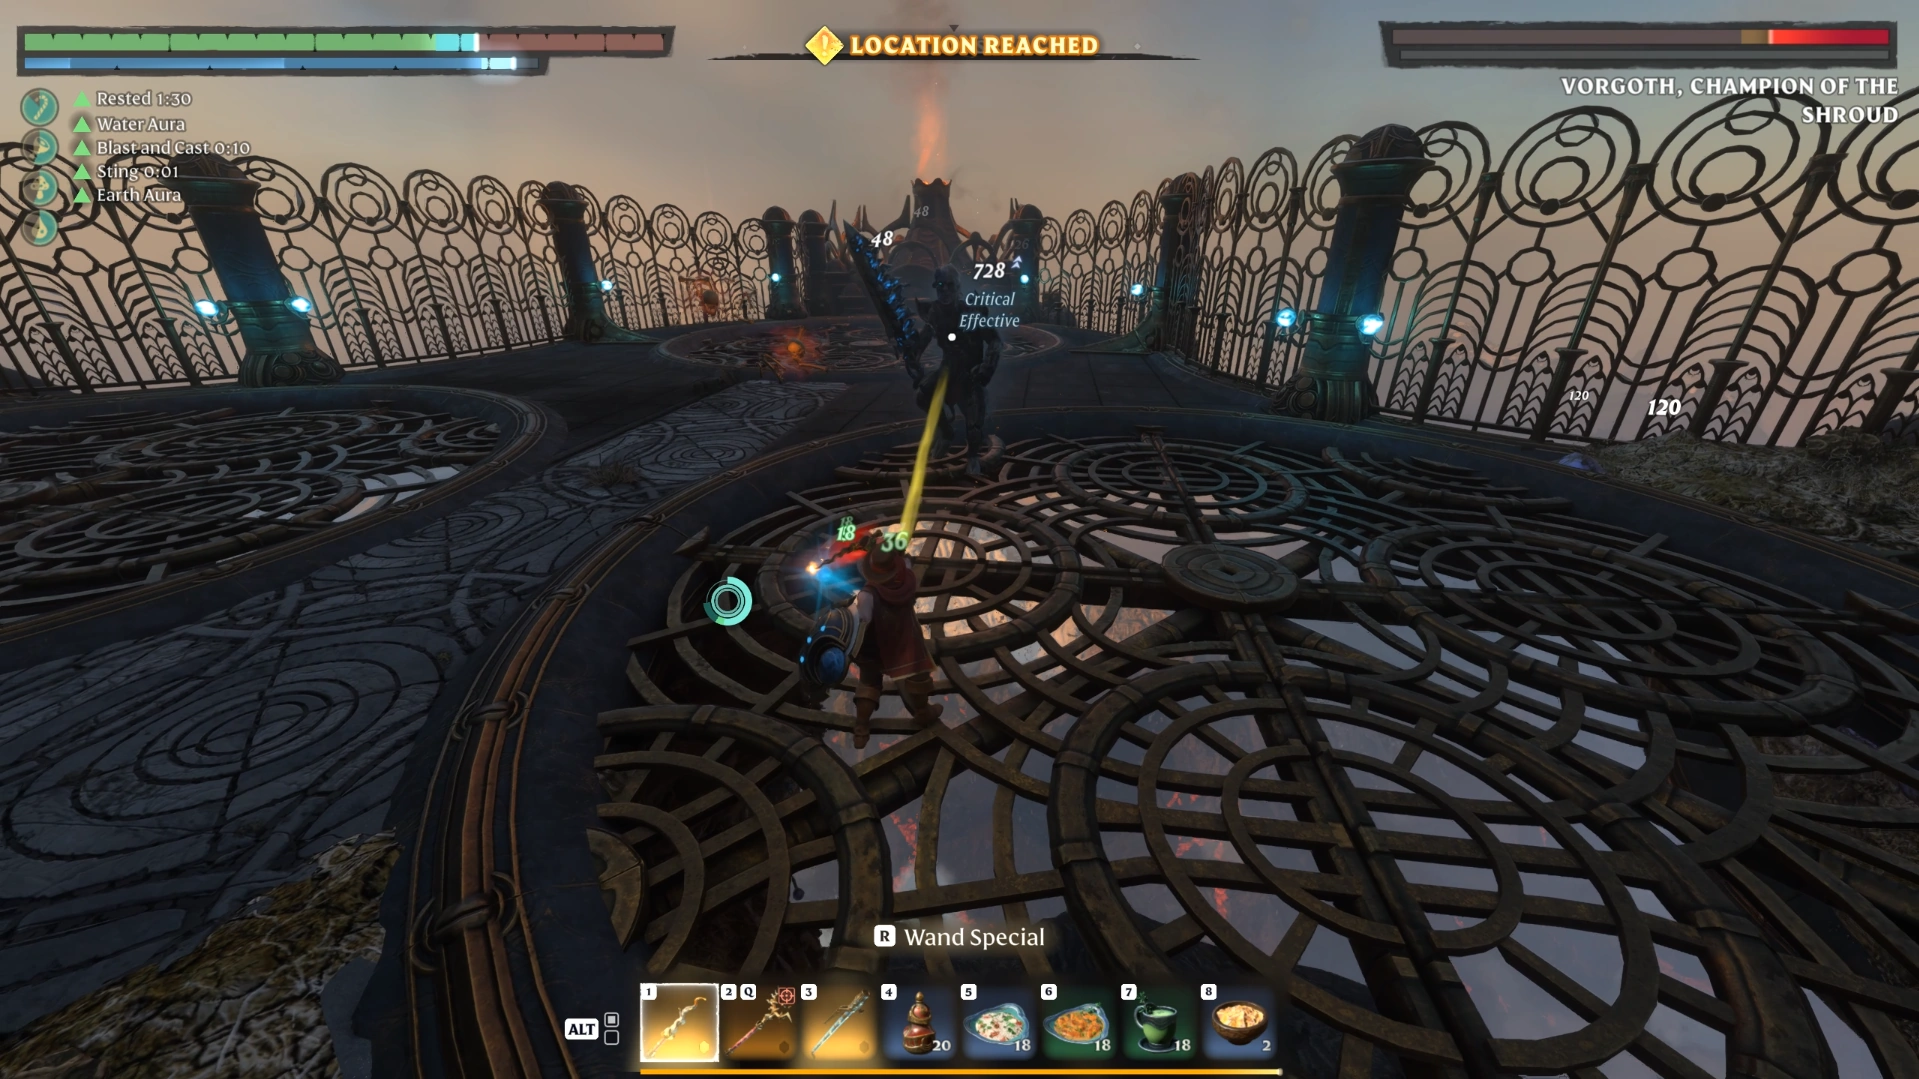
Vanish and lunge: He disappears and lunges out at you, so dodge just as he emerges. A sword swing usually follows.
Tentacle summon: He spawns tentacles while staying hard to damage directly. Destroy the tentacles to stop the spawning and stun him briefly, then attack while he's open.
Ground circles: Step out of the circles he places on the ground and keep chipping at his health.
Phase 2: Vorgoth, the Wanderer's Vessel
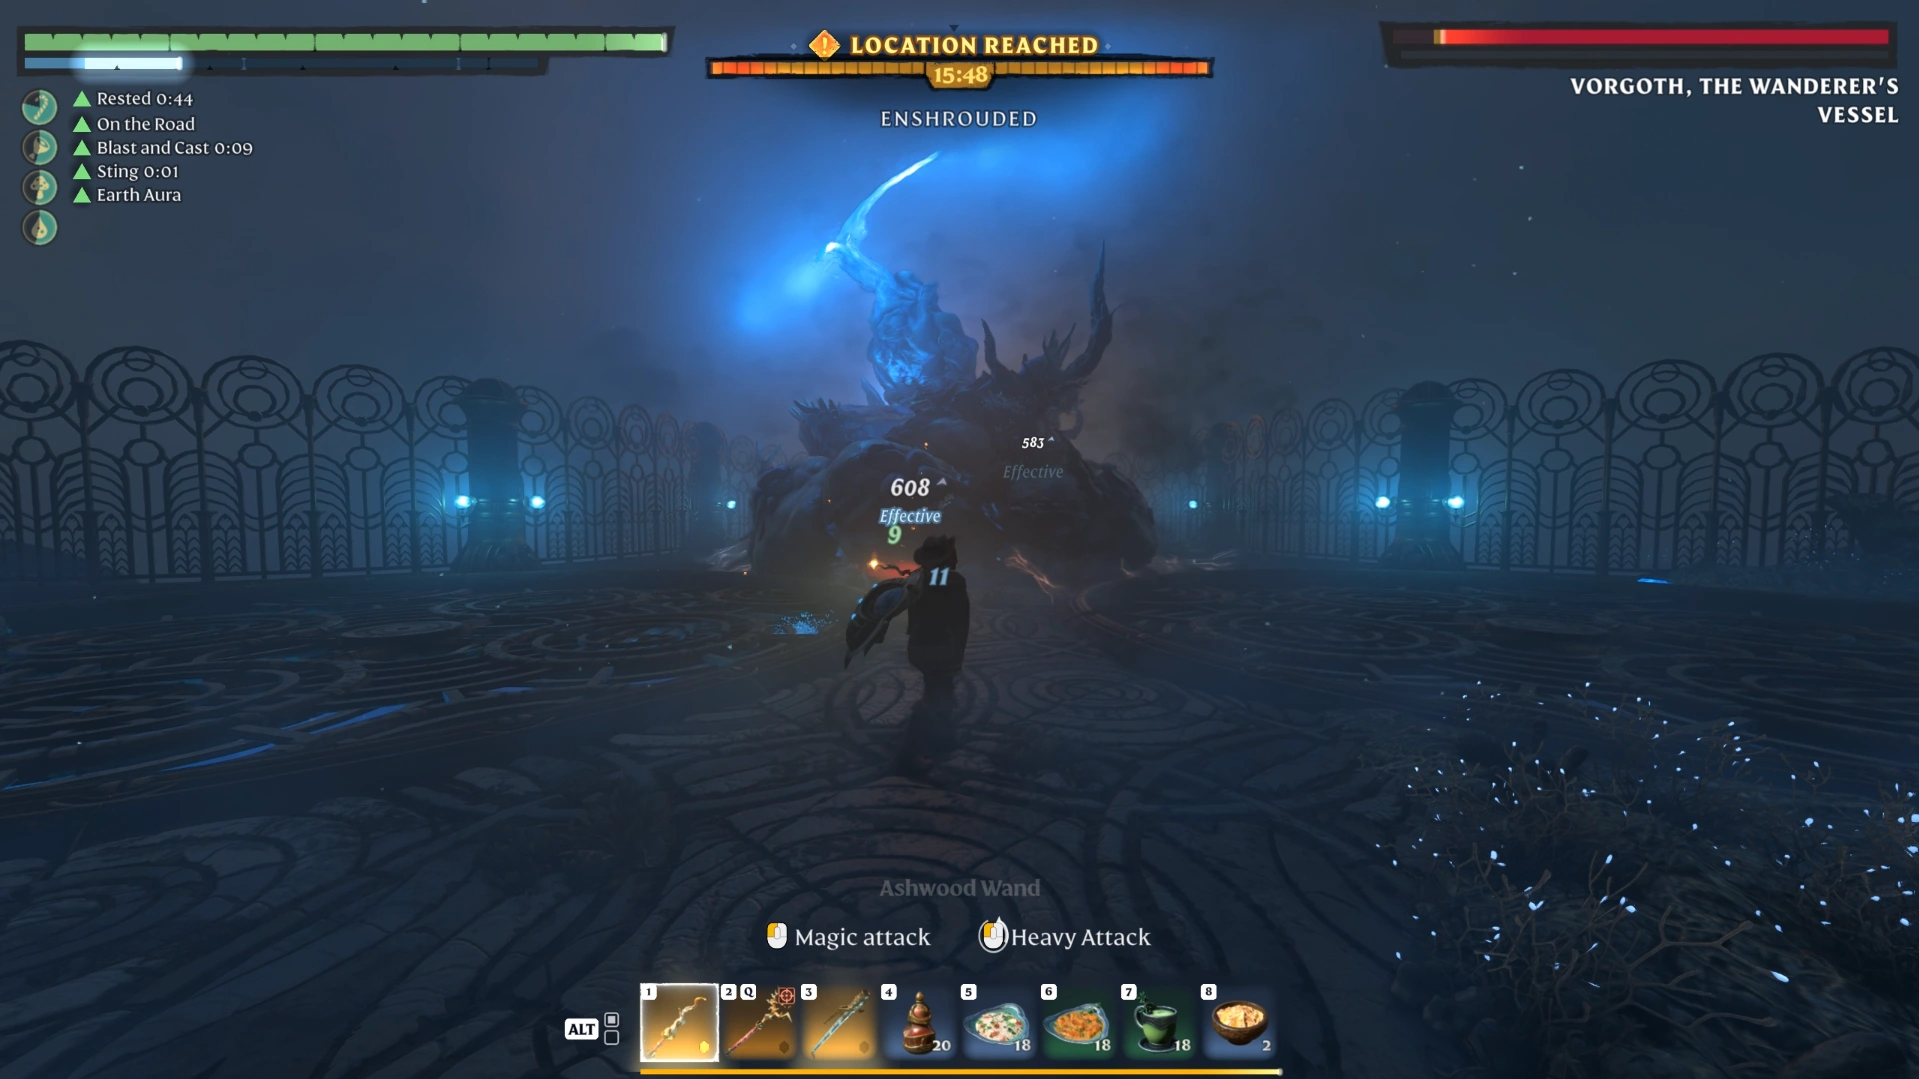
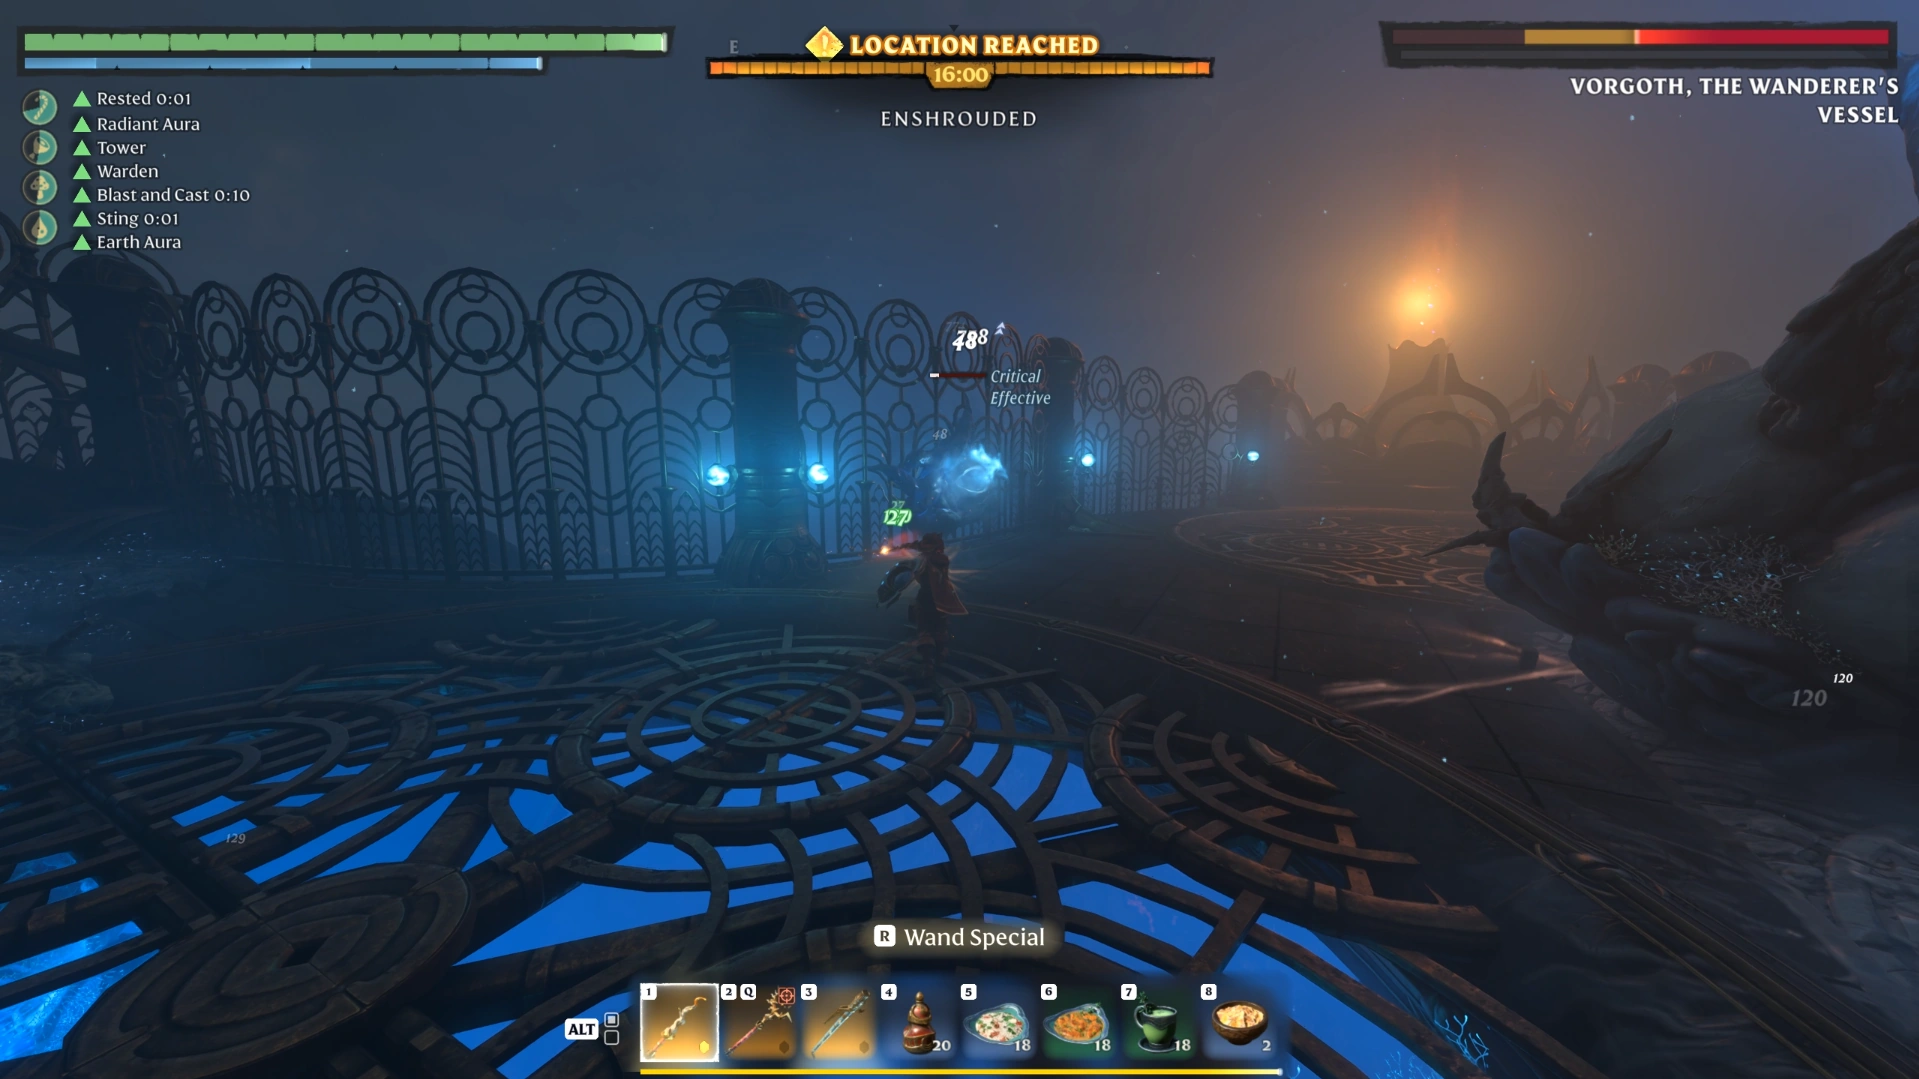
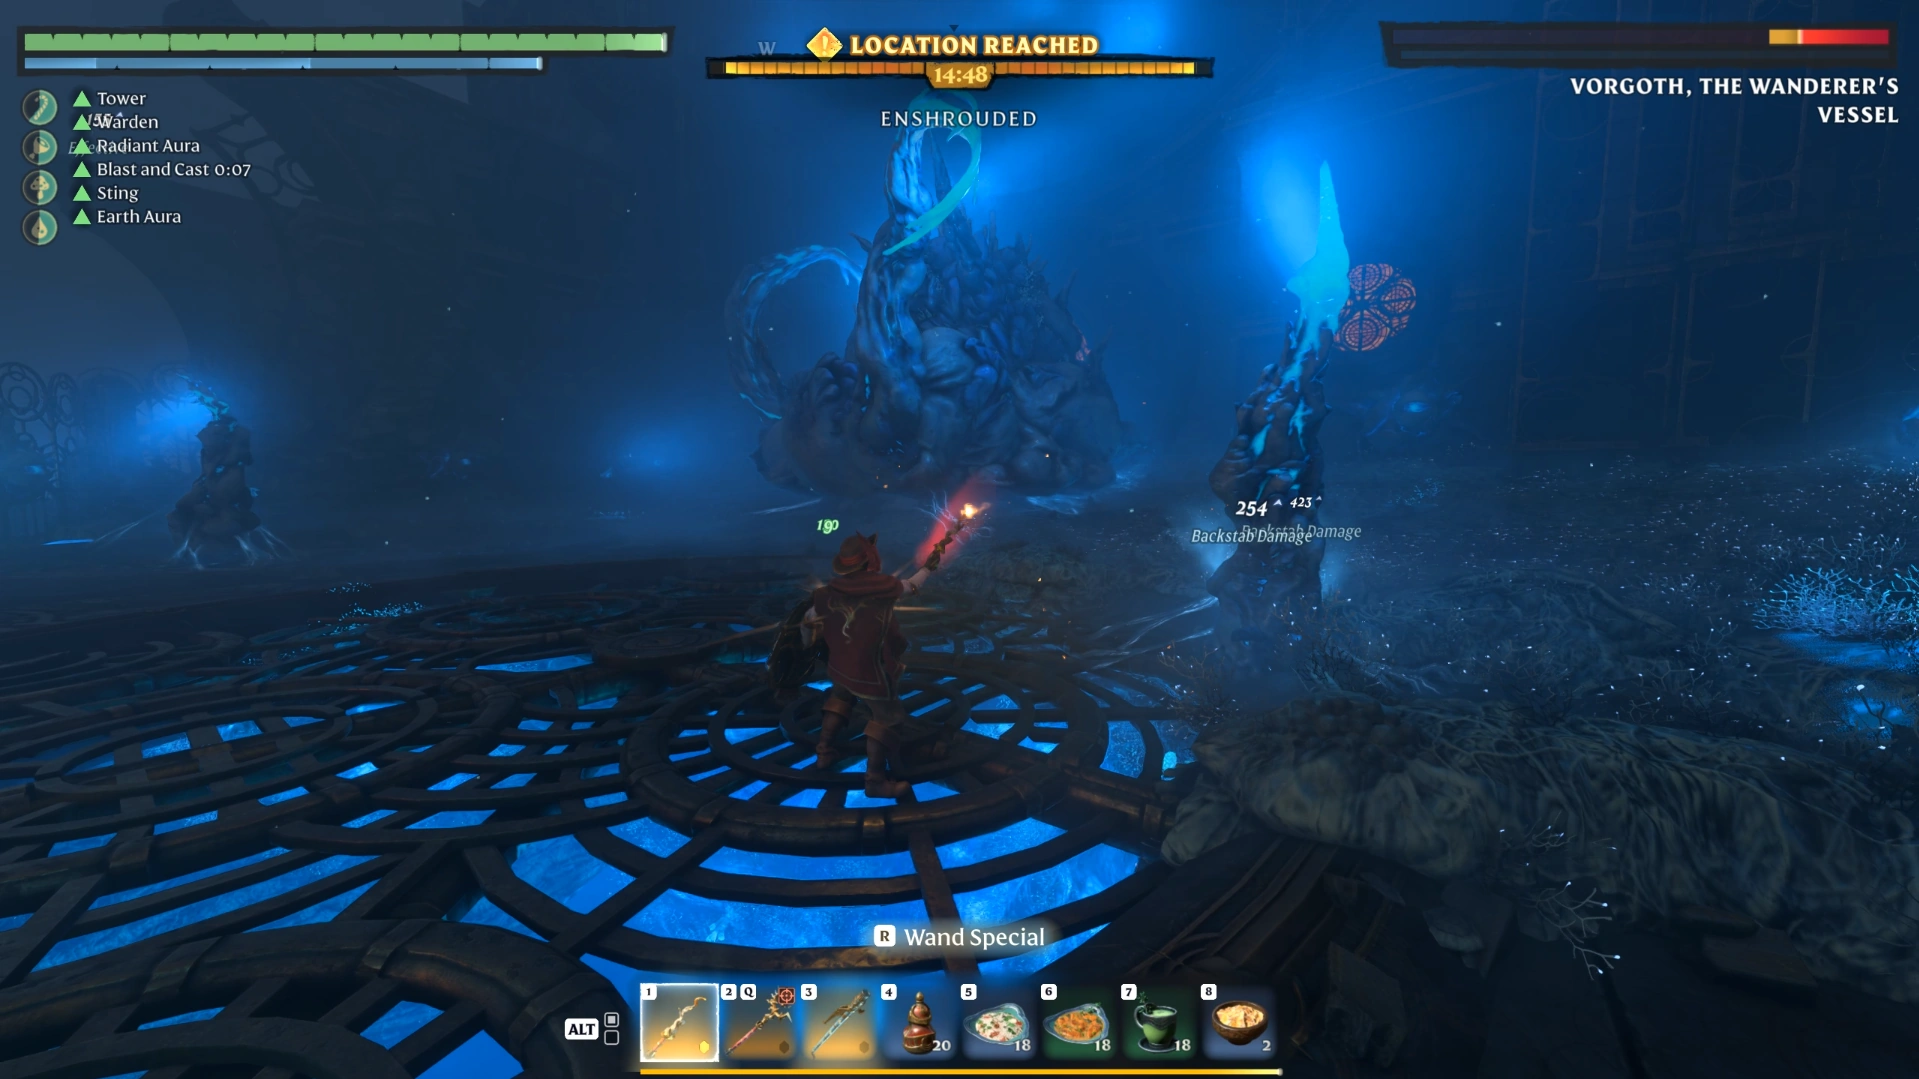
When the first health bar empties, the Wanderer merges with Vorgoth. This form is slower but fills the arena with extra enemies:
Tentacle swings: He sweeps at you with tentacles, but he's slow, so these are easy to dodge.
Tentacle spawns: You can't stop these tentacles from appearing, but each one dies in one or two hits, so clear them as you move.
Eyes and lasers: He spawns eyes around the arena that fire lasers. Destroying them removes them faster.
Ground circles: The phase 1 circle attacks return, so keep moving at all times.
Whether Shroud-type damage is less effective against Vorgoth is not confirmed in official sources. If your build relies on Shroud damage, bring a non-Shroud weapon or spell as a backup.
Example Scenario (hypothetical): You bring a fireball staff and a talent that recharges your Shroud timer on kills. In phase 2, killing the weak tentacles and summoned mobs while circling the arena keeps refilling that timer, so you can keep attacking Vorgoth from range.
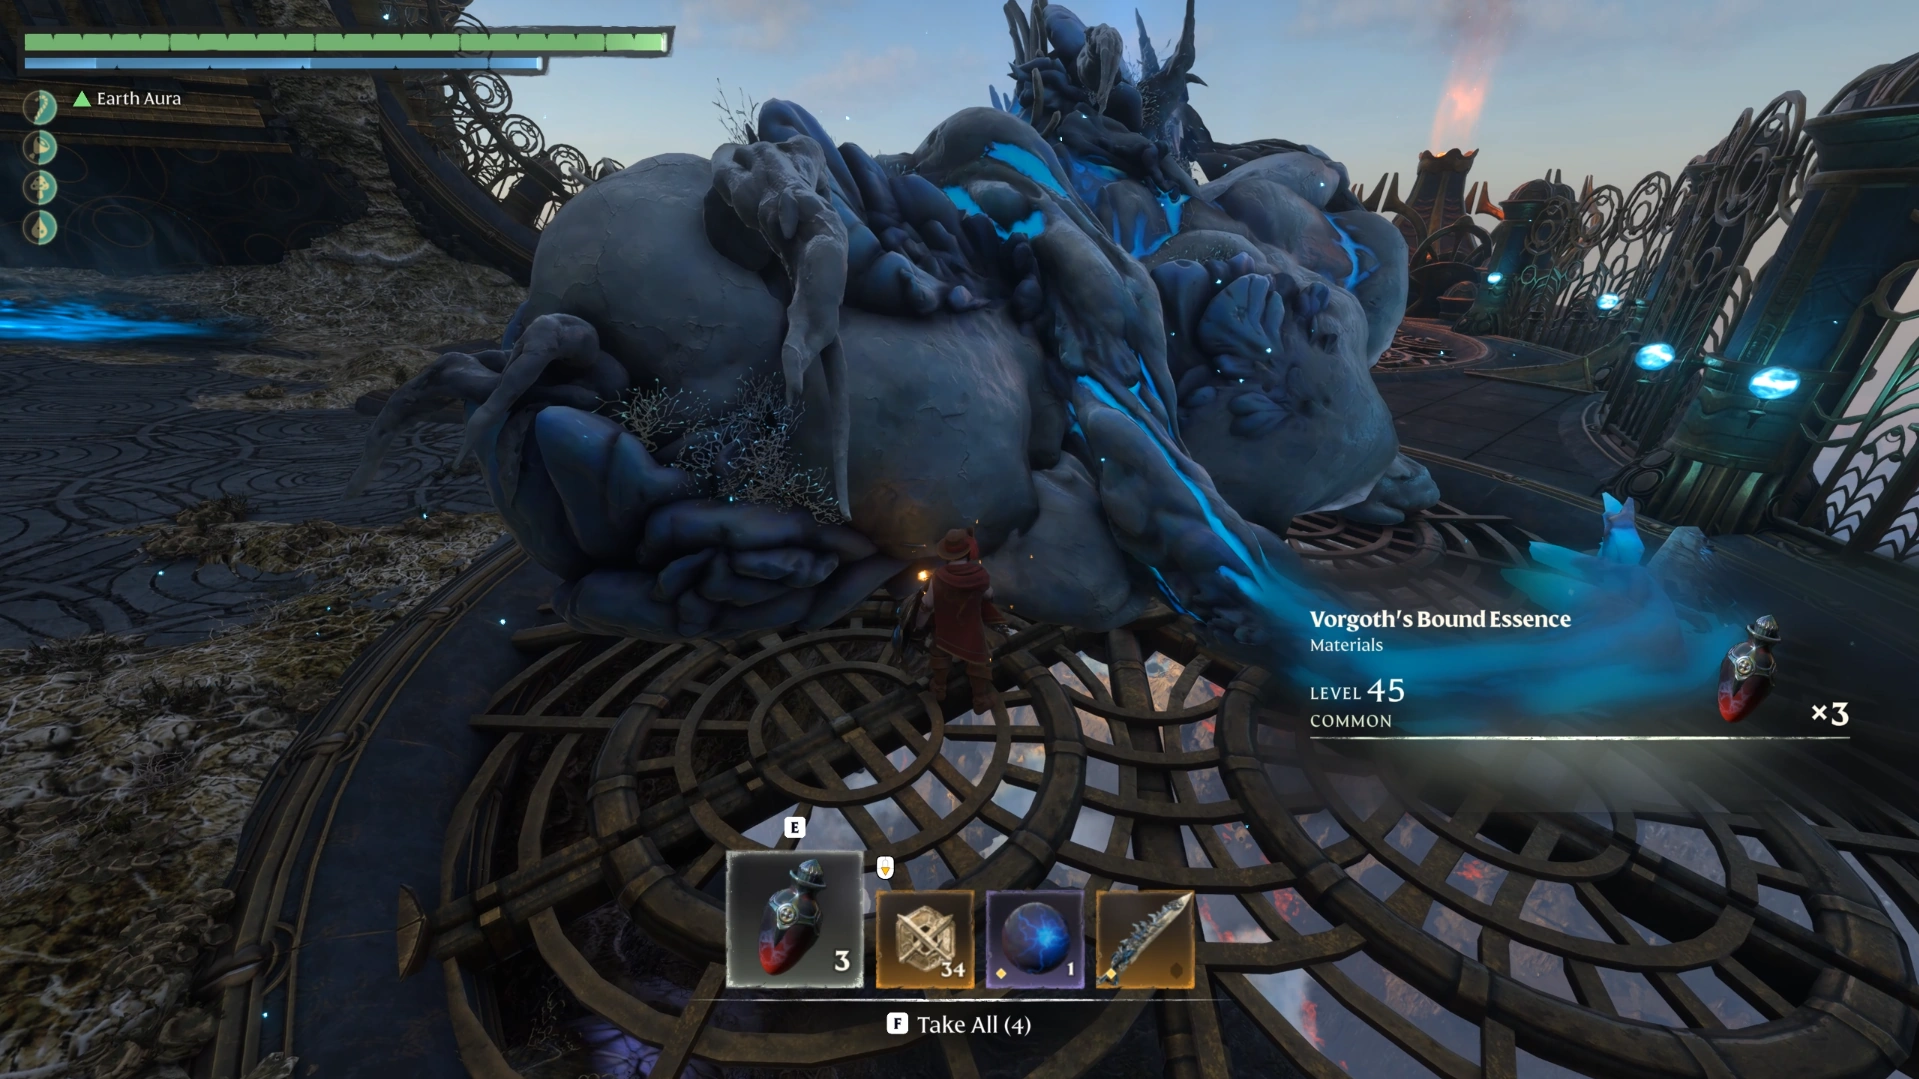
Once his second health bar is empty, walk up to Vorgoth and loot him.
Optional Shroud Roots and Golden Chests on the Route
The 1.0 changelog states that Cinder's Cradle brings 12 new Shroud Roots, and three of them sit on the Cinders of the End route. Use this table to plan which optional rewards you'll grab on your run.
Route order | Location | Reward | What you need |
|---|---|---|---|
1 | Worker's Ward, lower pathway | Shroud Root (skill point) | Kill an elite archer and an elite shield enemy |
2 | Past the first construct barrier | Golden chest | 10 sparks for the vault door |
3 | Shroud building on the barrier island | Shroud Root (skill point, Shroud timer reset) | Clear the Fell around the root |
4 | Behind the shooting-button door | Golden chest | A bow or staff to hit the button |
5 | Shroud climb, past the bug nests | Shroud Root (skill point) | Clear the tentacles |
6 | Citadel, before the second construct | Golden chest | 10 sparks for the vault door |
Bring 20 sparks to open both vault doors in a single trip, and check the surrounding areas on the Enshrouded Interactive Map before you go. Map locations are estimates and don't guarantee an identical outcome in your world.
Cinders of the End Rewards and How to Finish the Quest
Vorgoth drops Vorgoth's Bound Essence, Vorgoth's Eye, and the Shroud Vessel's Greatsword, but the quest isn't complete until you interact with the Mother Flame. After looting him, walk up to the Mother Flame and interact with her to trigger the final cutscene and finish the quest.
Reward | What it's used for |
|---|---|
Vorgoth's Bound Essence | Crafting material for the new items unlocked after the fight |
Vorgoth's Eye | Upgrade material for your next Flame level |
Shroud Vessel's Greatsword | Weapon reward from Vorgoth |
Quest completion rewards (XP and any gear) |
Take Vorgoth's Loot Back to Your Base
With Cinders of the End complete, head back to base and turn Vorgoth's Bound Essence into new gear, using the Enshrouded Database to look up what it crafts. Then start working toward Flame level 11 at your Flame Altar.
If you skipped any vault doors or Shroud Roots on the way up, go back and claim them using the route table above. The rest of Cinder's Cradle's Shroud Roots are still out there for extra skill points.
FAQs
Can you play Cinders of the End on an Enshrouded Early Access save?
Yes, Early Access saves work in Enshrouded 1.0, and Keen Games' launch FAQ confirms they convert to a new, more efficient format. Keen Games still strongly encourages starting a new world for 1.0, because the world and the game's opening hours were reworked for the full release.
Can you complete Cinders of the End in Enshrouded co-op?
Yes, you can play the Cinders of the End route in co-op, since Enshrouded supports co-op with up to 16 players. Whether quest progress is credited to every player in the session is not confirmed in official sources, so each player should check their quest log after every objective.
Can you play Cinders of the End on Steam Deck?
Yes, Enshrouded is Steam Deck Verified, a status Keen Games announced on October 23, 2026 that covers the full 1.0 release adding Cinder's Cradle and Cinders of the End. Verified is Valve's highest compatibility rating, meaning the game works great with the Steam Deck's built-in controls and display.
What does Flame level 11 unlock in Enshrouded?
Flame level 11 lets your Flame Altars push back the Shroud and raises the world's Flame Altar limit to 16, according to the Enshrouded 1.0 changelog. It's the final Flame level in version 1.0, so it's the last Flame upgrade available after Cinders of the End.
Is Cinders of the End the end of the Enshrouded story?
Yes, for now: Cinders of the End completes the main story available in Enshrouded as of Hotfix 1.0.0.3. The 1.0 changelog states that the story of Embervale is concluded with update 1.0.0.0, but adds "for now," so Keen Games has left room for future story content.