
















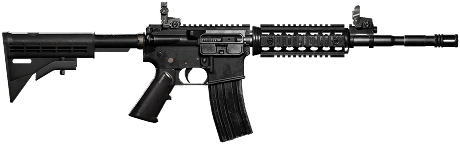
5.56x45mm
6 shots
0.43s to kill
18 per hit
Slightly effective

We're proud to announce the release of our Apple and Android Apps for WARDOGS. On the app you will find a full Database, Leaderboards, Ballistics, Squads, Server Status, Black Market rates and more! Any questions, suggestions or bugs please let us know on Discord.
We've just launched our WARDOGS section on Metaforge and we've created a bunch of cool tools that we've been using ourself and hopefully you will enjoy too!
You can find our WARDOGS section here, as well as the Database with all Weapons, Armor and Item Stats, Leaderboards, Ballistics Charts, Interactive Maps, Artiliary tool (WIP), LFG and more!
Grounded 2 Into the Abyss Update has just launched and we've updated Metaforge to reflect that.
Interactive Map Updated (Click the Dropdown above Filters to access into the Abyss Map)
Desktop App Updated

| Round | ||||||
|---|---|---|---|---|---|---|
 AMR 50 Sniper | .50Cal AMR 50 Sniper | .50Cal | STD | |||||
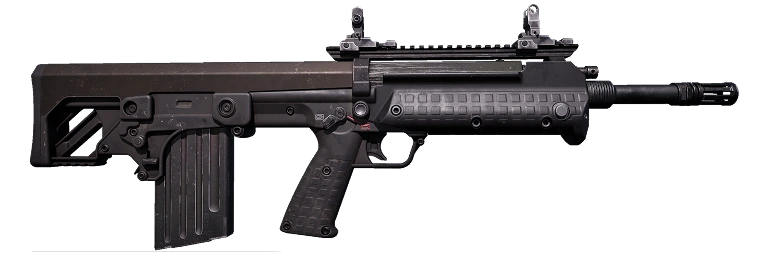 BMR-308 DMR | .308 Win BMR-308 DMR | .308 Win | FMJ | |||||
 MP43 Shotgun | 12g Buckshot MP43 Shotgun | 12g Buckshot | STD | |||||
 M500 Shotgun | 12g Buckshot M500 Shotgun | 12g Buckshot | STD | |||||
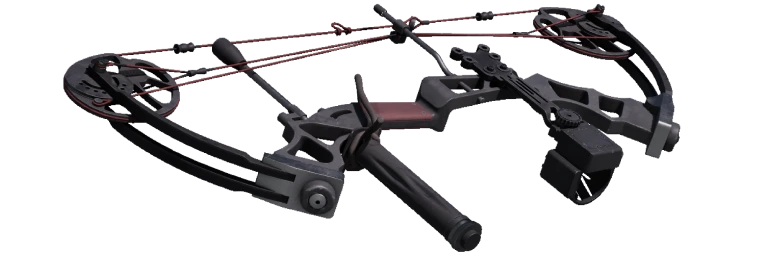 Compound Bow Bow | Broadhead Arrow Compound Bow Bow | Broadhead Arrow | STD | |||||
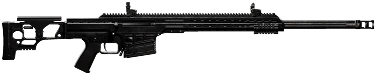 MK22 Sniper | .308 Win MK22 Sniper | .308 Win | FMJ | |||||
 Mosin Nagant Sniper | 7.62x54mm Mosin Nagant Sniper | 7.62x54mm | FMJ | |||||
 SV98 Sniper | 7.62x54mm SV98 Sniper | 7.62x54mm | FMJ | |||||
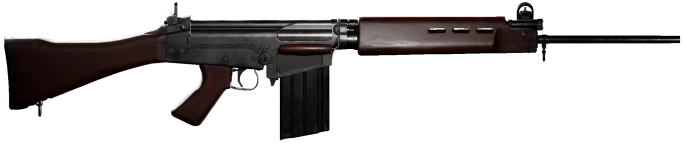 FAL AR | .308 Win FAL AR | .308 Win | FMJ | |||||
 SVD DMR | 7.62x54mm SVD DMR | 7.62x54mm | FMJ | |||||
 SKS DMR | 7.62x39mm SKS DMR | 7.62x39mm | FMJ | |||||
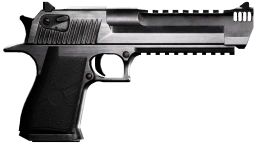 Deagle Pistol | 50AE Deagle Pistol | 50AE | FMJ | |||||
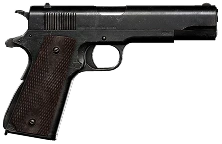 M1911 Pistol | .45 ACP M1911 Pistol | .45 ACP | FMJ | |||||
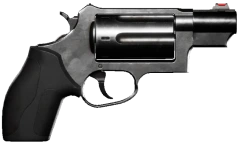 Judge Pistol | .45 Colt Judge Pistol | .45 Colt | FMJ | |||||
 Scout Rifle TD Sniper | 5.56x45mm Scout Rifle TD Sniper | 5.56x45mm | FMJ | |||||
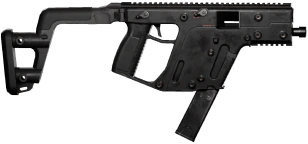 Super-45 SMG | .45 ACP Super-45 SMG | .45 ACP | FMJ | |||||
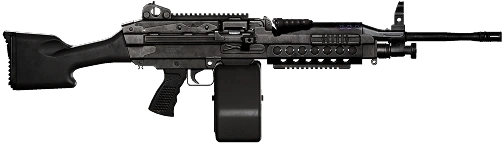 M249 SAW LMG | 5.56x45mm M249 SAW LMG | 5.56x45mm | FMJ | |||||
| M4 AR | 5.56x45mm | FMJ | |||||
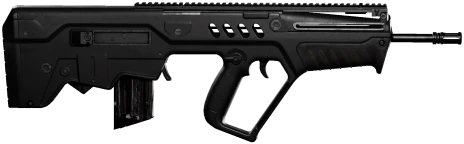 T-21 AR | 5.56x45mm T-21 AR | 5.56x45mm | FMJ | |||||
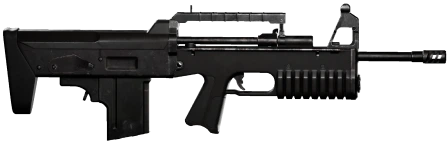 A-91 AR | 5.56x45mm A-91 AR | 5.56x45mm | FMJ | |||||
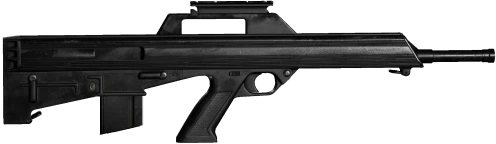 Bushmaster M17S AR | 5.56x45mm Bushmaster M17S AR | 5.56x45mm | FMJ | |||||
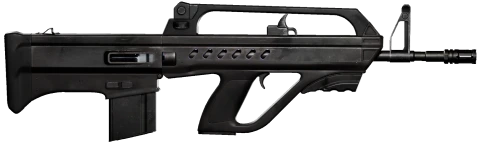 KH-2002 AR | 5.56x45mm KH-2002 AR | 5.56x45mm | FMJ | |||||
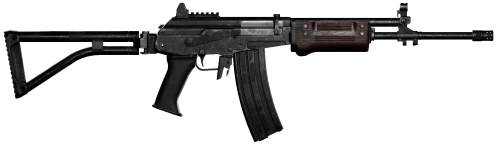 Galil AR | 5.56x45mm Galil AR | 5.56x45mm | FMJ | |||||
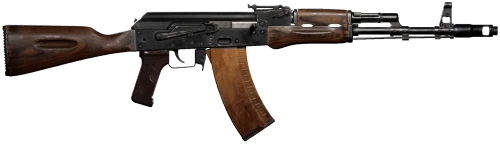 AK74 AR | 5.45x39mm AK74 AR | 5.45x39mm | FMJ | |||||
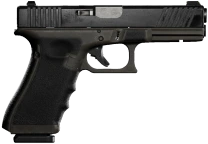 GGX 18 Pistol | 9x19mm GGX 18 Pistol | 9x19mm | FMJ | |||||
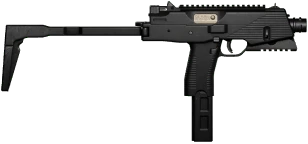 AMP-9 SMG | 9x19mm AMP-9 SMG | 9x19mm | FMJ | |||||
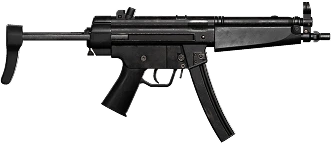 MP5 SMG | 9x19mm MP5 SMG | 9x19mm | FMJ | |||||
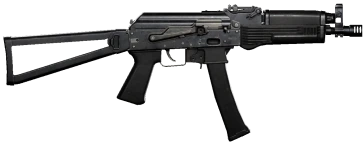 PP-19 Vityaz SMG | 9x19mm PP-19 Vityaz SMG | 9x19mm | FMJ |
| Shots to kill | Effectiveness | What it means |
|---|---|---|
| 20+ | Pointless | Will not get through in any sane number of hits |
| 13 to 19 | Desperate | Takes most of a magazine before anything drops |
| 9 to 12 | Magdump only | Only wins if you hold the trigger and stay on target |
| 5 to 8 | Slightly effective | Workable, but a burst is never enough on its own |
| 3 or 4 | Effective | A controlled burst kills |
| 2 | Very effective | A double tap kills |
| 1 | One shot | One shot, one kill |
A guideline for what to bring, not an exact count. Everything comes from the solved damage, so a lucky first hit or a missed pellet moves the real number.
Pick up to five weapons, then set the hit zone, helmet and body armor tiers and range.
Shots to kill ranks every weapon across all armor tiers, while the cards above and Compare hits put your picks side by side with damage per hit, shots to kill and time to kill.
Time to kill counts bullet travel, so slow rounds pay for it at range.
Tick more than one round type to see what FMJ, HP and AP trade, plot everything against distance in Range graphs, or open the Ammo chart to compare every calibre at once.